It happened to me. Over the course of a few weeks, the angle I needed to plug the lightning cable into my iPhone 5S got more and more specific, until one day it just wouldn't charge. No amount of wiggling, positioning, angling, swapping cables, swearing, or praying could fix it. The Internet recommended cleaning the port with a vacuum cleaner but it did nothing; it was dead.
Unfortunately for me, my iPhone is more than 18 months old. It was out of warranty. If I wanted to get it fixed, I was going to be paying a lot of money out of pocket. Instead, I decided to dig in and do it myself.
When to Do It Yourself
Deciding to fix your iPhone yourself isn't an easy decision. If you mess it up, you'll end up with a useless — and expensive — pile of components. If your iPhone is under warranty or you have Apple Care, that route is almost always going to be better.
If your iPhone isn't covered under some program, it's still not a simple choice. You can pay Apple, a licensed repair centre, or even an unlicensed repair centre, but it can be expensive depending on what the problem is. Doing it yourself will normally be cheaper as long as you don't make things worse. This is especially true of older phones which are more likely to be out of warranty.
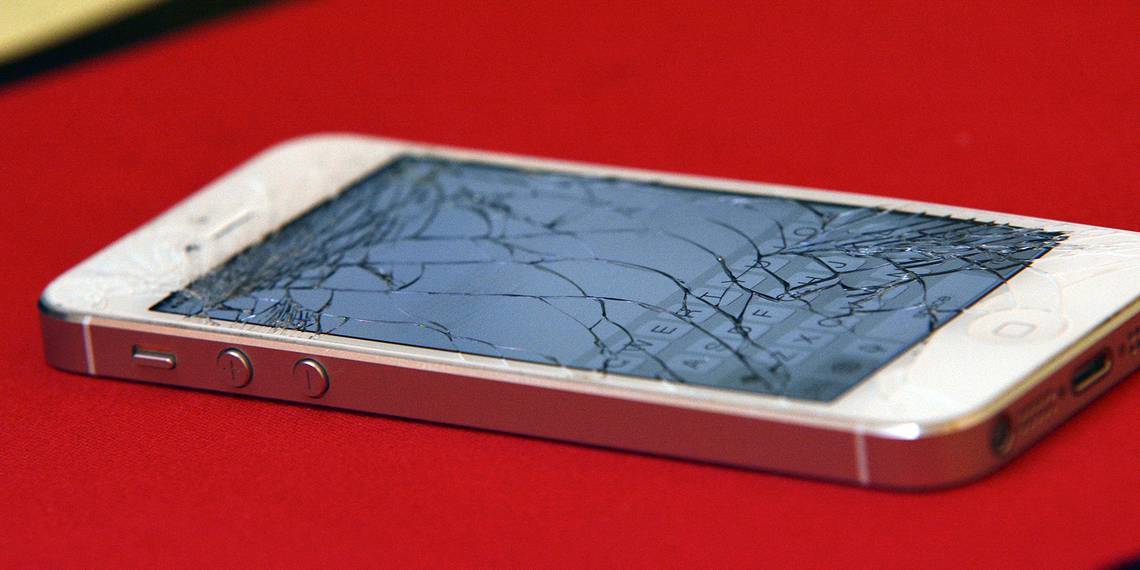
How much you save will also depend on exactly what the problem is. A kit to fix an iPhone 6's screen — one of the most expensive components — costs only a little less than the cost of getting it fixed officially, while a kit for an iPhone 5S or 5 is less than half the cost of a professional repair. On the other hand, the lightning connector and headphone jack is significantly cheaper even for the newest iPhones.
Before ripping open your iPhone, it's important to exhaust all simple fixes. Obviously if the screen is smashed the problem is readily apparent, but if a port or button stops working, there are always a few fixes worth trying that don't involve screwdrivers.
Finally, if you've never stripped a wire before it's a bad idea for fixing your iPhone to be your first DIY electronics project — maybe start with something that won't break a $1000 phone. I have enough experience messing around with the insides of electronic devices (like putting a Raspberry Pi into an amp) that I'm comfortable taking apart my iPhone – but if you aren't in the same position, doing it yourself probably won't be worth it. Fortunately, the skills you need are really easy to learn — you can even do it with YouTube.
What You Need to Fix an iPhone
Apple's devices are very carefully manufactured. You're not meant to be able to open them and play around with the insides; the rusty Phillips head screwdriver in your toolbox isn't going to be able to deal with the screws on your iPhone and prying open the screen with a knife is just a bad idea. To fix your iPhone properly you'll need special tools.
To start, you'll need a set of basic electronics screwdrivers and prying tools. These are cheap and work for most consumer electronics, not just iPhones. I used this 23 piece set from Amazon.co.uk but you can get similar sets from iFixit if you're in the US or from iParts4U if you're in the UK.
http://www.youtube.com/watch?t=1&v=FxdfxWBsTq8
You can use the basic tools to open an iPhone but an iSclack Opening Tool is the best way to do it without damaging anything. You can grab one from iFixit or iParts4U.
You'll also need a clean, static electricity free workspace. An anti-static mat on your kitchen table is enough.
Where to Get Tools and Parts
Just as a regular screwdriver can't open an iPhone, you can't just pick up a replacement screen in your local hardware store. You need to get the parts from dedicated retailers.
If you're in the US, iFixit is the best place to get components. They've also launched an EU store which is pretty good depending.
If you're in the UK, iParts4U is a great store to use and offers free delivery on larger orders. Both stores stock all the most common iPhone components.
What Can and Can't Be Fixed
A lot of common iPhone problems can be fixed yourself: cracked screens, dead batteries, broken ports, failing microphones, stuck home buttons, crapped out cameras, and disconnected speakers can all be repaired with components you can find online.
The main thing that can't be fixed is damage to the iPhone's logic board. There's no way to swap the CPU or RAM if they start to go, so if the logic board is gone you'll need a new phone.
http://www.youtube.com/watch?v=yCteryMM-6c
If your iPhone still turns on and runs normally then you can fix whatever other problems there are. If it won't do that or constantly crashes after a drop or spill, it's best used as a paper weight. Fortunately this is rare.
Even things that might seem unfixable like water damage can be repaired as long as the logic board is unharmed. Water enters first through the ports and speaker grill, damaging those components. If it doesn't penetrate deeper, replacing them should be enough to get your phone back running.
Where to Find Guides
Tearing open your phone and fiddling around with the insides trying to fix it is a recipe for tears. Before starting you need to track down the right guide for the problem you have.
Google is always a good place to start, especially for non-invasive fixes. Google was where I turned to try and fix my iPhone's problem before replacing any parts. Some of the tips in this guide to Google search will help you get relevant results.

If Google isn't turning up any simple fixes, or you try them and it does nothing, then you'll need a guide for how to open and repair your phone. The best place to find them is iFixit: they have guides on how to repair every model of iPhone released.
Some people might prefer to learn by watching a video rather than reading a guide. YouTube has a load of great repair videos, although the quality isn't as consistent as iFixit. I'd recommend reading the guide then searching YouTube for a video to watch someone go through the process then following the written guide while you repair your own iPhone.
Wrapping Up
Repairing your iPhone yourself is surprisingly easy. If you are comfortable with basic electronics it is well within your grasp. The decision to do it is a little harder. You can make a mess of things and, on newer iPhones, buying the components yourself may not be much cheaper than getting it officially repaired, especially once you factor in the costs of specialised tools you'll likely only use once.
If you decide to do it yourself, you'll need those special tools and replacement parts to ensure you don't damage your iPhone. Fortunately, these are easy to get online and are useful for repairing most consumer electronics.
Whatever you do, don't dive in and start messing around with your iPhone's insides without a guide. The best place to find a complete one is iFixit though YouTube is also good.
Have you ever repaired your own iPhone? How did it go? Let us know in the comments.