As an active blogger I need to make multiple screenshots daily. Screenshots help me visualize my posts and make them easier to understand.
Screenshots are "infographics" of today's web - they make information easier to understand and guides easier to follow. You'll see them on each and every blog - no wonder screen capturing applications are so numerous.
In fact, screen capture tools are so plenty that you may easily get lost which one to choose and why. That's why I decided to make a simplified guide on which features to look for and which tools I personally find useful.
How To Make Funny "fake" Screenshots
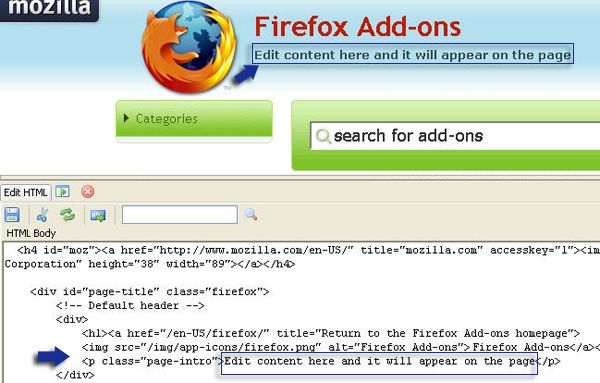
SourceEditor is a nifty FireFox plugin that allows you to easily edit any page. No HTML knowledge is required - the process is really easy.
1. Install the addon (compatible with FireFox 3)
2. Navigate to the page you want to edit. [Example] Here is the part of the FireFox addon page that will be edited below:
3. Activate the addon by clicking its icon in the status bar.
4. Hover over the part of the page you want to edit (it will be framed as shown below):
5. Right-click on the framed area and choose "Edit Source". The area will then become available for editing:
6. You are done! Now press "Print Screen" on your keyboard or use any screen capturing software you prefer and make a screen shot of the edited page:
Another FireFox addon that can do the same is feature-rich Web Developer FireFox extension but it requires at least some HTML knowledge. Choose "Edit HTML" under "Miscellaneous" menu in the toolbar and you can edit page:
How To Take Full Page Screenshot
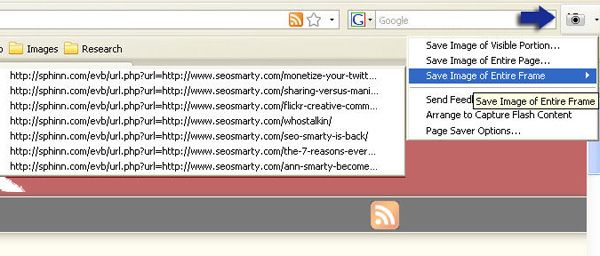
PageSaver FireFox addon. It adds a small icon to your address bar that lets you easily choose the screenshot properties (alternatively you can access same settings by right-clicking on the page). It takes only a couple of clicks to take full page screenshots.
FastStone Capture is a desktop application for Windows which captures the scrolling window and instantly opens it in the built-in basic image editor.
We have previously reviewed Paparazzi! for Mac only that also allows to create full webpage screenshots.
How to Take Partial Screenshots
There are numerous tools that allows you to take partial screen shots of the page. My favorite one is Jing. It works with Mac and Windows and has both free and paid editions. Its advantages over other similar tools include:
- High quality of the screenshots;
- Tools allowing to easily share the images.
- Easy-to-use basic image editing.
- Partial screen capture.
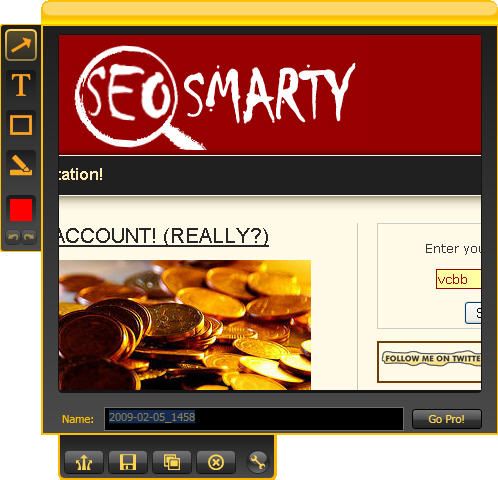
Just run the program, choose "capture", select the area to capture, choose "Image" and you will be taken to the "Preview" window where you can preview, edit and save the image (all images are saved in the .png format; more options are available with the paid edition):
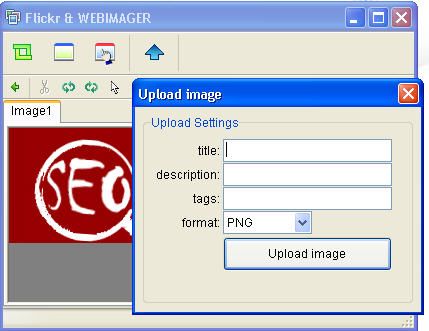
Flickr and WEBIMAGER is another free desktop utility that captures the selected portion of the screen and has other cool options:
- Upload images to your Flickr account;
- Use quick and basic image editor (resize, rotate, insert cursor);
- Quickly launch Paint for other editing options.
How To Capture the Mouse Cursor
Surprisingly and sadly the "Print Screen" keyboard button as well as most cool free screenshot making tools can't capture the cursor. As a blogger I often need this feature to show the place on a page I am talking about.
One free desktop tool that captures the screen with cursor is IrfanView - it has only basic features but being simple and easy is what I most often want to see in any tool.
Please share your tricks to make awesome screenshots!
Great MUO posts for additional reading:
Image credit: penwith.gov.uk


