For storing, sorting, and editing your photos, solutions don't come much better than Adobe Lightroom. It's why professional photographers from around the world live by the app. But accessing the huge range of features, settings, and tools can interrupt your workflow. That's where shortcuts come in.
To remove some of those unnecessary steps, it's well worth your time to learn just a few Lightroom keyboard shortcuts. Together, these can massively speed up your Lightroom processes, and make the whole task of managing your photos a lot more streamlined.
Below are over 27 of the most useful, productivity-enhancing shortcuts you can use in Lightroom. If you want to see all of Lightroom's shortcuts, however, press Ctrl + / within the app .
Throughout this article, shortcuts will be given for Windows.
Note: Mac users can replace any mentions of Ctrl with Command and any mentions of Alt with Option.
Controlling the Screen
Lights Out
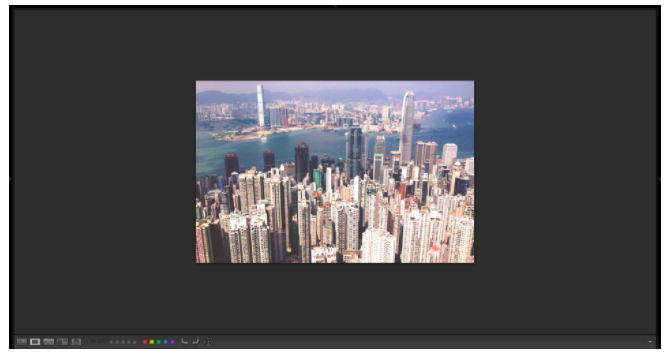
Press L to cycle through Lightroom's Lights Out mode. The first of these modes darkens all of the space surrounding your photo, so you can better see it in isolation. The other completely blackens out the space around your photo.
If you only ever use the dimmed mode, you can activate this separately by pressing Ctrl + Shift + L.
Navigating the Modules
Rather than relying on your mouse to flip between modules, press Ctrl + Alt, plus the number corresponding to the module you want to go to. For instance, Ctrl + Alt + 1 will take you to the Library module. Ctrl + Alt + 2 will take you to the Develop module. Another quick way of getting to the develop module is to just press D.
Grid View
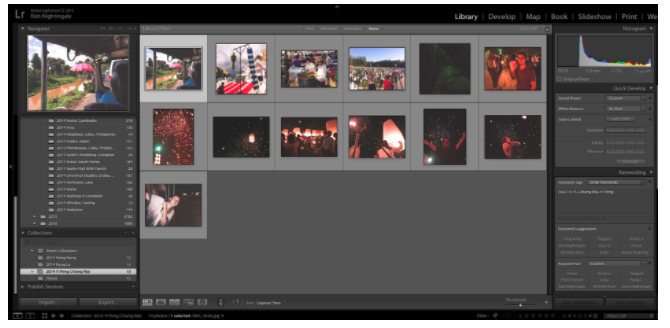
Press G to go straight to the Library module's grid view (including from the Develop module). This allows you to glance over lots of photo thumbnails at once.
It's far quicker to locate a photo this way than by scrolling through them one by one.
Loupe View
Press E to go straight to Loupe view. This is where you can scroll through larger previews of photos one by one.
Full-Screen Mode
Press F to enter full-screen mode, where all distractions will be removed, and the photo will be displayed full screen. Press F again to escape full-screen mode.
Compare Mode
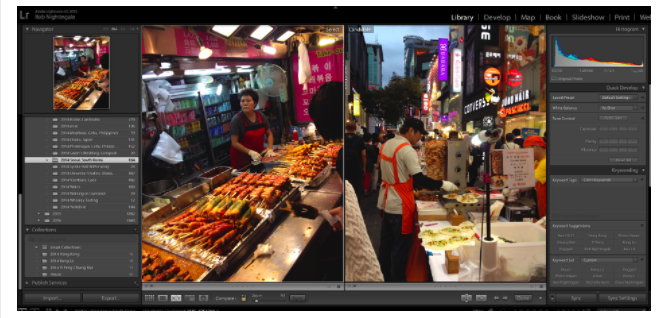
If you want to compare two photos side-by-side, press C. The just select two photos that you want to compare.
Press C again to escape compare mode.
Hide Side Panels
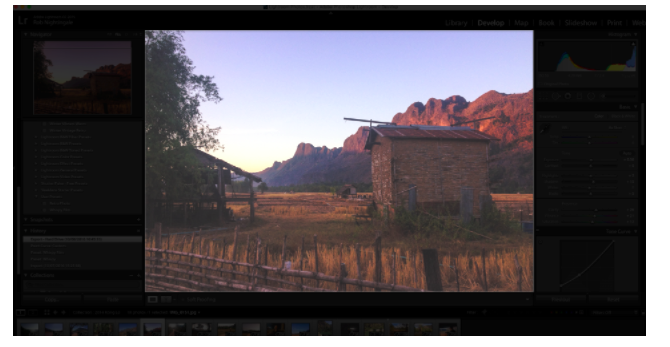
Press Tab to hide both the left and right side panels. This allows for a larger preview of your photo. It removes distractions, and makes it easier to assess photos and to see the results of your edits. Press Tab again to bring back the side panels.
Hide All Panels
Press Shift + Tab to hide all panels to completely remove all distractions from the screen.
Press Shift + Tab again to bring back the panels.
Info Overlay
Press I to cycle through the info overlays available for your photos. This shows data stored about your photo such as its name, when it was taken, size, and the camera setting used to take the photo.
Rating & Organizing Photos
Reviewing and rating photos in the Library module is one of the main steps in keeping your Lightroom catalog organized. Learn these few shortcuts to help make this process more efficient.
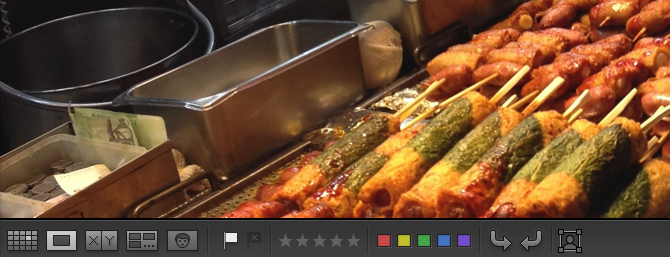
Star Ratings
When you're ready to assign a star rating to a photo, just press the numbers 1--5, depending on how many stars you want to give the photo. To give a rating and move to the next photo press Shift + 1--5. Press 0 (zero) to set the star rating back to zero.
Pick Flags
Pick flags are another great way to help you rate photos.
To give a photo a white pick flag, press P. To give a photo a black pick flag, click X.
Color Ratings
Use the numbers 6--9 to set different color ratings. If you use this feature, the color you choose for each photo depends on your own workflow.
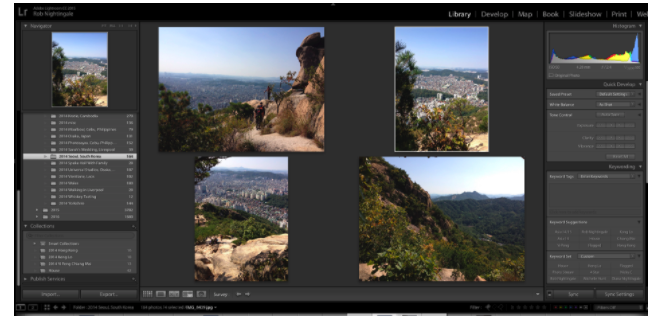
Survey Mode
If you have a few photos that look similar and you want to view them together, select them all, then press N.
Keep pressing the small X on the images you don't like until you've left with a favorite (don't worry, this won't delete them).
Target Collections
Collections are a great way to help organize your photos. Rather than dragging individual photos into a collection, however, there's an easier way. Just before you go through a set of photos, right click the collection you want to add your favorites to, and click Set as target collection. When you come across a picture you want to add to that collection, click B. When you're finished, right-click the collection and deselect Set as target collection.
Viewing & Editing Your Photos
Lightroom has plenty of basic and advanced editing features to help to improve your photos. As you use the app more often, you'll start to use certain features more than others. To more quickly access these features, use the following shortcuts.
Before & After
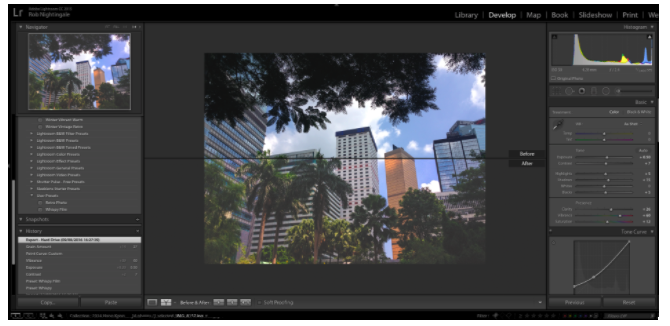
In the develop module, press / to toggle between your photo before any changes were made, and after. To see your before and after shots side-by-side, press Y. To see them top-and-bottom, press Alt + Y. And to see them split screen, press Shift + Y.
This is a great way to instantly see the effects your edits have had.
Undo
To undo the previous step, click Ctrl + Z. Lightroom allows you keep going back an infinite number of steps.
Zoom In and Out
Press Ctrl + = to zoom in on a photo, and Ctrl + - to zoom out. Simply pressing Z will set the zoom back to 100%.
Rotate
Clicking Ctrl + [ will rotate the photo 90 degrees to the left. Ctrl + ] will rotate it 90 degrees to the right.
Crop & Straighten
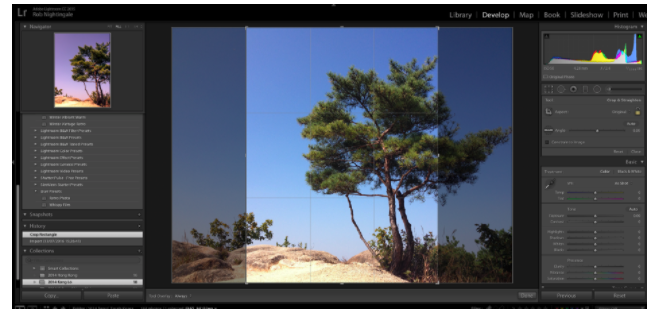
To bring up the Crop Tool (where you can also straighten your photo), press R. Press R again to exit the tool.
When the cop tool is open, you can also press X to toggle between horizontal and vertical cropping to see which looks best.
Copy & Paste Develop Settings
If you have a group of photos that all need similar edits (such as making a group of photos look vintage), rather than applying those settings on each photo, you can just copy and paste the settings. On your edited photo press Ctrl + Shift + C. A pop-up will appear allowing you to select the edits you want to copy. Then press Ctrl + Shift + V to paste those settings onto other photos.
Clipping Mask
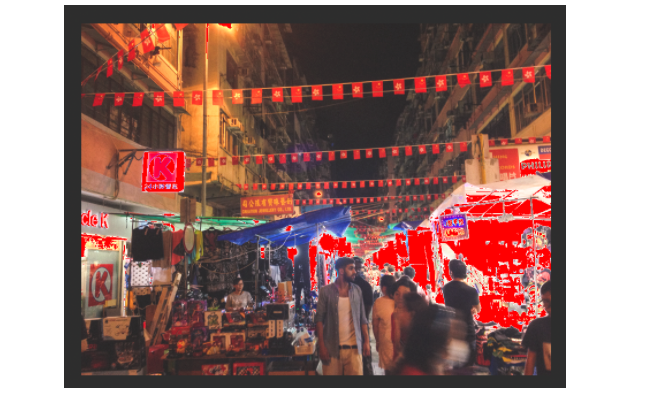
Press J to instantly see where you have any blown highlights or clipped shadows in your shot.
Any blown highlights will be shown in red, clipped shadows will be shown in blue.
Auto Tone
To let Lightroom have an attempt at balancing the exposure of your image itself, press Ctrl + U. This will automatically adjust the whites, blacks, shadows, highlights, contrast, and exposure. From here, you can continue editing the sliders in the Basic widget. Or press Ctrl + Z to undo auto-tone.
White Balance
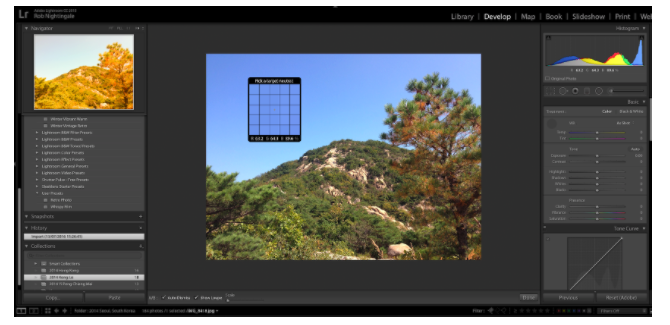
To quickly open the white balance tool, press W. Alternatively, press Ctrl + Shift + U to allow Lightroom to automatically balance the whites in your image.
This will edit the tint and temperature sliders. Again, if you don't like the changes, press Ctrl + Z to undo.
Graduated Filter
Press M to activate (and deactivate) the graduated filter tool. Whether you're trying to create a more impressive sky or more beautiful body of water, this is the tool you need.
Spot Removal
The spot removal tool helps to remove small imperfections, such as lens dust, from shots. To activate this, press Q.
Adjustment Brush
Press K to activate (and deactivate) the adjustment brush. This tool allows you to apply plenty of powerful localized adjustments around your photos. You can increase and decrease the brush size by pressing ] or [. And you can increase the brush feathering by pressing Shift + ] or Shift + [.
Go Grayscale
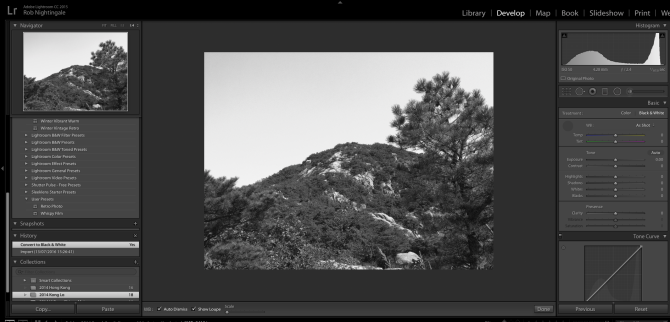
To instantly turn your photo grayscale, click V in the Develop module. Click V again to bring back the color.
This is great for seeing if your photo will look better in black and white, but you should always tweak those black and white settings manually for best results.
Edit in Photoshop
If you want to edit your photo directly in Photoshop (provided Photoshop is installed), press Ctrl + E. This can save you a lot of time needing to relocate images from within Photoshop.
How Much Time Could You Save?
Learning shortcuts isn't always easy. So start by just memorizing the shortcuts for a few actions you perform most often. Spread across just a few weeks, these few shortcuts could shave hours off your workflow, and make sorting and editing your photos a lot easier.
It's time you could dedicate elsewhere. Improving your photography, perhaps?
Which other Lightroom shortcuts do you find useful?

