Photo slideshows are an awesome way to show off a group of pictures on a website. There are several ways to go about displaying such a slideshow. First of all, you can use a photo service like Flickr or Picasa (online version) to group your pictures together and embed the result on your site.
Secondly you can create a video file of your slideshow, upload it to a video sharing site like YouTube and embed the video on your site.
Thirdly, which WebProjector makes so simple, is hosting the picture files on your own site and displaying them somehow in a slideshow.
As I mentioned above, WebProjector makes adding a photo slideshow to your website very simple. It uses Flex technology and it basically comes down to only a few simple steps to get the slideshow up and running.
Download The Zip File
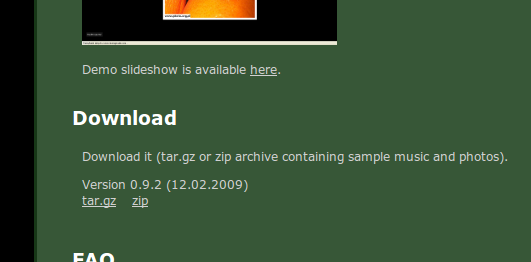
Visit the homepage and scroll down to where it says "Download" and click the link labeled "zip."
Download the file, open it up, and decompress the files in a folder on your hard drive. We are going to modify some things before we upload it to your web server, like adding your photos and music and a few tweaks.
Get Your Photos In Place
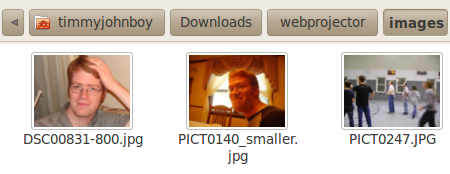
You will notice that in the folder that there is a sub-folder named "images." You will find the sample images in there but you want to replace them with your own. Just delete them and paste your own in there.
When we modify the XML file we will make sure your photos' filenames are called upon instead of the samples.
Get Your Music In Place
Assuming you have your own MP3 you'd rather have playing in the background, you will want to replace the default MP3 with your own. You want the easiest way? Rename your MP3 to "music.mp3" and copy it over the default file. Easy as pie.
Modify The projector.xml File
Open up projector.xml in a text editor for some simple editing.
Don't worry, everything we want to tweak is labeled and not all that confusing. Test the slideshow by saving the XML file and open the index.html file in order to see the changes.
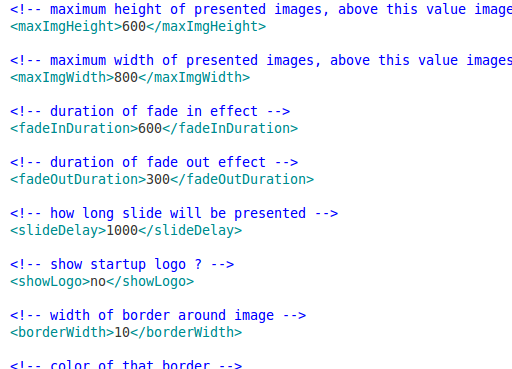
The first thing you want to pay attention to is the maximum hight and maximum width variables. You can change these numbers to change the size of the slideshow. It appears to be in pixels, just so you know.
Next you can change some time settings. Mess around a bit until you get them where you want them. You can tweak such things as the fade in and fade out durations and the duration of each slide itself.
Besides the option to show the startup logo or not, the next few variables you should look at control how things look. Mess around with the width of the border and some of the colors that will show. You have to know the color hex code though. This color picker should be able to help you find hex codes for the colors you want.
Now make sure the image directory and MP3 file name are correct. Tweak the sound setting to your liking. Besides entering the photo names in the order you want the slides displayed, you are all set with the XML file.
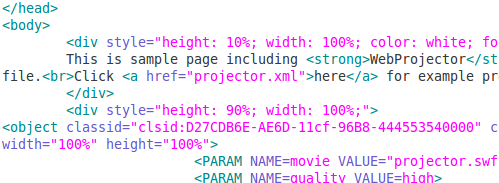
Edit the index.html file to change the words that appear above the slideshow.
You could put something explaining the slideshow or whatever you want. The default "This is a sample page..." just has to go.
Save & Upload
The final step will make your slideshow live. Using something like FileZilla, upload the whole directory to your webspace. In order to link to it, link to either the directory or the index.html file. Either should really do it.
So there you have it: your very own slide show hosted in your own webspace (here's my test slideshow).
I'm sure you could do some cool stuff like implementing the HTML code into another page. You could even create a portfolio page from the HTML file given you. I just showed you the basics of setting it up.
Tell me, what you think about WebProjector? What do you use to share slideshows and why?


