Scanning old photos to store in the cloud or share online is simple. Scanning slides, however, is another matter. If you have a collection of old photos that only exist as slides, you might have been frustrated by attempts to scan these. Simply taking a photo with your phone doesn't guarantee good results.
Fortunately, there is a way to scan slides that requires only a standard flatbed scanner.
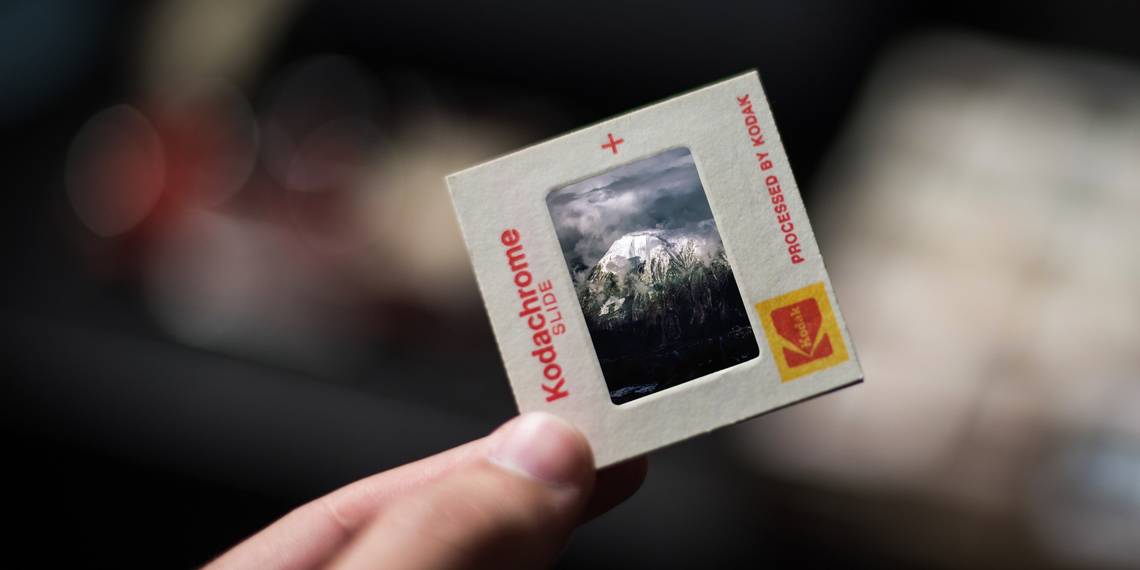
Here's how to scan 35mm and other slides on a flatbed scanner with just a piece of paper.
Can You Scan Slides on a Flatbed Scanner?
These days it is unusual to find anyone viewing a physical photo album. Photo books, on the other hand, are increasingly popular. You make these by uploading photos to online printers, or even Google (via Google Photos) and having them printed and bound, perhaps as a gift.
Usually, such books are compiled using photos you've uploaded automatically from your phone. But you might add old scanned photos. So, why not throw some old slide-based photos into the mix?
Well, maybe it's because they're difficult to scan. You can't simply place slides on a flatbed scanner and scan them as you would a photo. Capturing long-forgotten events and family members in this way is doomed to failure because of how light from the scanner falls across the slide. In short, it doesn't produce a usable image.
You probably think that the only solution is a slide scanner, which you might consider too expensive. Fortunately, there is a cheaper solution, costing no more than the price of a sheet of white paper or card.
How to Scan Slides
Sadly scanning a slide on a flatbed scanner results in an image that is simply too dark to be used.
By heading over to Don Maxwell's website, you will find out that it is all a matter of angles. A small paper pyramid can be constructed using thick paper, thin card, or even foam core board.
This ensures that the light from the scanner is diffused, illuminating the entire slide, rather than a small portion. Essentially the diffuser acts as a backlight for scanning slides.
How to Make Your Own Simple Slide Scanner
Don Maxwell's site also provides the necessary template that you should open in your browser and print to paper. If you're using cardstock or foam, print it onto paper first, then trace onto the preferred material.

The most important thing for the paper version is that you fold, cut and glue where instructed. Each side of the diffuser has two flaps that must be secured to reduce light leakage and improve stability.

After construction you should have something that looks like this:

It's worth pointing out that commercial slide diffusers used to be easily available for scanning slides on a flatbed scanner. However, they are difficult to get hold of these days. Don Maxwell's smart DIY alternative is an adequate replacement.
The Right Way to Scan a Slide on a Flatbed Scanner
Before scanning a slide, the first thing you should do is clean it. As slides have typically been stored in boxes for years, they're often dusty. As you want to scan the image and not the dust, wipe the image with a small microfiber cloth.
Next, find a way to secure your DIY slide diffuser to your scanner. Sticky tape is unsuitable as the residue can impact the quality of future scans.
Don Maxwell demonstrates using the sticky section of sticky notes or similar. You might alternative try a sticky putty to keep the slide and diffuser in place. Anything you can re-use for multiple slides is ideal.
The diffuser should be positioned so that the slide is at one end of the pyramid shape. This allows the maximum amount of light to be diffused onto the image.

All scanner software offers a preview function. Use this to confirm that the image is being picked up and select the correct area for the main scan.
Due to the properties of light and dark, you need to select only the area within the frame of the slide to scan. This ensures that the image in the slide is not made too dark and thereby unusable.
When scanning, ensure you choose a lossless format such as Bitmap (BMP) and select the highest DPI (dots per inch).
One final tip: perform the scan in a dark environment as the scanner lid will be open. You need to prevent the printed lines on the diffuser from being picked up by the scanner.
Repairing the Scanned Slide Image
After scanning, you will need to review the results and save them---if you're happy!

Various tools can be used to repair a photo, from free options to the premium Adobe Photoshop.
- Windows 10 users should start with Windows Photos
- macOS users can try the Photos app for basic photo fixing
- Linux has a whole host of image editors suited to basic photo fixes, such as gThumb
You might even choose from the increasing numbers of browser-based photo editors.
Most photo editors include the necessary tools to repair a slide. The process is identical to removing blemishes, creases, and tears from a photograph. You might also find that you need to adjust the color slightly.
Now You Know How to Scan Slides With a Flatbed Scanner
Scanning old slides need not be expensive. With the right equipment, you can ensure that old memories once captured on small, projector-friendly photographs can be enjoyed again.
All you need is a flatbed scanner, a piece of paper, and photo editing software.
The results that can be achieved using the "backlighter" method might be good; they might be bad. If it works out, great; if not, consider some other solutions, such as a dedicated slide scanner.