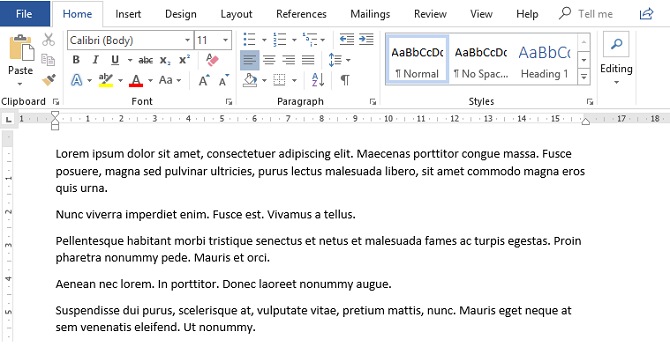
Microsoft Word has lots of layout settings. Indeed, a power user can use the app to make a document that's unrecognizable from the typical view that most people are used to.
But if you've spent ages perfecting your layout, you probably want to test it with dummy text before you start typing for real. You don't want to run into any unexpected formatting issues when you're mid-flow. The solution is to use Lorem Ipsum text.
What Is Lorem Ipsum?
Lorem Ipsum is placeholder text. It's also referred to as greeked text, blind text, dummy text, and filler text.
To the uncultured eye, it looks like Latin. And while that's partially true, the text itself doesn't make sense. Typically, it's a scrambled version of Cicero's famous 1st-century BC work, De finibus bonorum et malorum, with a few extra words thrown in.
It's been used in printers and typesetters since the 1500s but became commonplace in the 1960s.
How to Generate Dummy Text in Microsoft Word
You can easily add Lorem Ipsum text on Word, just follow the instructions below.
- Open Microsoft Word.
- Place the cursor where you want to add the text.
- Type =lorem().
- Press Enter.
By default, the code will add three paragraphs consisting of three lines each. You can change those values by adding numbers between the brackets.
The first number refers to the paragraphs; the second number refers to the lines. For example, =lorem(6,8) would create six paragraphs of eight lines each, while =lorem(2,10) would create two paragraphs of 10 lines each.
You can edit and format the Lorem Ipsum text after you've added it by using the same tools and shortcuts as you use to edit regular text.
If you'd like to learn more about Microsoft Word layouts, make sure you check out our article on Microsoft Word formatting tricks you should know.
Image Credit: dennizn/Depositphotos


