Today, surveillance techniques exist that can remotely activate your webcam or microphone without your knowledge. That makes any interface device like a microphone a big privacy concern.
If you want to stay on the safe side, you might prefer to disable the microphone on your Windows 10 device altogether. Of course, disabling or muting the microphone has other everyday uses beyond privacy.
With that said, let's see how you can disable or mute the microphone in Windows 10.
How to Disable the Microphone in Windows 10
There are several ways to mute the microphone in Windows 10 from different settings locations. Let's take a look at them.
1. Use the Device Manager
Device Manager, as the name states, allows you to take control of the devices installed on your Windows 10 computer, including the microphone. Through Device Manager, you can disable or enable devices, install drivers for them, or uninstall them entirely.
-
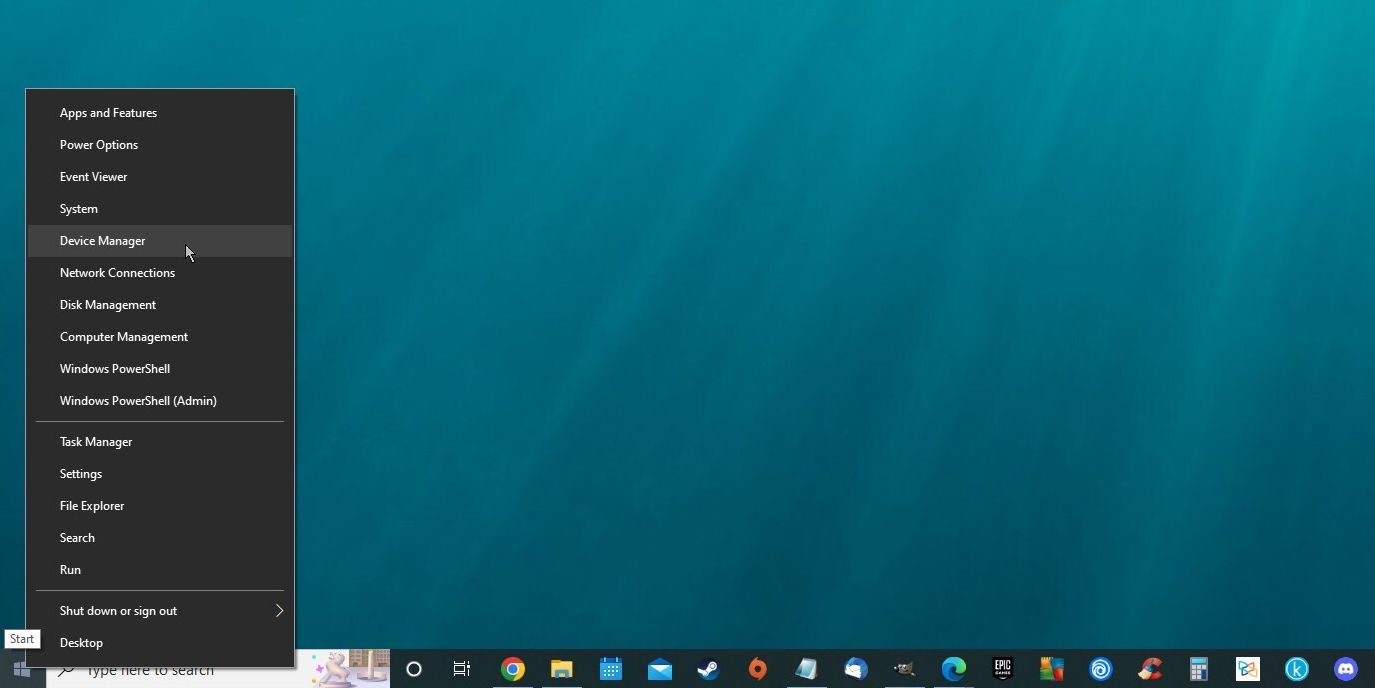
Right-click on the Start button and select Device Manager. This will open Device Manager.
- In the Device Manager window, expand the Audio inputs and outputs section. You will see your microphone listed there as one of the interfaces.
-
Right-click on your microphone and select Disable.
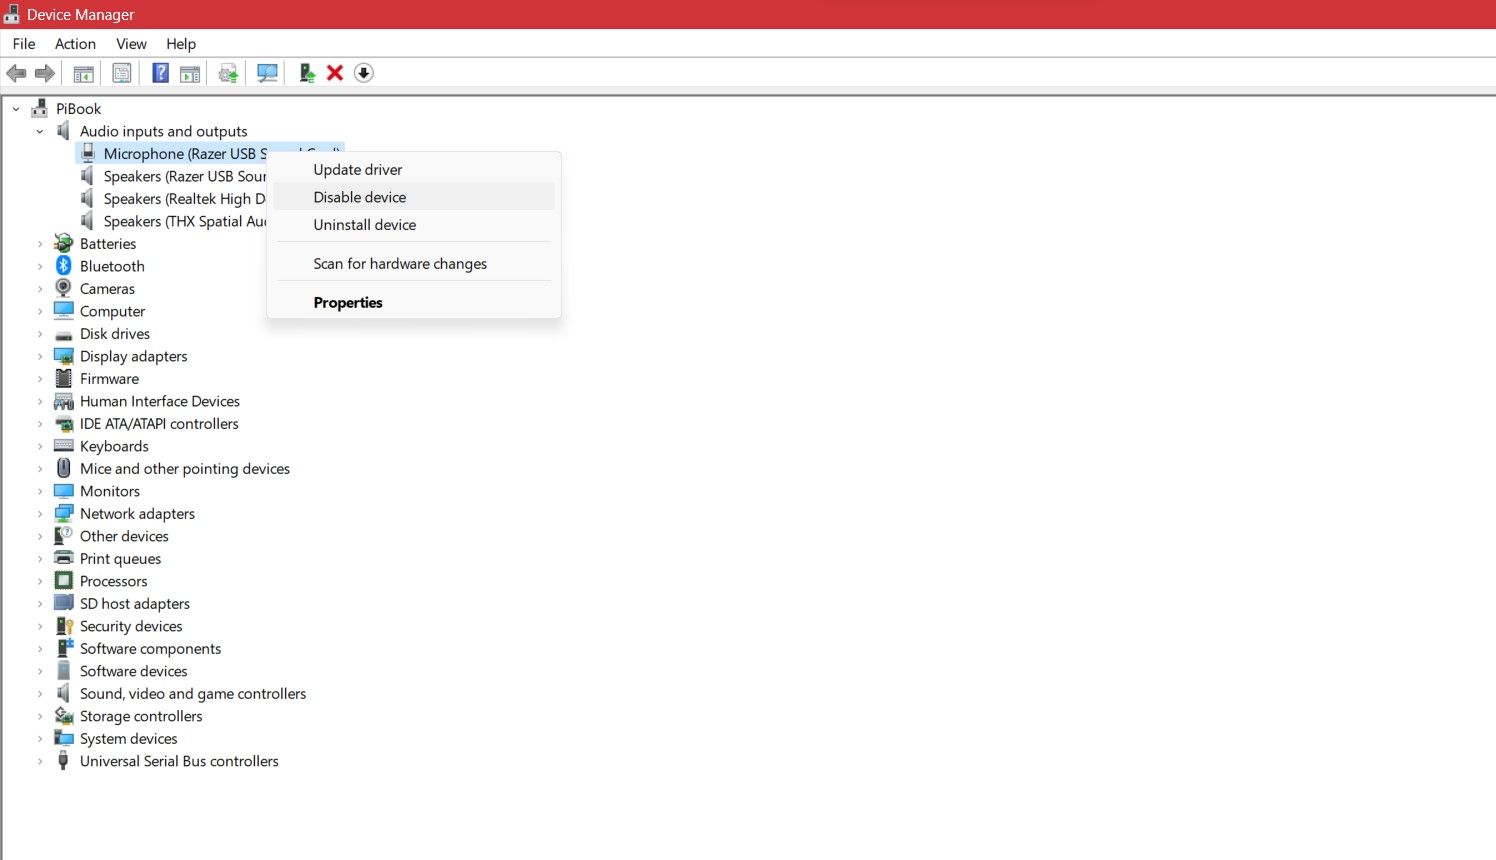


Once you click Disable, a dialog box will prompt with a warning. Click on Yes, and now your mic will stop functioning. You can follow the same steps to enable it again.
Device Manager is present in Windows 7, 8, 10, and 11. You can use this straightforward method in all these mentioned editions of Windows.
If your Device Manager is unresponsive, don't fret. There are several methods to fix Device Manager when it's not responsive.
2. Use Device Properties
Accessing the device properties of the microphone and disabling it in Windows 10 will take you no more than five seconds. Most of the properties can be found under the Settings app in Windows 10.
- Go to the Start menu.
- Select Settings.
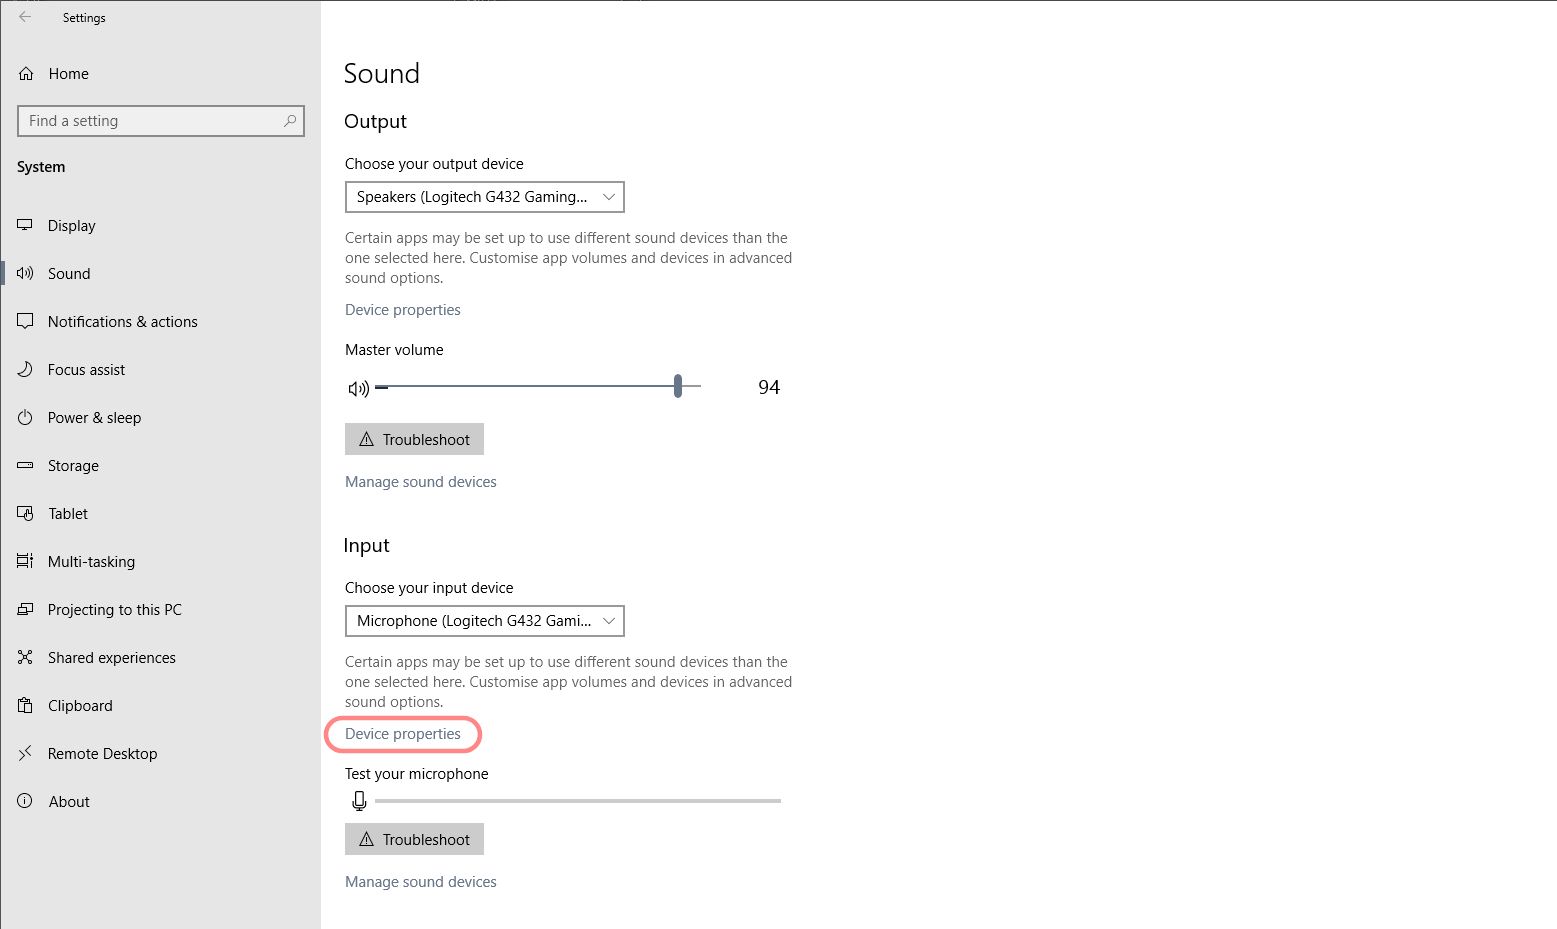
- Under System, select Sound.
- In the Input section, select your microphone.
-
Click Device properties. This will take you to a new screen.
-
Check Disable.
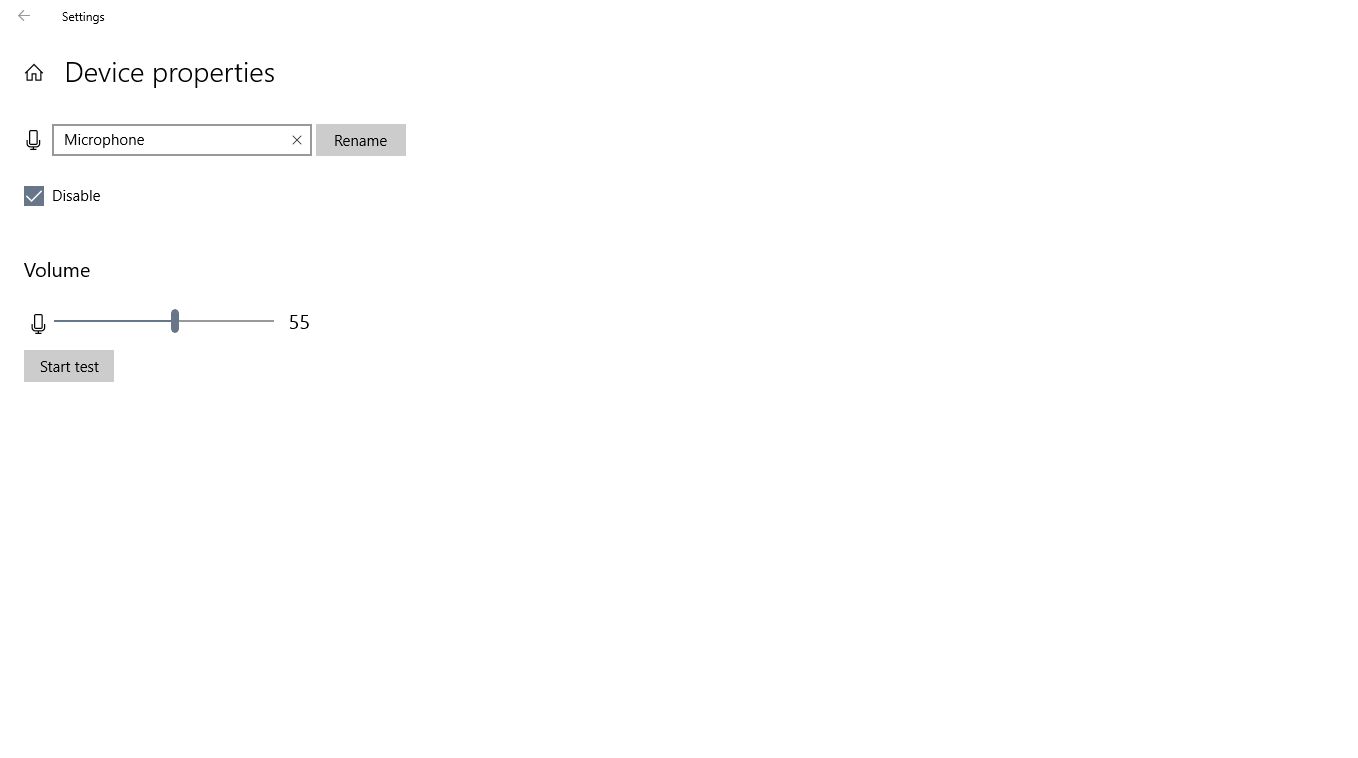


This will instantly disable your microphone. You can just uncheck the box whenever you want to use your microphone to enable it again.
3. Go to Manage Sound Devices
You can also get a full list of your audio devices in the Manage Sound Devices screen in Windows 10. These devices can be wired and wireless headphones, speakers, or a built-in microphone.
- Go to the Start menu.
- Open the Settings app.
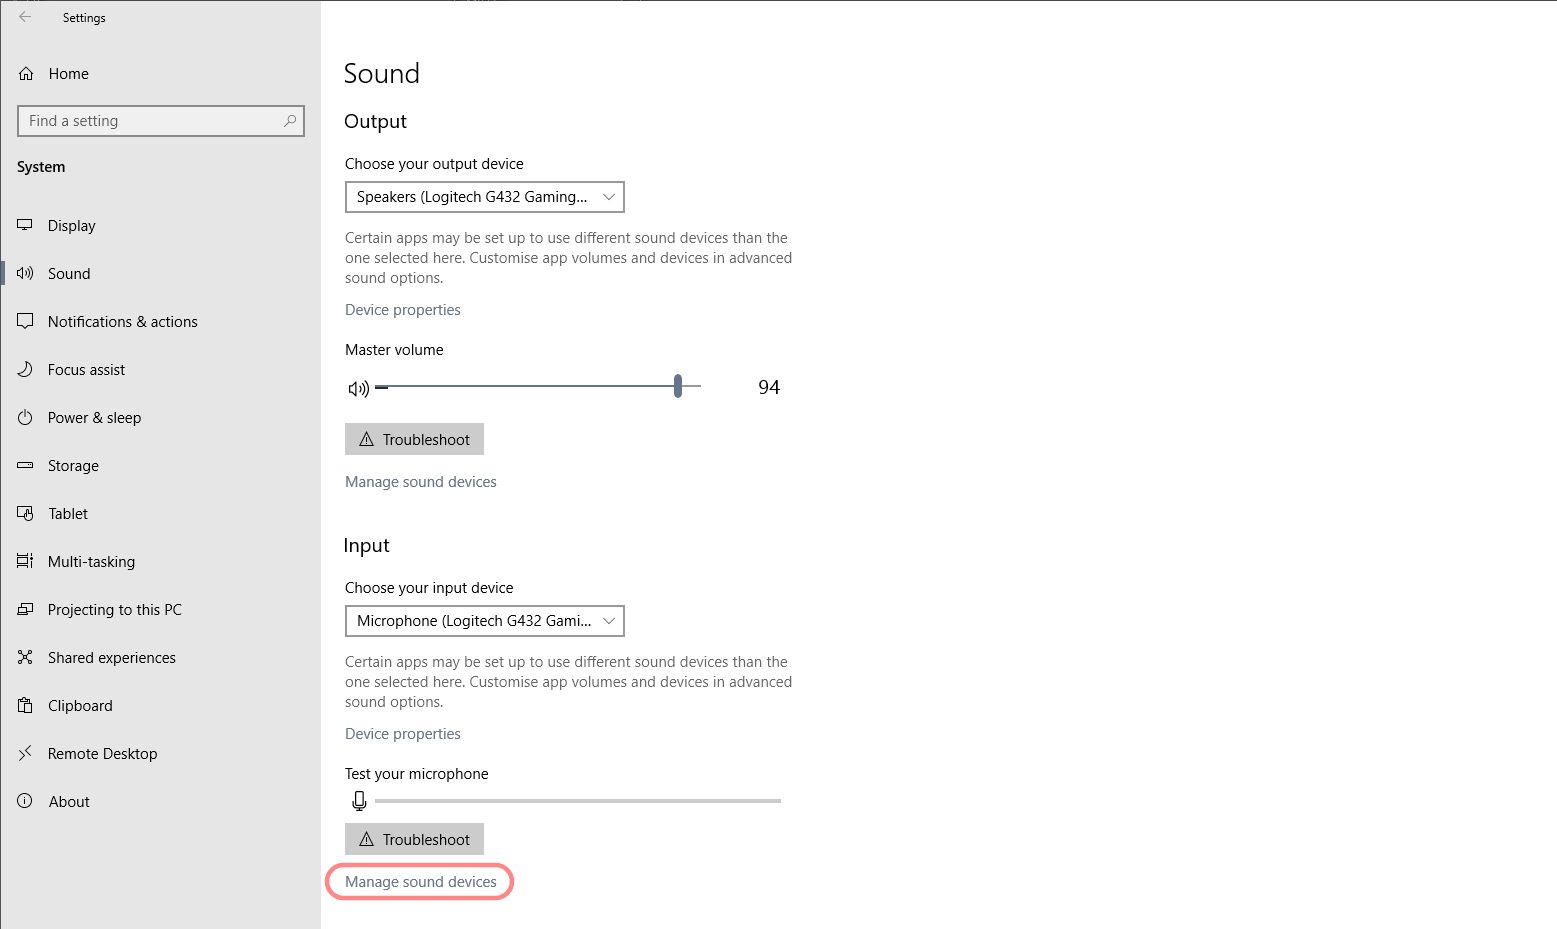
- Select Sound.
- Go to the Input section.
-
Under Troubleshoot, click on Manage sound devices. This will bring up a new screen with all of your audio devices listed.
-
Select your microphone and then click Disable.
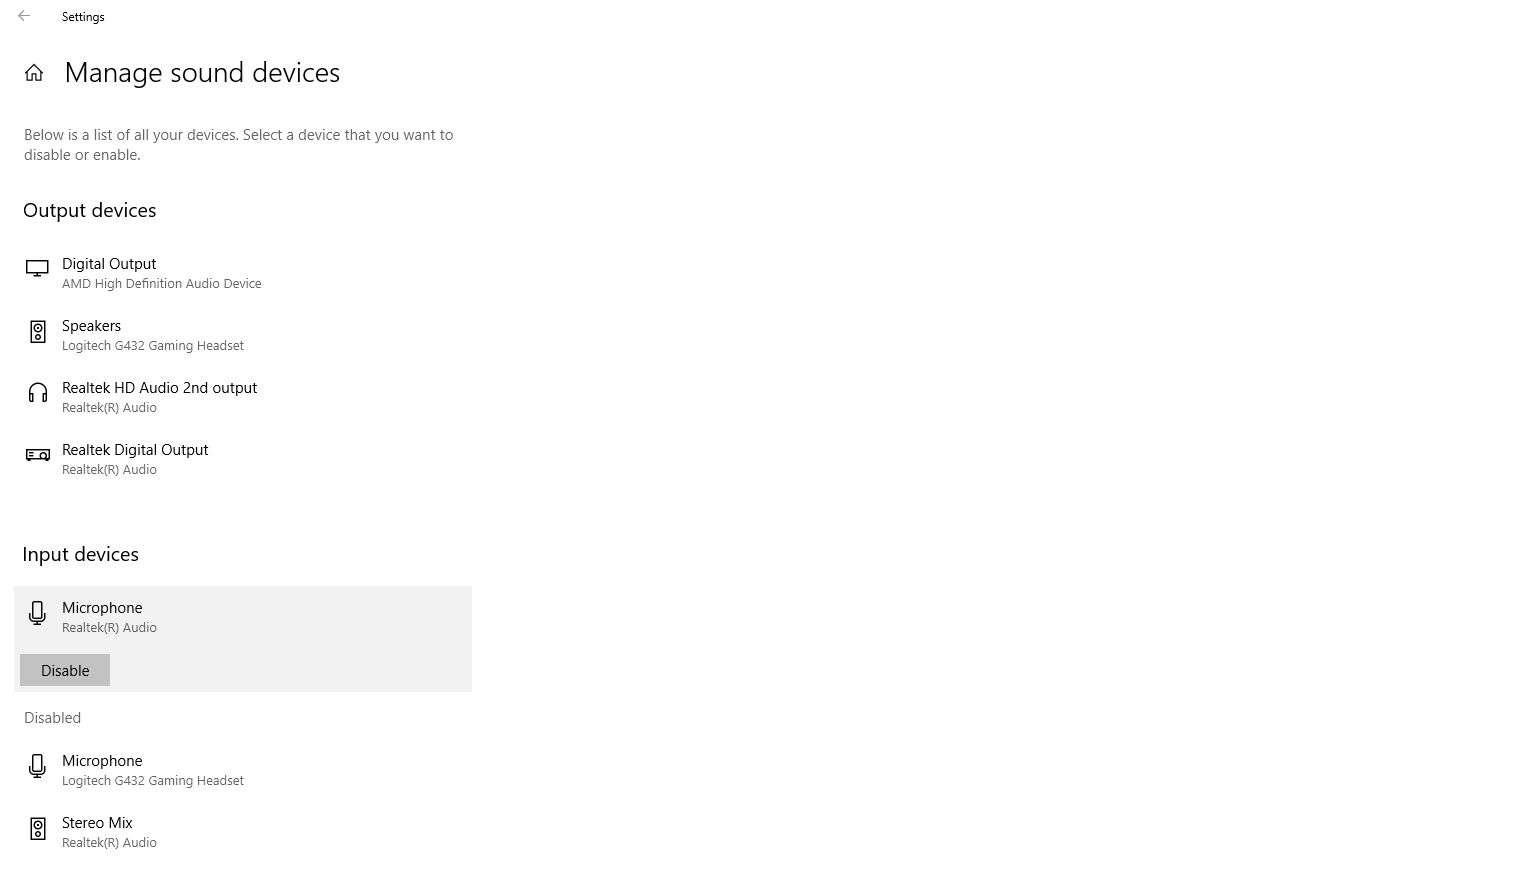


Once you disable the audio device, the button will change to Enable. Clicking this will, of course, enable the device again. If your microphone is faulty, you can use the troubleshooter to fix microphone problems in Windows 10.
4. Use the Additional Device Properties
Most of the sound properties have been ported to the Settings app in Windows 10, but the Control Panel still offers the same features as it did in previous editions of Windows. Depending on your preference, you can also disable your microphone in Windows 10 using Control Panel.
- Go to the Start menu.
- Search for and open Control Panel.
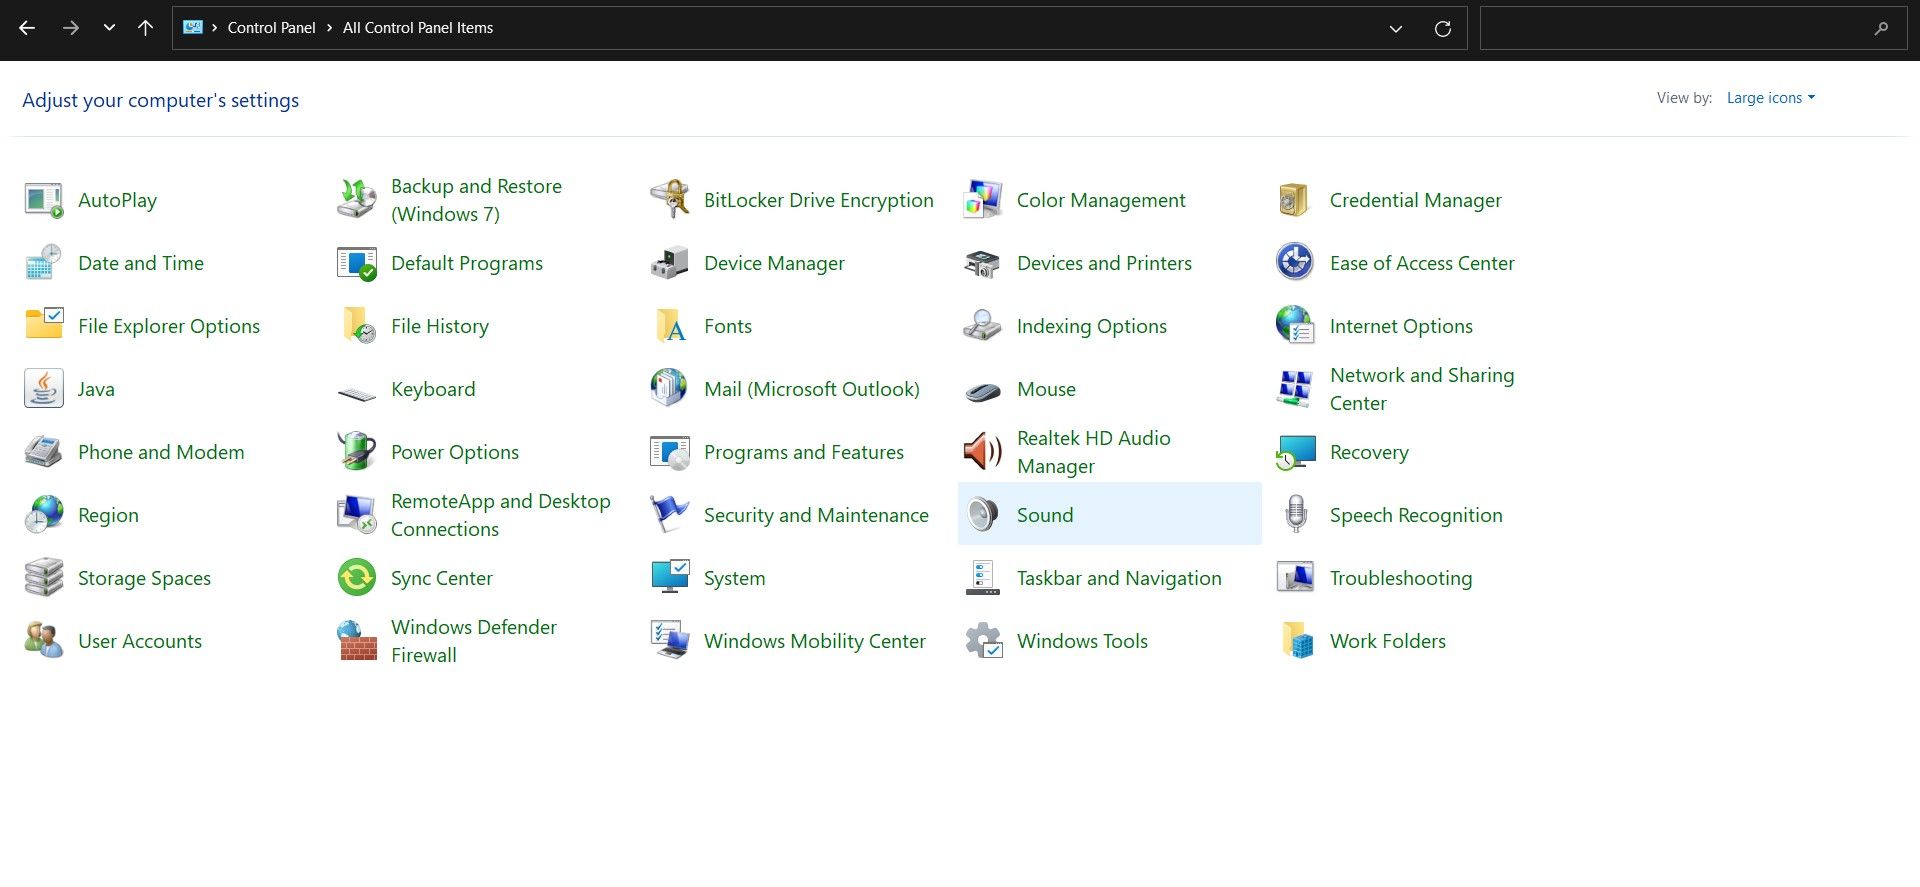
- In Control Panel, set the view to Large icons.
-
Select Sound. This will open a new window.
- In the Sound window, go to the Recording tab. You will see your microphone listed here.
-
Right-click your microphone and then select Disable.
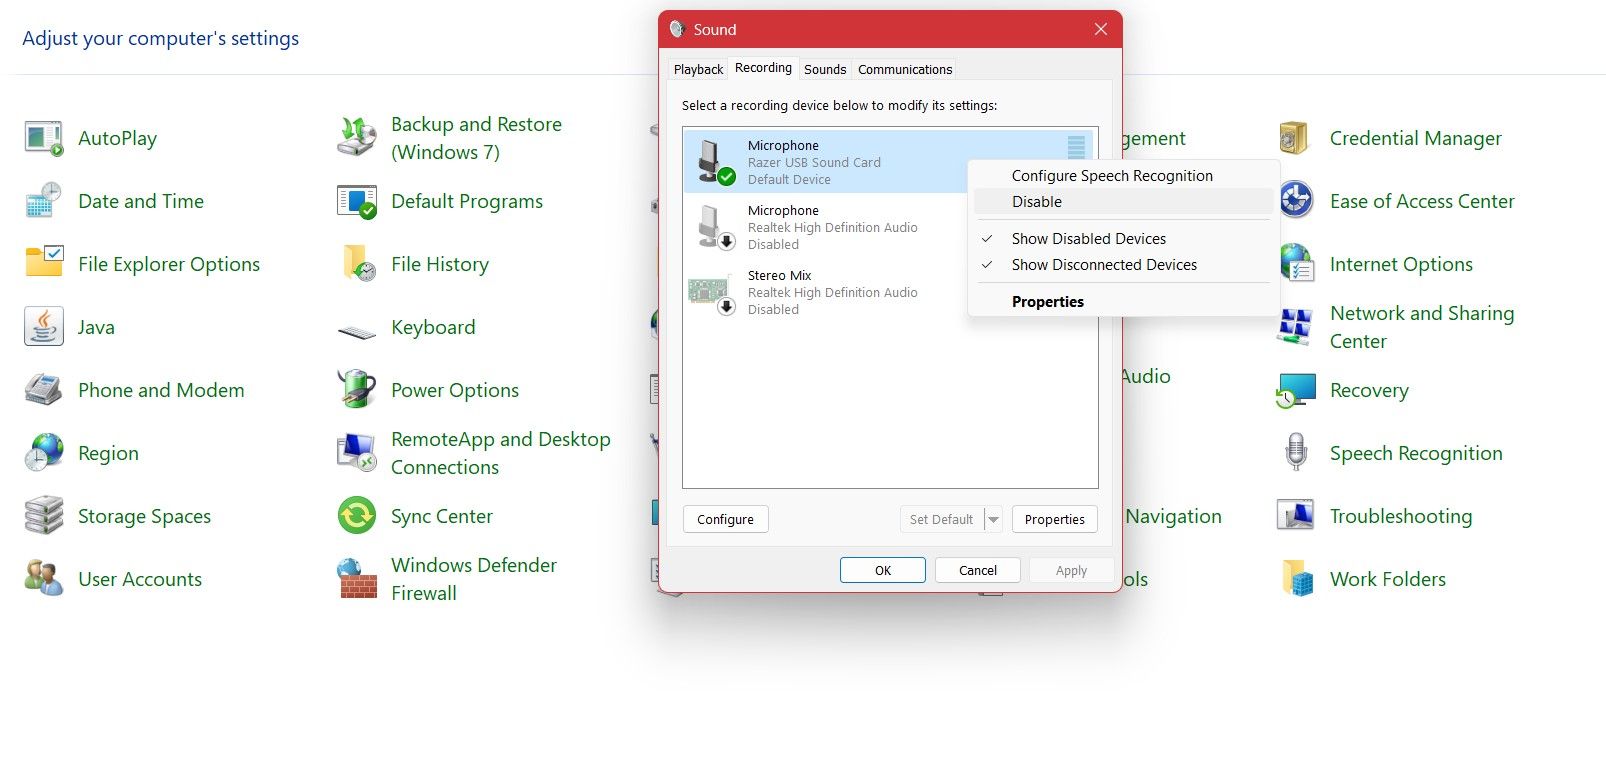
- Click OK.


You can go through the same steps to enable the microphone again. This time, select Enable after you right-click on the microphone. If your microphone isn't listed at all, then read our article on fixes when Windows can't detect a microphone.
5. Mute the Microphone in Specific Apps
So far we have looked at methods that turn off the microphone across the whole system. The Privacy settings for Windows 10 also allow you to control microphone access for individual apps. This way, you can enable your microphone exclusively for apps that you trust.
Microsoft states that an app with a specific driver could bypass this privacy control and access your microphone directly. This method might not work in case of some apps.
- Open the Settings app.
- Go to Privacy.
- Select Microphone under App permissions from the list on the left.
-
Toggle the microphone access for different apps as you see fit.
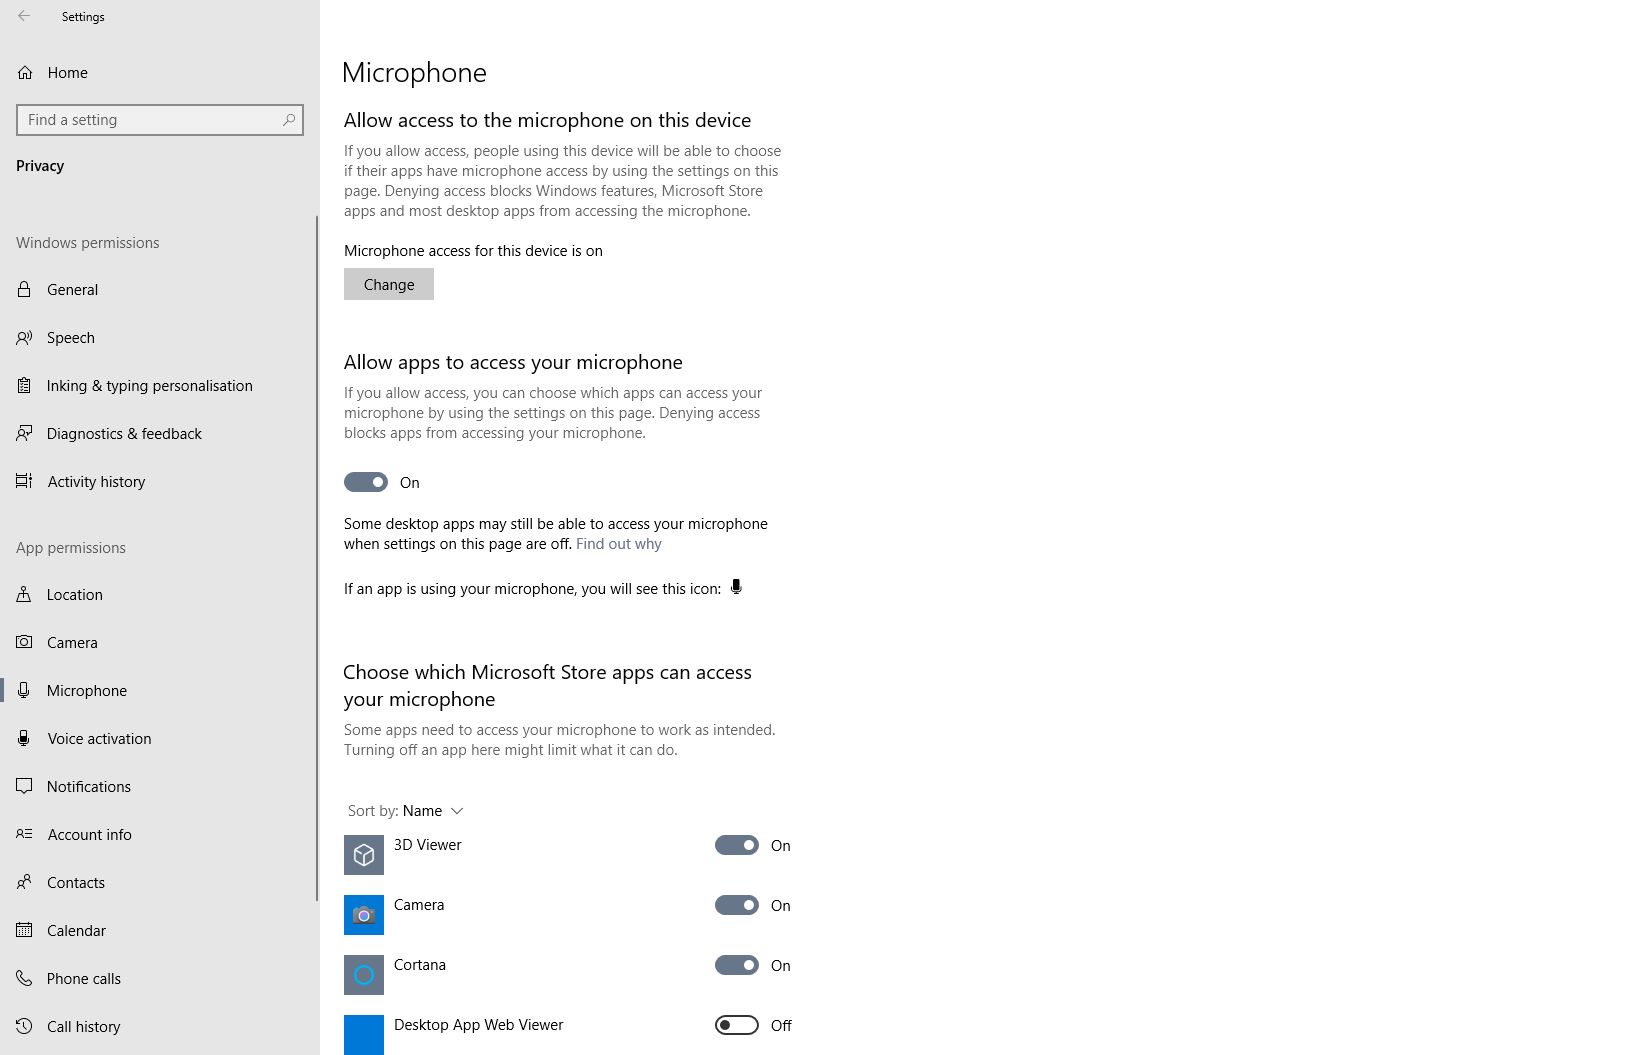

You can also toggle Allows apps to access your microphone to retract microphone access from all apps.
Keep Tabs on Your Microphone
Your microphone is a useful tool for recording and working, but that's true as long as you control it. In some cases, your microphone can interfere with other input devices, or even be a security threat.
There's no quick access button to mute the microphone in Windows 10. However, you can still disable your microphone or prevent specific apps from accessing it through various methods. Now that you know how to do this, you can rest easy at night knowing that no one is listening to you sleep.