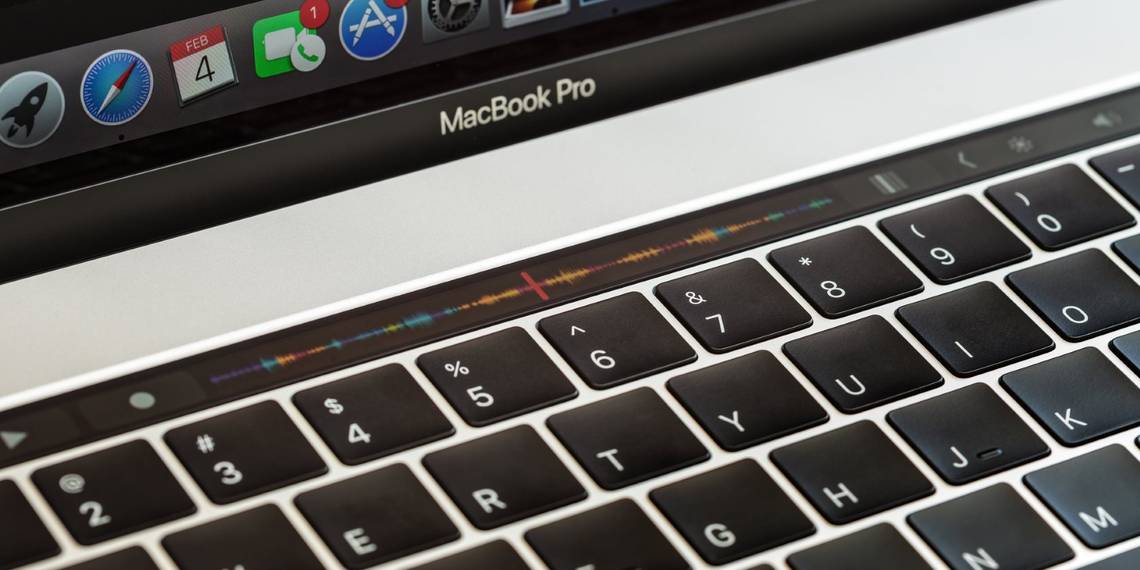
The Touch Bar launched on the 2016 MacBook Pro. Fast-forward to now, and it’s all but gone from the Mac lineup. A touch-sensitive OLED strip along the keyboard top, the Touch Bar, with its app shortcuts, seemed great. It certainly gave an impressive demo! But when I upgraded my MacBook, the Touch Bar struck me as a nuisance rather than a convenience. So I did the unthinkable and disabled Touch Bar functionality after just a few months.
Here’s why I did it and how you can do the same.
Problems With Apple’s “Groundbreaking” Touch Bar
Apple’s press release sold the Touch Bar as a “revolutionary” and “groundbreaking” feature, highlighting dynamic app shortcuts that automatically changed as you multitasked. Many of Apple’s stock apps supported these shortcuts, including Mail, Safari, Messages, QuickTime Player, and others (read our primer on what the Touch Bar does and how it works for more).

In QuickTime Player, for example, the Touch Bar provides playback controls along with a helpful video scrubber. In Messages, accessing emoji lets you scroll through emoticons and pick the one you need right from your Touch Bar. And in the Photos app, the Touch Bar provides image editing controls and a precise dial when rotating an image.
So what is there not to like about the Touch Bar? Well, here are my biggest pain points:
- Usability problems: It’s a poorly implemented solution in search of a problem.
- Limited adoption: Not all apps support Touch Bar shortcuts.
- Steep learning curve: Learning to do the same things differently is a waste of time.
- No more physical function keys: Too many steps to change the volume or brightness.
- A soft Escape key: A non-tactile Escape key is too easy to miss when typing.
Perhaps these reasons sound familiar to you?
Usability Problems
Switching your gaze back and forth—from the main screen to the tiny Touch Bar strip, then back again—breaks the flow of your thoughts and disrupts your concentration. In most cases, you can invoke the same action much faster using a keyboard shortcut.
Limited Adoption

Many popular, third-party apps support Touch Bar shortcuts, including Microsoft Office and Spotify, but the level of implementation varies greatly from one app to another.
Adobe Photoshop, one of the first apps to support the Touch Bar, has remained to this day among the rare apps that push this feature to professional-like levels. By contrast, the Twitter app offers rudimentary Touch Bar support, such as composing a tweet, opening settings, viewing lists, and composing direct messages, with lots of blank space. Boring, no?
Steep Learning Curve

Touch Bar integration in the djay Pro app allows you to manipulate two decks simultaneously, manually select the active deck, and navigate the library to preview and prepare songs, among other features.
While I enjoyed those shortcuts, I quickly realized I already knew how to do everything using the trackpad. And perhaps more importantly, I decided it wasn’t worth my time to learn to do the same things differently. Once I decided the Touch Bar’s steep learning curve wasn’t for me, my interest in the feature quickly waned.
No More Physical Function Keys

With the physical function keys gone, you no longer have tactile controls for media playback, volume and brightness, and so on. The problem with their virtual Touch Bar counterparts is requiring more steps to perform the simplest of actions, such as volume adjustment.
A Soft Escape Key

You won’t realize how badly you need a physical Escape key until it’s taken away from you. I can hit a physical Escape key without looking, but trying to do the same with its digital version is an exercise in frustration. You probably use the Escape key more often than you think to cancel various actions, for example. And developers in particular make heavy use of this key.
One More Thing…

There’s one final reason I decided to ditch the Touch Bar: I like the rest of the input controls much more. Apple now offers one of the smoothest typing experiences with improved mechanical keys on its Magic Keyboards. On top of that, MacBooks ship with spacious trackpads, giving you more room to roam.
By comparison, the Touch Bar surface just doesn’t feel as good to my fingers. The flat OLED strip, while gorgeous, lacks the bounce of a mechanical key and the roominess and smoothness of Apple’s glass, multitouch trackpads.
Why Not Customize the Touch Bar?

Now, I could’ve made my life easier by delving deep into the Touch Bar settings and cherry-picking which app shortcuts appear on my Touch Bar, I’ll give you that. But even that can’t change the fact that the Touch Bar interferes with the most basic of computer interactions—typing on the keyboard. And with every compatible app offering its own set of shortcuts, customizing the hell out of the Touch Bar seemed like a fool’s errand.
How to Disable Touch Bar Functionality
There’s no kill switch to completely disable the Touch Bar. Instead, you can configure it to replace per-app shortcuts with either traditional function keys or general media controls. To do so, choose System Preferences from the Apple menu or the Dock. Next, click the Keyboard icon in the System Preferences window, then select the Keyboard tab. Now click the menu next to Touch Bar shows and choose the Expanded Control Strip option.

Finally, choose whether your Touch Bar will display function keys or system media controls.
- Function keys: Click the menu next to Touch Bar shows, then choose F1, F2, etc. Keys.
- Media controls: Click the menu next to Touch Bar shows and hit Expanded Control Strip.
Choosing the F1, F2, etc. Keys option swaps your media controls for the traditional function keys on your Touch Bar, along with an Escape key, as evidenced by the image below.

Conversely, selecting Expanded Control Strip will only display Touch Bar shortcuts for media playback, as well as the volume and brightness controls and dedicated buttons for macOS features such as Mission Control, LaunchPad, and Siri.

Regardless of your preferred layout, you can optionally set your Mac’s function key to temporarily show virtual function keys when double-tapped. To do this, click the menu next to Press and hold the fn key to, then choose Show F1, F2, etc. Keys. This allows you to press your Mac’s Function (fn) key twice to display virtual function keys on the Touch Bar.
Honestly, I Rarely Use My Touch Bar
I’m not saying I’ll never use the Touch Bar again—I still use it in Photoshop and as a fun emoji picker. Aside from that, the Touch Bar is just not that useful to me. Good thing the feature is on its way out, with the current 13-inch MacBook Pro the sole model providing one. I’m also happy Apple omitted a Touch Bar from its standalone wireless keyboards.
In reality, the Touch Bar offers little more than another way to perform the same everyday tasks we’ve been doing for years. All it does is mess with years of muscle memory by shoving a feature no one was asking for down our throats. Or, to put it another way, it isn’t worth the premium price of admission despite what Apple’s PR department might tell you.