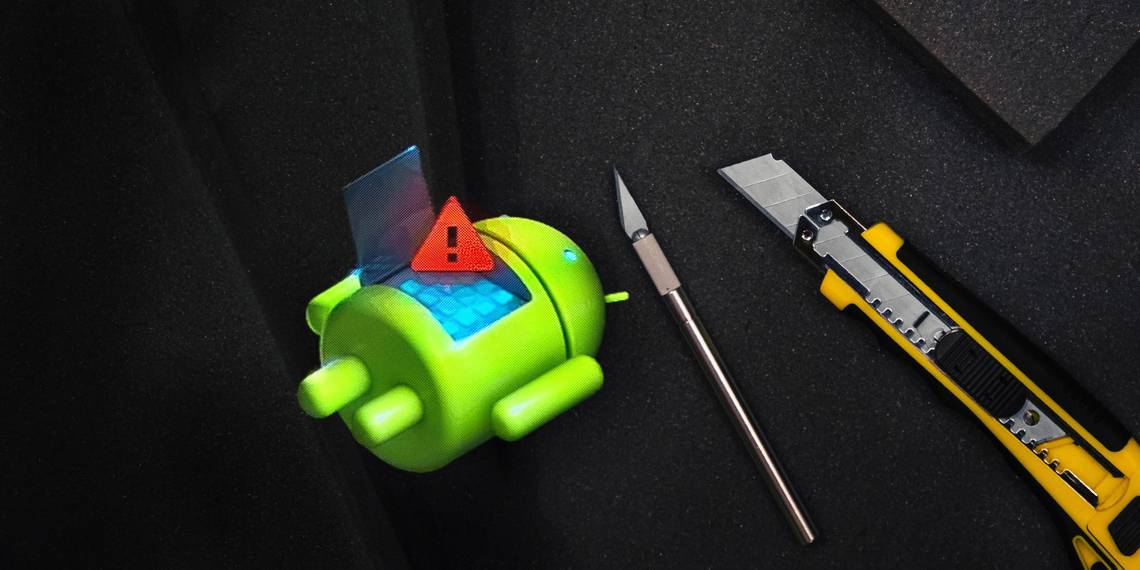
Is your Android device not booting up? It could be because of hardware, software, or firmware error. This week, Kannon Yamada explains how to diagnose startup problems for unmodified Android devices, and how to fix them.
A Reader Asks:
My Android smartphone doesn't work. How can I fix it?
First something went wrong when I tried to update my smartphone to the newest version of Android. It got stuck in a boot-loop. Searching online, I found that I need to flash it with a new ROM (short for Read Only Memory).
However the ROM flashing program on my computer could not find my phone, even though it can be recognized (as an Android phone) within Windows Device Manager. Is there any way to repair my phone, or should I be hunting for a new one?
Kannon's Reply:
My recommendation: Use the phone's recovery or bootloader first instead of attempting to install a custom ROM (what's a custom ROM?). Installing a custom ROM can permanently brick your device (avoid Android bricks). For those curious, MakeUseOf offers an Android Root guide along with several Android root tutorials.
The troubleshooting outline contained here will not deal with installing custom ROMs. Nor will it include detailed instructions for those of you who decided to install a custom ROM on their device. There are just too many variables that could go wrong. It instead deals with the symptoms that different kinds of unbootable devices display, and how to repair those issues.

A Note to the Reader
The reader asking the question suffers from two separate issues: The first is that Windows fails to recognize the phone using Android Debug Bridge (ADB) drivers. The second: The phone suffers from a failed Over-the-Air (OTA) update, which induced a boot loop. I address both of these issues separately, really under "Unbootable Scenario #3" and the Minimal Fastboot and ADB program, under "What are the Android Tools for Recovery?".
Some additional concerns: You probably don't have access to a custom recovery, like TWRP or ClockWorkMod (what's a custom recovery?), it's just a modified version of a standard recovery environment. I recommend that everyone who installs a custom ROM also install the recovery (why you need a custom recovery). But the bootloader works fine if you're just performing a factory reset. Unfortunately, you need the custom recovery in order to perform a full backup over your operating system.
Change charger and cable: Everyone should use a power source and USB cable that they know works and which supplies the necessary amperage. If an improper or damaged charging apparatus is used, the user's device may not charge and will only appear to be broken. A deep-discharged battery may require overnight charging.

What to do After Android Fails to Boot?
When an Android smartphone or tablet stops booting, there are two questions that you need to ask yourself: Is the fault hardware or software related (for simplicity I lump software and firmware into the same category)?
A successful diagnosis requires observation. Does the Android device do anything out of the ordinary? And what did the user do to the device prior to boot failure? The answer to both questions can solve, or explain, boot failure.
Four common categories of unbootable device exist:
- Unbootable Scenario #1: No charging light, not warm after charging, not detected after plugging into a desktop or laptop computer, no Android boot screen;
- Unbootable Scenario #2: Charging light turns on, detected after plugging into desktop or laptop, no Android boot screen.
- Unbootable Scenario #3: Boot screen continually displays, system freezes or constantly reboots;
- Unbootable Scenario #4: System does not boot and displays an error message on a black screen;
Before repairing the issue, we need to explain the various tools and tricks at the Android user’s disposal:
What are the Android Tools for Recovery?
There’s a metaphorical arsenal of tools for fixing Android boot problems. Here's the most common:
- Bootloader (or recovery) factory reset;
- Bootloader (or recovery) cache wipe;
- Software recovery toolkit;
- Android Safe Mode;
- Battery pull;
- Soft and hard reboots;
How to Use an Android Bootloader?
A bootloader enables users to load different bootable portions (or partitions) of their operating system. It allows users to select between booting a recovery partition or their operating system. When the operating system cannot boot, the bootloader can restore the original factory-fresh operating system.
Manufacturers also include options within either the recovery or bootloader to wipe the device’s cache. Wiping a corrupted cache can similarly fix boot issues. However, each device manufacturer differs in the kind of tools and features available within the pre-boot (or bootloader) environment. They also differ in how users enter this environment.
Here's an example of what my bootloader looks like on a Moto X 2014:

As you can see, there are multiple options available. The most salient (on an unmodified device): the Factory, or Factory Reset option.
Factory Reset an Unbootable Android Device
The most common way is to turn the device off. Next, press and hold power and volume down. Then while holding power and volume down, wait until the device vibrates softly and enters into the Android bootloader (or recovery). Note: Some manufacturers use the volume up button, instead of volume down.
Again, these environments differ from manufacturer to manufacturer, but most include all the same basic features.
Select Factory Reset using your volume keys to scroll and power button to select an option. The device then initiates a restoration of its original factory-new state. It should reboot and begin a long re-initialization process. However, if you’ve installed a custom ROM, exercise the utmost caution in whether or not you use the Recovery or bootloader to initiate the factory reset process. Generally speaking, if you’ve modified your system, perform the factory reset from the custom recovery (what’s a custom recovery?).
Also keep in mind that the volume keys don't always function as directional keys. On Motorola phones, the volume up button selects an option and the volume down button scrolls through the options.

Bootloader Access Variations
To my knowledge there are four different kinds of key combinations that allow users to load their bootloader. Users must perform these key combinations from a powered off state:
- Power + volume up
- Power + volume down
- Power + volume up + volume down
- Samsung's method (see below)
If you find it difficult locating the bootloader, keep in mind that not all manufacturers refer to their bootloader by name. Some (particularly Samsung) refer to it by a trade name (although Android includes its own version of Download Mode). You should concern yourself with finding the factory reset option. If in doubt, use a search engine.
Here's a great video which describes some of the byzantine variations in how users factory reset their device. Some devices allow a factory reset by simply tapping buttons while booting. Others require booting into the bootloader:
Samsung Download Mode
Unfortunately, many of the major device manufacturers use differing methods of reaching the bootloader (or other modes). Samsung refers to their pre-boot recovery environment as Download mode. Because Samsung devices can include a physical home button, they sometimes use this as a means of accessing the pre-boot environment. Here's a quick tutorial on how to boot into Samsung's Download mode:
Because of the tremendous variation in Samsung devices, you need to perform an Internet search on how to access your particular smartphone model's Download Mode.
How to Use an Android Bootloader or Recovery to Wipe a Cache?
Another repair option resides inside of the Android pre-boot environment. Most manufacturers include an option to wipe the cache partition from within the recovery, but I’ve heard of the bootloader including this feature as well. There are two kinds of caches: The Dalvik cache or the system cache. Android 5.0 and above only includes the system cache because it uses ART compilation (ART increases Android speed), which makes wiping the cache simpler.
To wipe the cache, boot into the Android bootloader and select the recovery option.
Some manufacturers at this point require additional key presses in order to wipe the cache partition. For example, my Moto X requires pressing and holding the power button and volume down.
Then select wipe cache partition from the options. When it finishes wiping the cache, reboot.

How to Use a Software Recovery Toolkit and Other Options?
Recovery toolkits range from manufacturer to manufacturer. Nexus devices receive access to several different variations, like WugFresh (no longer available). Then there's Samsung's Kies toolkit option. Other software tools include Minimal Fastboot and Koush’s Universal ADB Drivers.
Minimal ADB and Fastboot Toolkit
The easiest method to access ADB: the Minimal ADB and Fastboot installable tool. Minimal ADB and Fastboot allows users to employ ADB commands and Fastboot, without downloading the Android Software Development Kit (SDK), which contains a lot of tools you don't need. It’s easier and less prone to error than using the whole SDK, which is a fairly large download. I should note that Fastboot requires a special bootloader in order to work, which some unmodified Android devices do not receive access to.
The biggest advantage of Minimal ADB: You get an ADB driver package, along with the tools required for connecting your device to a Windows computer.
Simply download Minimal Fastboot and install it.
Here's a video on how to use ADB (if you installed Minimal ADB and Fastboot, you don't need the Android SDK):
Koush’s Universal ADB Drivers
If you can't connect a device to a Windows computer using the ADB protocol, then I recommend installing Koush's Universal ADB Drivers [No Longer Available]. Here's a short guide on connecting Android to Windows via ADB. The drivers enable Windows to recognize Android devices.
Android devices use two different protocols – and drivers – for connecting to a desktop computer. ADB allows users to access the file structure of the Android operating system, which in turns allows users to restore the original firmware, and a lot more. For unbootable devices, this allows users to install the correct drivers, which then opens the door to interacting with your phone’s operating system.
Koush’s Universal ADB Drivers provides an alternative to downloading and installing and configuring the entire Android SDK for your device. It covers the vast majority of Android smartphones and tablets, but not all. You may want to try installing your official drivers first – and if that fails -- install Koush’s drivers. Remember that this step only opens the door to dealing with boot problems. An ADB connection requires that you first enable ADB access in an already functional system. If your phone fails to boot and you haven’t enabled ADB, you can’t use this step.
How to Use Android Safe Mode?
Android’s Safe Mode functions similarly to Windows Safe Mode, meaning it loads the operating system without any third party software. This prevents malware or buggy software from interrupting the boot process. There are variations on how to enter Safe Mode -- the most important for an unbootable device is from a powered off state. Simply hold power, volume up, and volume down until the Android boot screen displays. After the boot symbol displays, release the power button, but continue holding the volume buttons until the operating system fully loads. You should notice grayed-out icons and the words "Safe Mode" in the lower left side of the screen.
Users can then uninstall malware or dysfunctional applications as they would normally.
In Android Gingerbread (2.3) and below, from a powered-off state, hold the power button down until Safe Mode launches.
How to Pull a Battery on Android?
A battery pull requires temporarily disconnecting a smart-device’s battery. This method offers a near bullet-proof means of resetting an Android device – particularly if it’s locked into the so-called sleep of death, where the device refuses to power on. Unfortunately, most modern flagship phones no longer include a removable rear cover. Some even solder the battery into the device, to prevent user-replacement of the battery.
Performing a battery pull requires simply removing the rear cover and disconnecting the battery. Some devices make removing the rear cover (such as replacing the Nexus 4 battery) not very difficult. Even the Nexus 5 and 5X rear covers aren’t hard to remove.
After dislodging the rear case, simply detaching the battery connector from the battery will disrupt power to the device, and effectively perform a hard reset. Don’t remove the battery from the device. Then reconnect it and boot back up.
How to Perform a Hard or Soft Reset on Android?
The two quickest options available to Android users for resetting their devices: Hard and soft resets.
Hard Reset
A hard reset restores the operating system back to its original, factory-fresh state. Performing a hard reset requires entering the Android bootloader (or recovery).
First, power the device off. Then hold down the power and volume down buttons until the bootloader displays. Then choose any option that sounds like a Factory Reset. For example, my Motorola bootloader only displays "Factory", which is the same as Factory Reset. Choosing this option restores the phone to its factory new condition.
If this option fails, it could mean that the recovery partition is corrupted. Oftentimes installing a custom ROM can erase the recovery partition, which contains a complete copy of the original operating system. Losing this partition can greatly impede repair efforts.
Here's a video on how to perform a hard reset:
Soft Reset
Performing a soft reset is dead simple on the vast majority of Android devices: Just hold the power button down for 10 seconds. Within 10 seconds, the device should reboot.
This method doesn’t always work, but its reliability and simplicity make it a first option on phones with boot issues.
Here's a video on how to perform a soft reset:
Having trouble with the buttons you need to reset your device? Here are fixes you can try when your Android phone buttons don't work.
Unbootable Android Scenarios
There are several issues to consider if your Android phone won't boot at all.
Unbootable Scenario #1: No Lights, No Signs of Life
Your Android device displays the following symptoms:
- The charging indicator does not turn on when plugged into a power source;
- Performing a hard reboot doesn’t reboot the device;
- Your device doesn’t show up as connected when plugged into a PC;
- When plugged into a power source, the phone and power adapter don’t feel warm;
- No Android boot screen;
It could suffer from a damaged power adapter or microUSB cable. Change these and make sure the power adapter supplies the necessary amperage (normally at least 1.5 mA). Then plug the device into a computer and (in Windows) check in Windows Device Manager to see if the computer detects whether or not the Android device connects.
Under Android Devices you might see the device connected. That means it's recognized by the computer. That means it's not dead.

First, leave it charging for several hours. Next, attempt a Soft Reset. If that fails, then perform a hard reset. If that fails, attempt a battery pull. If a battery pull fails (or if it has a non-removable battery), plug it into a computer to see if it is recognized. If that fails, then the device might suffer from a bad battery or damaged mainboard. You will need to return the device to the manufacturer for repair.
If plugging it into a computer succeeds and you have access to either Fastboot or ADB, then you might be able to install the original operating system, provided the manufacturer allows users to download factory images of their operating system.
Unbootable Scenario #2: Some Signs of Life
Your Android device displays the following symptoms:
- Charging light turns on when connected to a power source;
- Detected after plugging into desktop or laptop;
- No Android boot screen;
In this scenario, the device shows some signs of life, but doesn't fully function. It could suffer from a damaged power adapter or microUSB cable. Change these and make sure the power adapter supplies the necessary amperage (normally at least 1.5 amp).
First, leave it charging for several hours to make sure it's fully charged. Next, perform a soft reset. If that fails, attempt to boot into the bootloader. If that succeeds, perform a factory reset. If that fails, the device may require a licensed technician.
Unbootable Scenario #3: Bootloop
If you installed a custom ROM, then a bootloop can be far more severe than on a stock, unmodified device. Bootloops often occur because of a damaged operating system or a malicious app.
- Boot screen continually displays, system does not boot;
- Sometimes occurs after a failed OTA update;
First, try a soft reset. If that fails, try booting the device in Safe Mode. If that fails (or if you don’t have access to Safe Mode), try booting the device up through its bootloader (or recovery) and wiping the cache (if you use Android 4.4 and below, wipe the Dalvik cache as well) and reboot. If that fails, you must employ more drastic methods: Reboot into the bootloader and perform a factory reset. If that fails, the device might require service from a licensed technician.
If you understand how to use Fastboot, you might want to check this video out:
Unbootable Scenario #4: System boots, but displays error message(s)
These kinds of error messages appear for both hardware and software faults. A variety of error messages will display if the core operating system files suffer from damage. Also, a defective eMMC drive (its hard drive) can corrupt data.
- If you modified your operating system in any way, such as through acquiring root access or installing a custom ROM.
- If an OTA software update failed;
- If the device displays a dead Android;
First, attempt a soft reset. If that fails, boot into the bootloader and attempt a factory reset (AKA hard reset). If that fails, attempt to wipe the cache. If that fails, your options become limited. You can attempt to reflash a system image using a toolkit or manually using the ADB. Otherwise, the device might require a licensed technician in order to properly restore its operating system.
Android Boot Problems?
The simplest method of dealing with an unbootable Android device is working with the bootloader environment. Unlike most installations of the Windows operating system, Android offers users a clear and easy method of resetting their device back to factory-fresh condition. When the recovery fails (or simply doesn’t work), users still can repair their device using other means, such as ADB.
If, in some unforeseen scenario, you end up bricking your device, try these recovery methods to unbrick your Android device.
Want to learn more about Android? Check out these informative Android sites.