The Camera Roll and Saved Pictures folders come with Windows 10 by default. But if you don't use them, they're pointless. Problem is, you can't delete them the usual way.
We're going to show you how to move, hide, or delete these folders, so they don't get in the way. We'll also tell you how to hide the related libraries too.
What Are the Camera Roll and Saved Pictures Folders?
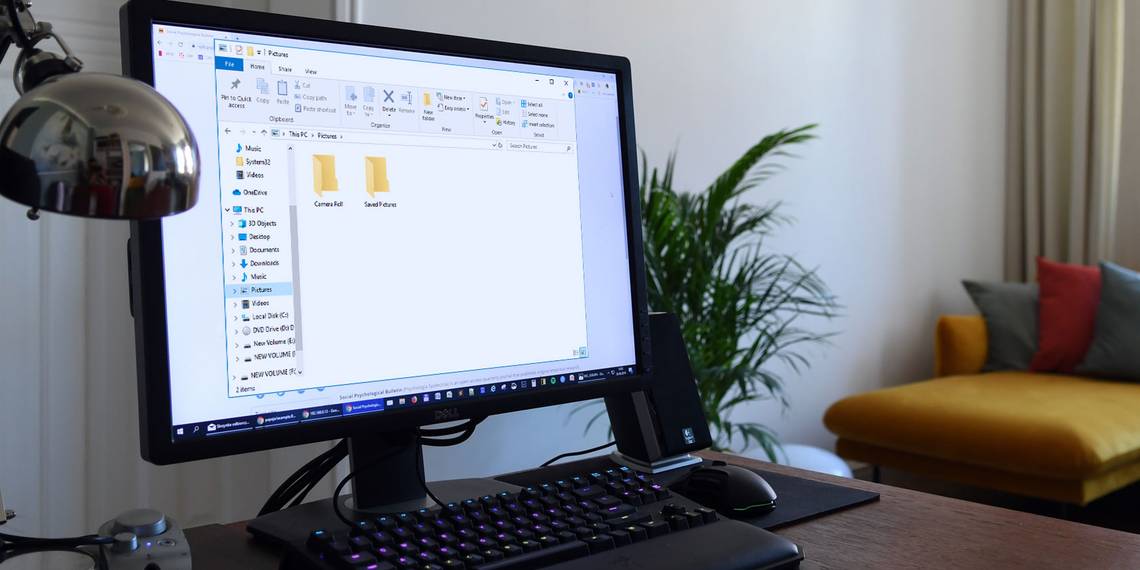
Take a look inside your Pictures folder and you will see the Camera Roll and Saved Pictures folders. These are created automatically if you have Windows 10.
The Camera Roll folder is used by the Camera app to store all created photos and videos. The Saved Pictures folder is used by the Photos app. These two apps are the reason these annoying folders exist.
If you don't use the Camera or Photos app, it's likely that the Camera Roll and Saved Pictures folders sit empty within your Pictures library. That's a nuisance, right?
You might think you can remove these folders like you would any other---right click and select Delete.
While that works temporarily, the two folders will reappear minutes later, whether you open their respective apps or not.
So, it requires a bit more work to permanently remove these folders. You can also move or hide the folders if you want a less terminal solution.
Move the Camera Roll and Saved Pictures Folders
By default, the Camera Roll and Saved Pictures folders will be within the Pictures folder. You can easily move them to any other folder.
You'll need to tackle each folder in turn. Right click the folder and click Properties. Switch to the Location tab.

Here there's a field where you can enter the folder path of where you want the folder to be moved to.
Don't worry if you don't know the path. Just click Move..., navigate inside your destination folder of choice, and click Select Folder. Finally, press OK to confirm the move.
You can return to this screen and press Restore Default > OK if you want the folder back in your Pictures.
Alternatively, you can simply cut (Ctrl + X) and paste (Ctrl + V) the folder somewhere using File Explorer.
Quickly Find the Camera Roll and Saved Pictures Folders
If you need to access the Camera Roll or Saved Pictures folder and you can't remember where you moved them to, don't worry.
Press Windows + R to open Run. Input one of the following, depending on what folder you need:
- shell:camera roll
- shell:savedpictures
Click OK and the folder will open.
These commands will work no matter where you've moved the folders.
Hide the Camera Roll and Saved Pictures Folders
If you don't want to move the folders or permanently delete them, you can hide them from sight instead.

To do this, highlight both the folders (or hold down Ctrl as you click each in turn) and switch to the View tab on the ribbon. Within the Show/hide section, click Hide selected items.
If you can still see the folder but with a faded icon, that means you have a setting enabled to see hidden items. To disable this, remain on the View tab and uncheck Hidden items.
Reversing these instructions will allow you to make the folders visible again.
Make the Camera Roll and Saved Pictures Folders Super Hidden
If you want to go a step further, you can hide these folders at a system level. That means that even if you have Hidden items visible, you still won't see the folders.
To do this, press Windows key + R to open Run, input cmd, and click OK. This will open the Command Prompt.
Next, open File Explorer and navigate to the Camera Roll or Saved Pictures folder. You will need to do each in turn. Copy the folder path from the address bar---i.e. right click inside the bar and press Ctrl + C.
Your path will likely be similar to this: C:\Users\YourName\Pictures\Camera Roll
Go back to Command Prompt and type the following, replacing the example path with your own:
attrib +s +h "C:\Users\YourName\Pictures\Camera Roll"
Press Enter on your keyboard and that folder is now hidden.
If you forget where the hidden folder is, use the instructions in the 'Quickly Find the Camera Roll and Saved Pictures Folders' section above.
You can make the folder visible again with this command (again, replace the path):
attrib -s -h "C:\Users\YourName\Pictures\Camera Roll"
Hide the Camera Roll and Saved Pictures Libraries
You may also have noticed that Camera Roll and Saved Pictures appear in your Libraries too.

This requires creating four registry keys. This process can be streamlined by building an executable registry file.
Open Notepad and paste the following:
Windows Registry Editor Version 5.00

            [HKEY_LOCAL_MACHINE\SOFTWARE\Microsoft\Windows\CurrentVersion\Explorer\FolderDescriptions\{2B20DF75-1EDA-4039-8097-38798227D5B7}\PropertyBag]

            "ThisPCPolicy"="Hide"

            [HKEY_LOCAL_MACHINE\SOFTWARE\WOW6432Node\Microsoft\Windows\CurrentVersion\Explorer\FolderDescriptions\{2B20DF75-1EDA-4039-8097-38798227D5B7}\PropertyBag]

            "ThisPCPolicy"="Hide"

            [HKEY_LOCAL_MACHINE\SOFTWARE\Microsoft\Windows\CurrentVersion\Explorer\FolderDescriptions\{E25B5812-BE88-4bd9-94B0-29233477B6C3}\PropertyBag]

            "ThisPCPolicy"="Hide"

            [HKEY_LOCAL_MACHINE\SOFTWARE\WOW6432Node\Microsoft\Windows\CurrentVersion\Explorer\FolderDescriptions\{E25B5812-BE88-4bd9-94B0-29233477B6C3}\PropertyBag]

            "ThisPCPolicy"="Hide"
Go to File > Save As... and input the File name as LibraryHide.reg.
Open File Explorer and go to where you just saved that file. Right click the file and click Merge. When prompted by the warning, click Yes.
This will then execute the above code. The code tells the registry to add the value of Hide to each of those four paths (two for each library.)
Delete the Camera Roll and Saved Pictures Folders
As the Camera Roll and Saved Pictures folders are tied to the Camera and Photos apps, the only way to permanently delete these folders is to uninstall the apps.
These apps come with Windows 10 and cannot be uninstalled like you would a usual program. Instead, you need to use PowerShell for the uninstallation.
To begin, do a system search for PowerShell. Next, right click the result and click Run as administrator.
Copy (Ctrl + C), paste (Ctrl + V), and press Enter on your keyboard for each of these commands.
To uninstall Camera:
Get-AppxPackage *windowscamera* | Remove-AppxPackage
To uninstall Photos:
Get-AppxPackage *photos* | Remove-AppxPackage
Note that you may use the Photos app to browse pictures on your computer without realizing it. A suitable alternative is the Windows Photo Viewer. Here's our quick guide to bring back Photo Viewer.
If you want to reinstall those apps or any other Windows apps you may have deleted, use this command in PowerShell:
Get-AppxPackage -AllUsers| Foreach {Add-AppxPackage -DisableDevelopmentMode -Register "$($_.InstallLocation)\AppXManifest.xml"}
Delete Other Windows Folders
You did it! You now don't have to see those pesky empty folders within your Pictures.
If you're on a roll and want to free up some disk space, check out these Windows files and folders to delete and declutter your computer.