Do you think the default Windows icons are underwhelming? Do you long for something more unique?
Rainmeter is arguably the best customization tool for Windows. It's great for creating custom icons and entire custom skins. Your imagination and experience with the software is the only limitation as to what you can do with the custom icons.
The best part about Rainmeter icons? Whether you'd like to use the fantastic fan-made icons already at your disposal or want to create custom icons yourself, everyone can experience the satisfaction of custom desktop icons with Rainmeter. Here's how!
How to Create Rainmeter Custom Icons
Rainmeter icons are some of the simplest skins to make but can also have the most substantial impact on your desktop. You can add custom Rainmeter icons for any program, app, or file path you want. All of those programs and files that never appear using the default Windows search option are suddenly a single click away.
It is best to learn how to create an icon before beginning to download and install icon sets. Since Rainmeter skin settings are text-based, learning your way around Rainmeter skins will help you get the most out of your skins.
That way, you can download and edit skins at your leisure instead of relying on already-made ones. Rainmeter has a very active user base, after all!
Create a Rainmeter Icon
You'll need two items to create a Rainmeter skin: an image file and a Rainmeter (INI) skin file.
Head to the Rainmeter folder within your Documents folder, which is created by default when you install Rainmeter. Then, create a folder within this directory to hold your icons. Name it whatever you'd like.
Now you need to place your two files within this folder. Double-click your newly created folder, right-click an empty space within this directory, and select New > Text Document. Input the following:
        [Rainmeter]
Update=1000
LeftMouseUpAction=["<strong>[address]</strong>"]
[Background]
Meter=Image
ImageName=<strong>[image file name]</strong>.png
W=<strong>[width]</strong>
H=
PreserveAspectRatio=1
Save this document with the INI extension (for example, muologo.ini) and not with the usual TXT extension. Head to File > Save As. Under Save as type, select All Files. Enter your file name, then change the TXT extension to INI.
This will allow Rainmeter to recognize your skin. You'll have to replace the three bold parameters above.
- [address]---Copy the file path of your choice here, within the two quotation marks. The LeftMouseUpAction parameter signifies the action is committed whenever the user left-mouse clicks the icon.
- [image file name]---Input the name of your image file, which should be in the same directory as your INI file, here. This will allow Rainmeter to call the image for your icon.
- [width]---Specify the width, measured in pixels by default, next to your W parameter. Since our PreserveAspectRatio parameter is set to 1, the width will determine both the width and height of your icon. If you leave width blank, your image will appear in its native resolution.
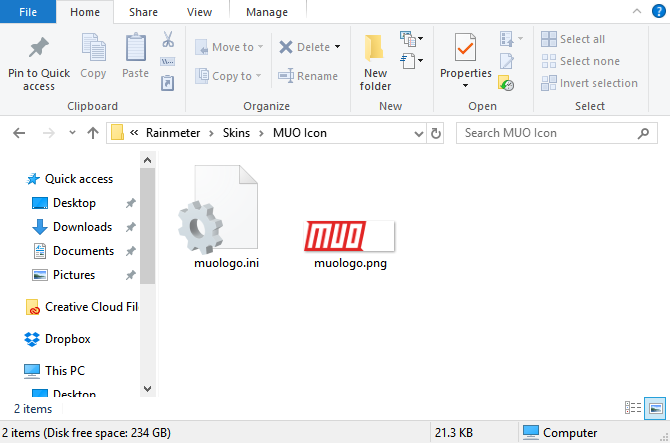
Your Rainmeter folder should look something like the following:
Icons can, of course, be considerably more complex (especially if they provide a large icon library and additional functions). However, you now know and understand the basic format for Rainmeter icon creation.
Placing Your Rainmeter Icon
Now that you've created your icon, it's time to place it. First, ensure that you have your INI and image file in the same folder. Next, click Refresh All in the lower left-hand side of your Manage Rainmeter window.
Then, browse to your newly created icons folder. This folder should be located under the Active skins section in your Rainmeter window.
Click on the drop-down menu beside your icon folder name (MUO Icon, as written in the example above), and you should see your INI skin file.
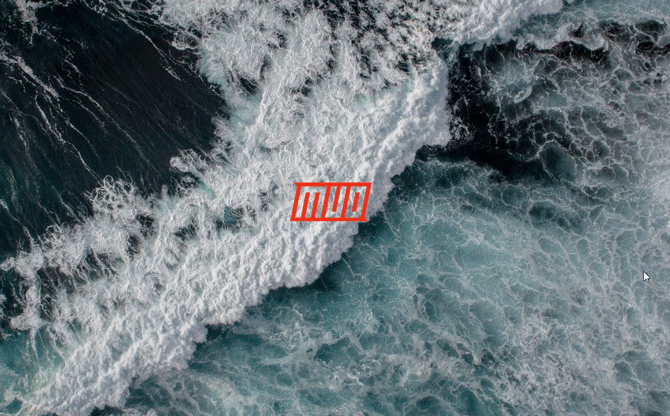
If you don't see the INI skin file, ensure you've added the INI extension to your file. Once you've found your INI file, double-click the file or select Load from the Rainmeter window. You should now see your skin on the desktop: if not, remember to ensure your files are both placed and configured correctly.
That's how to create icons in Rainmeter!
The Best Rainmeter Custom Icon Sets
While it's great to know how to create a custom Rainmeter icon, you don't have to create them all from scratch. As you might expect, the Rainmeter custom icon creation scene has a lot of options. Here are some of the best Rainmeter icon sets for you to check out.
1. Honeycomb
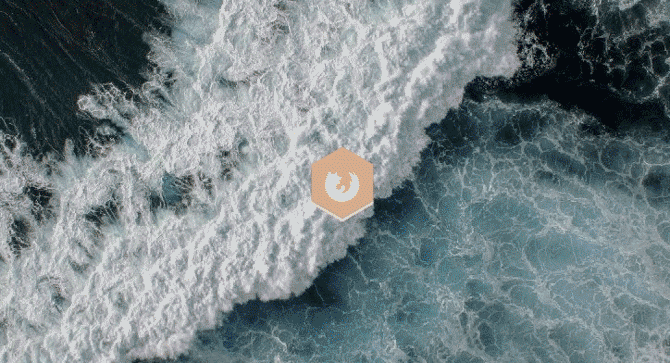
Honeycomb is one of the most popular Rainmeter custom icon sets. For the beginner Rainmeter guru, Honeycomb is a must. The Honeycomb icon set provides stylish, high-quality hexagonal icons for various programs, folders, and websites.
The Honeycomb library is extensive. The developers continually refine Honeycomb to create more complex and feature-packed icons. Additionally, Honeycomb + GGL will provide users with similar, custom Rainmeter icons with an additional mouse-over effect. The mouse-over effect will add a background to your desktop, reflecting the icon you choose.
If you need a few Rainmeter icons to spice up your desktop, Honeycomb is a great way to go.
2. Circle Launcher
Another fantastic, simple icon is Circle Launcher. If you don't appreciate the definite line aspect of Honeycomb, you should give the Circle Launcher set a try.
It does everything you'd want from a beginner icon set, and nothing you don't.
3. Silmeria Dock---Honeymoon
A simple-yet-sophisticated drawer icon set, Silmeria Dock---Honeymoon provides a simple interface for users to add, take away, and rearrange their icons.
Remember, you can then change whatever aspect of these icons/icon docks you prefer.
4. Vivid Launcher
A magnificent addition to the Rainmeter folds, Vivid Launcher is a highly customizable icon launcher with a neat mouse-over effect to boot.
Vivid Launcher's icons, along with its mouse-over feature, are easy to change as well. Simply right-click the skin and select SETTINGS to modify.
Once you find an icon set or Rainmeter skin you like, find out how to create a custom Rainmeter theme for your entire desktop.
Use Flaticon for Custom Icon Image Sets
The following are not Rainmeter skins. At least, not yet. When you begin creating your custom icon sets, you'll need plenty of icon images. That's where websites like Flaticon come into play.
Flaticon provides users with beautiful, often free, icon images of all shapes and sizes. Best of all, they provide multiple image formats for any icon projects you take up.
What's Your Favorite Rainmeter Icon Set?
Rainmeter allows users to create and customize their icons, offering endless possibilities. That includes options for laypeople and code-monkeys alike. Create your own icon and share it. Use someone else's. That's what makes Rainmeter fantastic.
You don't have to stop there, either. We've previously shown you how to use Rainmeter to create a Parallax desktop, a 3D hologram, and an interactive live wallpaper.


