
It's not easy to think of Microsoft PowerPoint as an image editor, but as presentation software, it needs to also be a design tool in order to help you create said presentations. This is why you need to learn how to manipulate images and create interesting effects with your images in PowerPoint.
Let's learn three easy ways to edit your photos and images in Microsoft PowerPoint.
Method 1: Crop an Image by Dragging
- Go to the Ribbon and click Insert > Picture to add an image to the slide.
-
Right-click on the image and click on the Crop button that appears on top. Black crop handles on the edges and corners allow you to re-size the image.
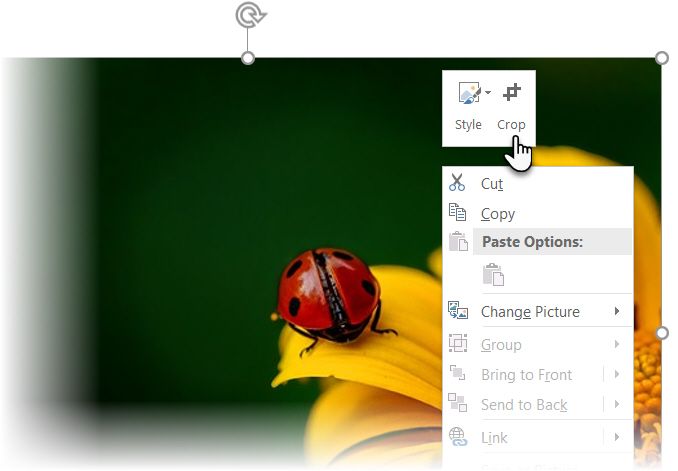
- Drag one of the handles inward or outwards to crop the image. You can also crop equally on four sides (Press Ctrl + drag corner handle) or crop equally on two parallel sides (Press Ctrl + drag the crop handle on the sides). If you want you can drag the picture to re-focus the area you want to keep.
-
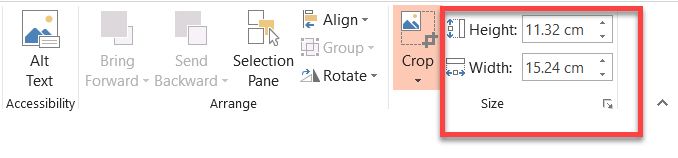
To crop to precise dimensions, use the Height and Width boxes next to the Crop button.
- Press Esc to finish or click anywhere outside the picture.


Method 2: Crop an Image to Aspect Ratio
Let's say you have a photo and you want to crop it into a square or any of the common aspect ratios---perhaps if you have imported a PDF into PowerPoint. PowerPoint allows one-click cropping for several standard aspect ratios.
- Click and select the image in the slide.
-
Go to Picture Tools > Format. In the Size group, click the dropdown arrow under the Crop button.
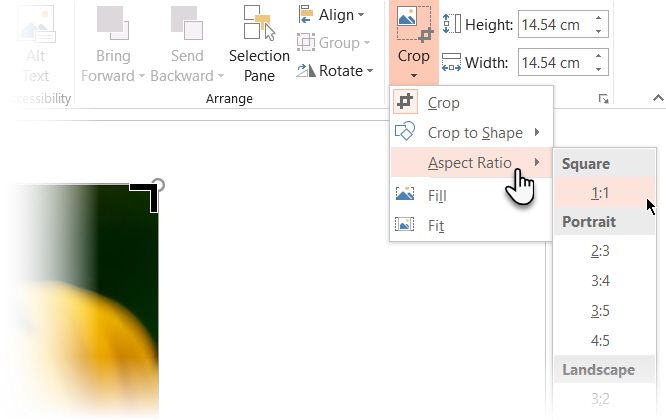
- Select the Aspect Ratio you want from the dropdown and apply it to the image.
- Use the Crop rectangle to adjust the crop area. You can also use the crop handles to adjust the final view.

Method 3: Crop an Image to Any Shape
A Shape Fill can be manipulated with the Crop tool and used for interesting effects. For instance, you can use a circular shape to crop a headshot.

- Go to Insert > Shapes and select a shape from the options available. Select the drawn shape.
- Click Drawing Tools > Format. In the Shape Styles group, click Shape Fill > Picture.
- Browse to the picture you want and insert it into the shape as a shape fill.
- Click to select the new shape picture fill.
- Go to Picture Tools > Format. In the Size group, click the arrow under Crop to show the two cropping options.
- Choose from Fill or Fit.

Fill matches the picture with the shape’s height or width, whichever is greatest. Fit sets the picture size so that the picture’s height and width both match the shape’s boundaries.
Like any other crop, you can use the cropping handles to fine-tune the position of the shape fill within the cropped shape. You can even crop an image in Mac, before you put it in PowerPoint.
PowerPoint has many workarounds and it is the perfect platform even if you are a newbie to designing presentations or need help creating professional PowerPoint presentations. And as you might have guessed, starting with a few cool PowerPoint templates is a good idea.