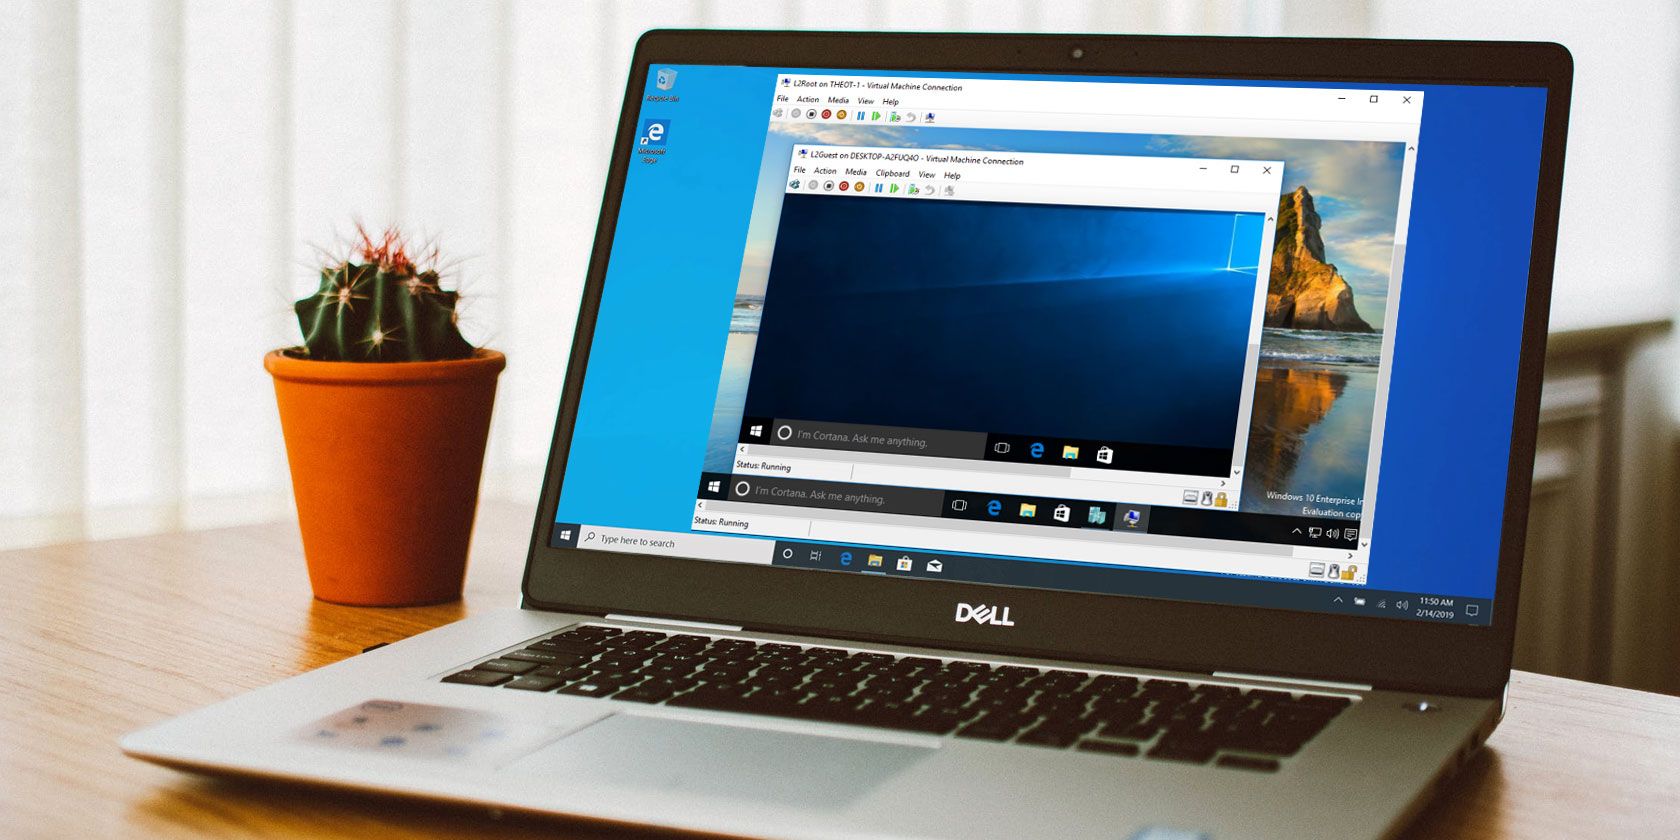
Did you know that Windows 10 has an integrated tool for creating virtual machines? Microsoft Hyper-V is a Windows native hypervisor. You can use Hyper-V to create virtual machines on Windows 10 Pro, Enterprise, and Education 64-bit editions, all without installing any third-party software.
Here's how you create a virtual machine in Windows 10 using Hyper-V.
What Is Hyper-V?
Hyper-V was originally a Windows Server-only feature. However, it made the jump to Windows 10, bringing an integrated hypervisor to the Windows desktop. Hyper-V is only available on 64-bit versions of Windows. Furthermore, Hyper-V is not available on the Windows 10 Home edition (at least, not out of the box).
Hyper-V runs each virtual machine in an isolated environment. You can run more than one Hyper-V virtual machine concurrently, so long as your system hardware can cope with the demands. In that, you should check your system requirements before continuing with the tutorial.
You need at least 2GB RAM, if not more. Your CPU must support virtualization using either Intel VT-x or AMD-V. Unsure how to find that out?
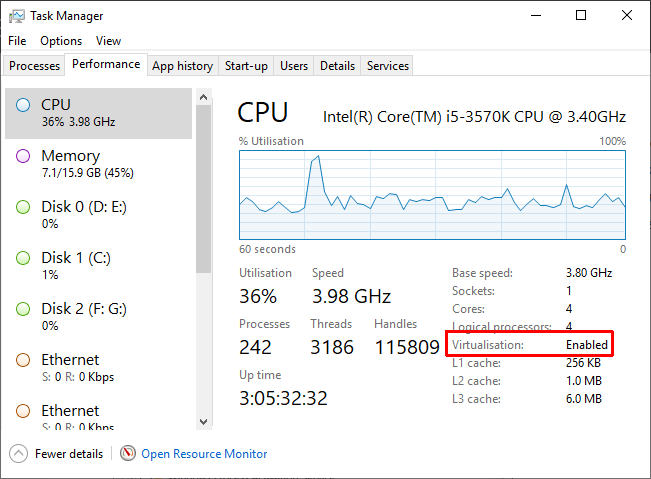
Right-click the Taskbar and select Task Manager. Open the Performance tab. Under the graph, check the Virtualization status.
- If it says Enabled, it means virtualization is currently switched on in your BIOS.
- If it says disabled, you need to head to your BIOS and turn on the virtualization option.
However, if you do not see the option, it means your CPU does not support virtualization.
How to Install Hyper-V on Windows 10
After turning on CPU virtualization, you need to install Hyper-V.
The easiest way to make sure Hyper-V installs correctly is using PowerShell. (What's the difference between PowerShell and the Command Prompt?) There is also an option to install Hyper-V using Windows Features, but this doesn't always work properly.
Type powershell in your Start Menu search bar, right-click the Best Match and select Run as Administrator. Now, input the following command:
DISM /Online /Enable-Feature /All /FeatureName:Microsoft-Hyper-V
After the command completes successfully, save any work you have open, then restart your system. Once your system reboots, you will find options for Hyper-V in the Start Menu.
How to Create a Virtual Machine Using Hyper-V on Windows 10
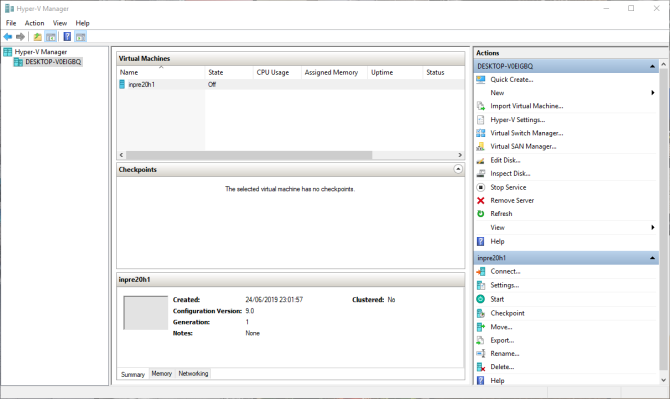
Type hyper v in your Start Menu search bar and select the Hyper-V Manager.
Under the Actions list, select New > Virtual Machine > Next.
Give your virtual machine a name, then select Next.
Choose Hyper-V Generation
Now you must choose the Hyper-V Generation for your virtual machine.
Generation 1 supports 32-bit and 64-bit guest operating systems, providing virtual hardware compatible with previous Hyper-V versions.
Generation 2 supports 64-bit guest operating systems only, has UEFI-based firmware, and other newer virtualization features.
If you're attempting to use a 32-bit operating system, choose Generation 1. Similarly, if you are considering moving the virtual machine to a different host machine, choose Generation 1. Otherwise, choose Generation 2.
Generation 2 virtual machines boot faster, can use larger maximum RAM amount, more virtual CPU cores, and more.
Once you create the virtual machine, you cannot change its Hyper-V generation.
Assign Memory, Network, and Virtual Hard Disk Type
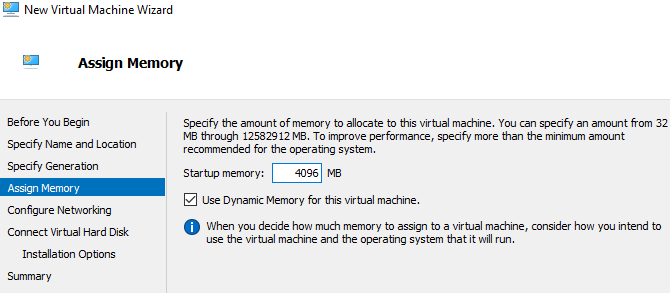
Next, specify the amount of memory you want to allocate your virtual machine. More memory will give you a faster virtual machine experience. But it also depends on the guest operating system, as well as the hardware of the host machine.
If you are unsure how much RAM to assign, check the minimum requirements for the guest operating system, then assign some extra memory on top if you can.
You can also use Hyper-V dynamic memory. The dynamic memory option allows Hyper-V to manage RAM consumption flexibly without constraining the host machine.
Once assigned, continue to Configure Networking, and select the Default Switch.
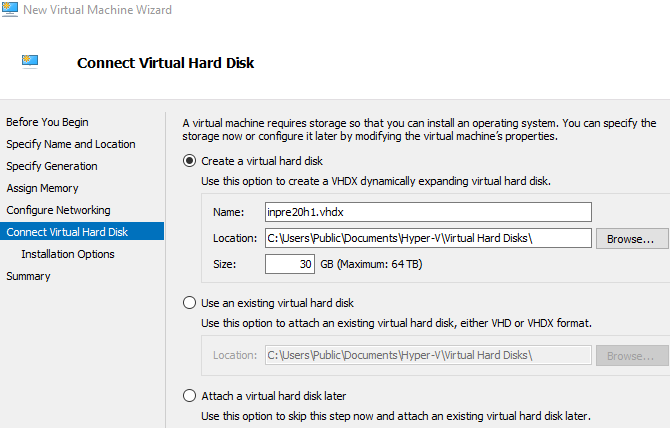
Now, you can select the size of the virtual machine storage.
I would suggest setting the virtual machine storage size to the minimum specification for the guest operating system, plus a little extra. The VHDX virtual storage disk dynamically expands, so you don't have to create a massive drive straight away. Of course, if you need to, add as much storage as you want.
Finally, choose whether to install an operating system now or later.
To install now (as in, when you first boot the virtual machine), select Install an operating system from a bootable CD/DVD-ROM. Then browse to the operating system image file (.ISO) that you want to install.
Check the Summary, and Finish.
Adjust the Hyper-V Virtual Machine Settings
When you hit Finish, you will be taken back to the Hyper-V Manager. Right-click the name of the virtual machine and select Settings.
The Settings menu offers finer control over the virtual machine settings.
For instance, you can use the Processor tab to assign more processor cores to the virtual machine or tweak the Network Adapter settings to change the virtual machine switch or otherwise.
Boot Your Hyper-V Virtual Machine
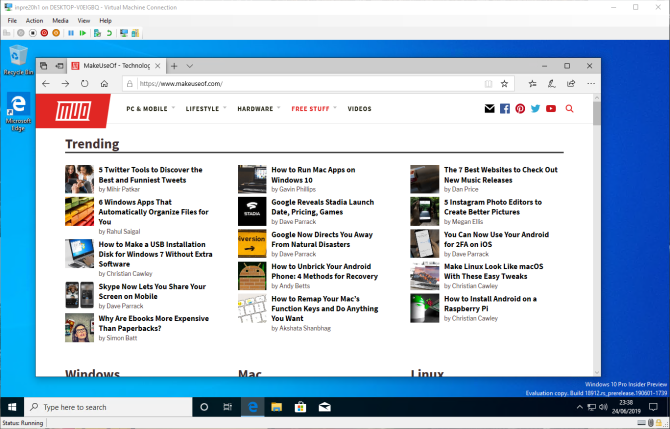
The time has come. Double-click your virtual machine to start it up. You will have to install the guest operating system, but then you can use it as you please.
Use Hyper-V Quick Create to Deploy a Virtual Machine
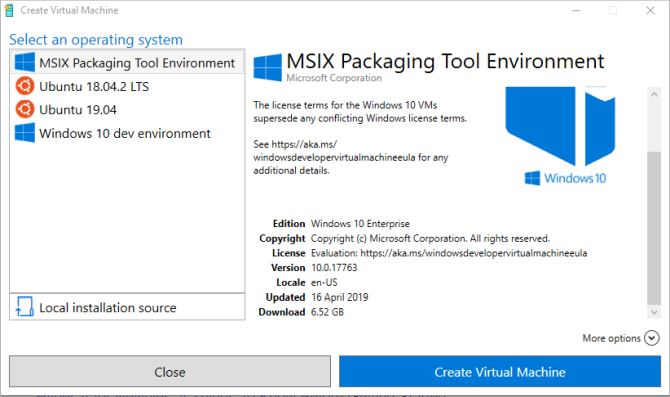
After installing Hyper-V, you also have the option to use Hyper-V Quick Create.
Hyper-V Quick Create rapidly creates a virtual machine.
Type hyper v in your Start Menu search bar and select Hyper-V Quick Create. Select Local Installation Source, browse to the guest operating system installation disc (or .ISO), and select Create Virtual Machine. The process only takes a few seconds, and you can adjust the virtual machine settings afterward.
Although the second method is much faster, it is worth knowing how to access and use the Hyper-V Manager.
What's the Best Virtual Machine?
All virtual machines have pros and cons. Hyper-V integrates well with Windows 10, is easy to use, and is completely free. It isn't the only option, of course. The other major virtual machine tools for you to consider are VirtualBox and VMWare Player. Here's how VirtualBox, VMWare, and Hyper-V stack up against each other.

