Google Slides is an easy application for putting together slideshows, and it has a lot of the same functions as Microsoft PowerPoint. One of those functions is the ability to "transition"---that is, the way your slideshow animates itself when it moves from page to page.
Here's how to create a transition for your Google Slides presentation.
Step 1: Open Your Document

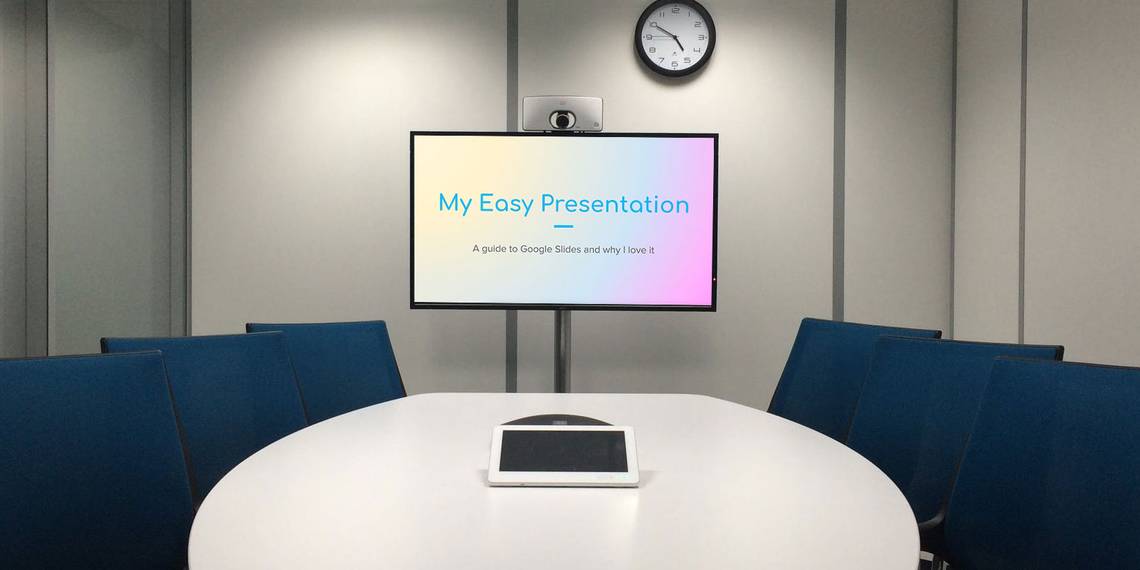
The first thing you'll want to do is open up the slideshow you've been working on. Transitions are usually one of the last things you'll add to your presentation, so the file you're working on should be close to finished.
For this tutorial, I'm going to work with a file that I started in another tutorial: How to Create a Presentation in Google Slides. In that tutorial, we covered the basics of the application and how to make a simple slideshow from start to finish.
If you're a complete newbie to the program, we recommend reading that article first.
Once you have your slideshow open, click on Transition at the top of your page.
Step 2: Your Transition Menu

After you click on Transition, your Transition dropdown menu will open up on the far right-hand side of the page.
This is where you'll have the option to apply animations to each slide. If you click on the dropdown menu that says No transition, you'll see a list of options.

Dissolve is one of the animations you can use. Beneath that, you'll see the speed settings for this option displayed along a yellow slider.
Under Dissolve, you'll see the option Fade. It's very similar to Dissolve in terms of effects. If you want to put together a professional looking slideshow that's a little less flashy, these are good choices to go with.

Beneath those two options, you'll find Slide from right and Slide from left.
Like the other transition options, you can adjust the speed. When you adjust the speed and press Play, Google Slides will give you a preview of what these transitions look like.

Flip is one of the more dramatic transitions. It's also the sort of transition that you immediately think of when someone says "cheesy slideshow".
Flip is very over the top, and while there's some value in having an option like this---you might be able to come up with a creative use for it---we wouldn't recommend using this one in a workplace setting.
Cube and Gallery are equally dramatic transitions and look very similar to Flip.
Step 3: Apply Your Transition

After you pick the transition you want to use, it's time to apply it to your slide.
For this tutorial, I've gone with Slide from right, which follows the natural eye movement when reading.
Now that I've picked a transition, I can adjust its speed. It's important to note that if you crank up the speed to 100%, as I've done here, it "erases" your transition, as it moves too fast for people to follow.
Each time you adjust the speed, you can press Play to test out the speed of the transition. If you don't like the speed, press Stop to stop the animation.
If you like the speed of your transition, press Enter to apply it to your slide.

When you press Enter, it's important to note that the transition has only been applied to this one slide.
If you want to apply it to your entire slideshow, press Enter, then click Apply to all slides.

If your transition has been successfully applied to all slides, you'll see three little overlapping circles next to the preview images along the far left-hand side.
What if you want the same transition on all your slides, except for one? No problem.
To change the transition on an individual slide, click on the slide so it's active. You'll know it's active when the outline around it turns yellow.
Next, go to your Transition dropdown menu and choose No Transition. Do not apply it to all slides.
Once this is one, you'll have a separate transition for this page.
Step 4: Add Speaker Notes

If you or someone else is going to be presenting this slideshow in front of an audience, it can be a good idea to add Speaker notes.
Speaker notes are prompts for the person giving the presentation. They will act as a guide for what you should say and when.
To add speaker notes, click on an individual page that you want to add details to. Beneath the large preview of that page, you'll see a blank white box that says Click to add speaker notes.
When you click on that box, a cursor will pop up. From there, you can start typing.
Step 5: Check Your Presentation for Errors

Once you add your transitions and speaker notes, there's a good chance that you'll be close to finished. But before you finish, it's good to check your presentation for transition errors.
To check for errors, go to View > Present.

When you click on View > Present, Google Slides will open up a new browser window with your finished presentation. Depending on the resolution of your screen and its dimensions, it'll look similar to this.
Your work file will remain in your original browser window.
Step 6: Learn Your Presentation Toolbar

If you go down to the bottom left-hand corner of your presentation screen, you'll see a toolbar. This toolbar is what you'll use to control your presentation as it's playing. It's good to get familiar with it, as it will help you check for errors.
This solid arrow highlighted in red is the autoplay. If you press this button, it will prompt Google Slides to play your entire slideshow without stopping. This means it will play through your individual slides relatively quick.

If you go to either side of the autoplay function, you'll see left and right arrows. These are the Next buttons. They allow you to move through the presentation at your own speed.

If you click on Notes, a new screen will pop up showing you the speaker notes for that individual slide.

This "empty box" is the full screen mode icon.
If you click this, Google Slides will take you out of the windowed browser and expand your slideshow so it fills the page. This is good for checking to see what your presentation will look like as an "audience member".

Lastly, you'll see the Options button. If you click on this you'll find several different functions, including the ability to print your presentation or download it as a PDF.
Step 7: Fix a Slide

Let's say you check your presentation and you notice that one of the slides doesn't work with the transition you had. This is easy to fix.
Exit your presentation browser and go back to your Google Slides workspace. Click on the slide that you want to fix, then click on Transition.
Under the Transition dropdown menu, choose the transition that works best for you. In this case, I'm giving the closing slide the same transition as the other slides, so everything matches.
If you're worried about how this change looks, you can check your presentation again by going View > Present.
And there you have it! You're done your slideshow.
Animate Your Slides
Google Slides is a great application for creating quick and simple presentations. Transitions between slides aren't the only sort of animation that you can include, however.
If you're looking for more information on how you can make your slideshow stand out, look at these tips that go into a perfect presentation with Google Slides. And remember, you can create awesome charts in Google Slides too.