Your Instagram account looks a little dull. Lackluster images and lengthy captions encourage your followers to swipe past your yawn-worthy posts.
You don't have enough experience or time to use complicated design programs, so how can you spice up your images without graphic design skills? Adobe Spark Post is the answer. This easy-to-use app gives amateurs the tools to create professional social media graphics.
In this article, we'll show you how to create engaging social media graphics using Adobe Spark Post.
Downloading Adobe Spark Post
First things first, you'll need to download the app. You can find Adobe Spark Post on the Google Play Store and Apple App Store.
If you prefer working from your computer, you can access the desktop version of Adobe Spark Post as well. Just remember that the desktop version doesn't come with the same animation tool as the mobile version.
Sign up for an Adobe account if you don't already have one. You won't have to pay a dime to use Adobe Spark Post, but your images will have an Adobe Spark watermark in the corner.
The only way you can remove the watermark is by upgrading to the premium version or by having an Adobe subscription already.
Download: Adobe Spark Post for iOS | Android (Free, $9.99/month for the premium version)
Getting Started With Adobe Spark Post
Adobe Spark Post is a simple app. Once you get a hang of the tools, you'll find yourself using it constantly for all of your social media posts.
When you open the app, it gives you the option to start with one of their various infographics, ads, collages, and more as a template.
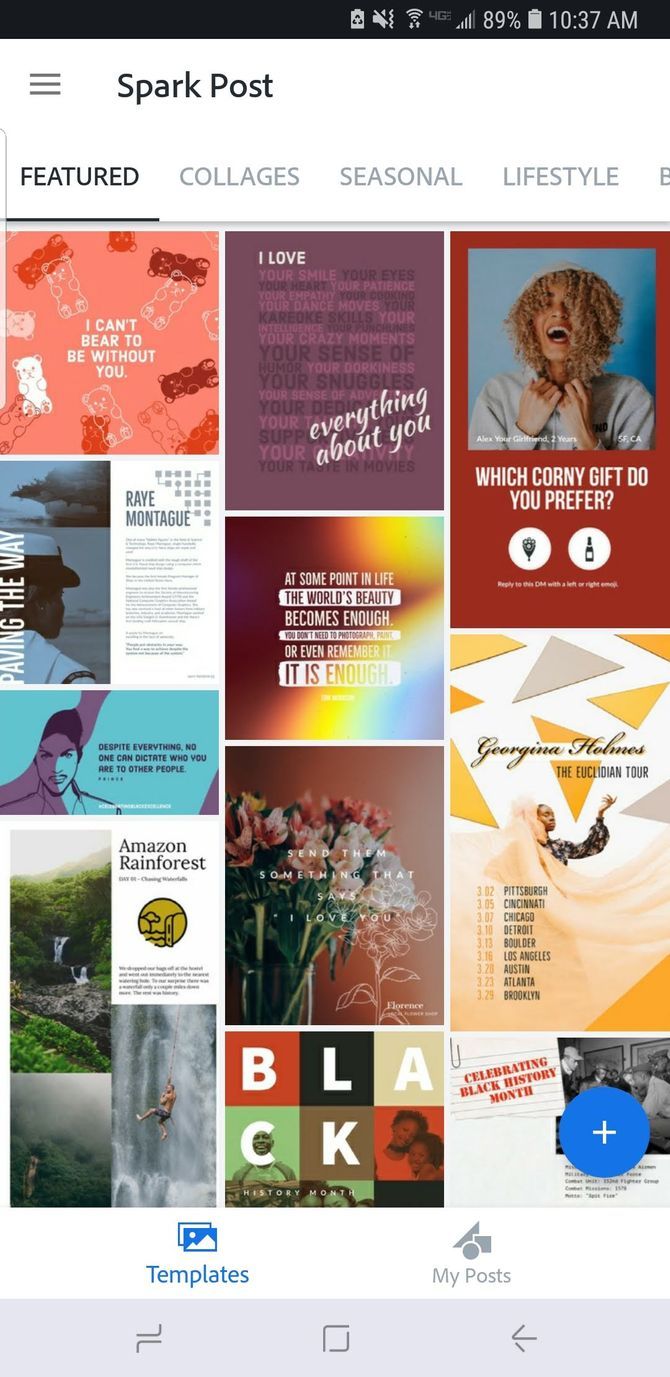
For this example, we're going to start from scratch, and take you through the necessary steps.
1. Choose a Background
Don't have a professional camera to take beautiful pictures? Not a problem. Adobe Spark Post provides free attractive images that you can incorporate into your design.
A quick search yields hundreds of results. For my design, I searched "hiker".
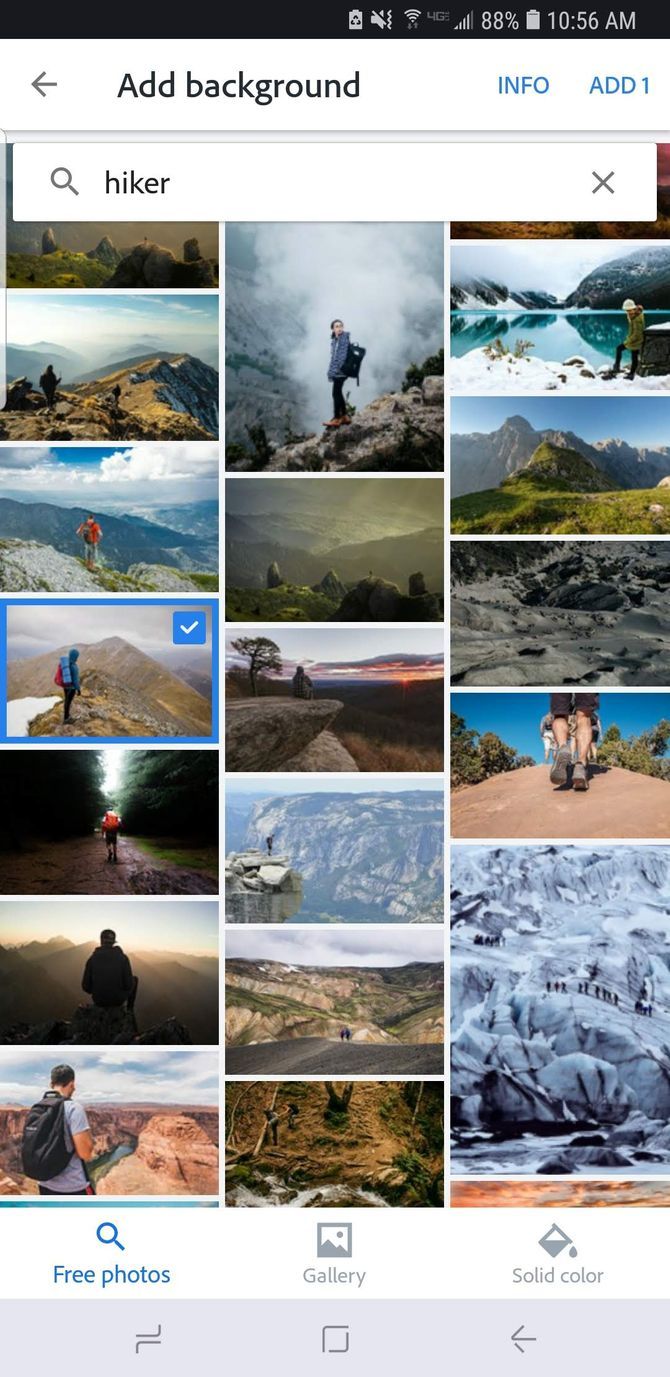
You can also add your own photo by clicking the Gallery option on the bottom menu bar. Choosing the Solid Color option lets you use a color of your choice as a background.
2. Adjust the Image Size
After picking your background, the app will prompt you to change the size of the image. There's no need to know exact dimensions; Adobe Spark Post comes pre-loaded with dimensions optimized for all major social media platforms.

3. Change Your Text Color
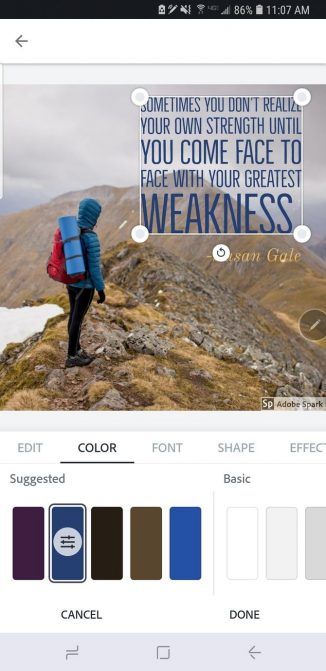
Once you've finished adjusting your background, you'll notice an editable text box pop up in the middle of the screen. Adobe Spark Post uses AI to automatically generate the color of your text based on the colors in the background image.
You have a variety of options when it comes to creating beautiful text, and Adobe Spark Post helps you along the way. Clicking on Color will bring up several color combinations, some that the app picks out for you.
If you're not a fan of the suggested color choices, keep scrolling right to access other colors. Maybe you're a color connoisseur. In that case, you should know that you can also type in specific HEX color codes.
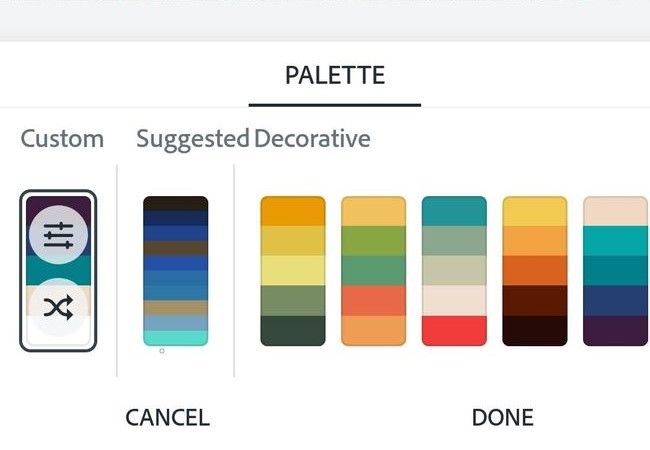
Accessing the Palette option on the main menu gives you even more pre-made options for color schemes.
4. Choose Your Font(s) and Edit Your Text
Adobe Spark Post categorizes fonts into different styles, which really helps when you're trying to match the mood of your image.
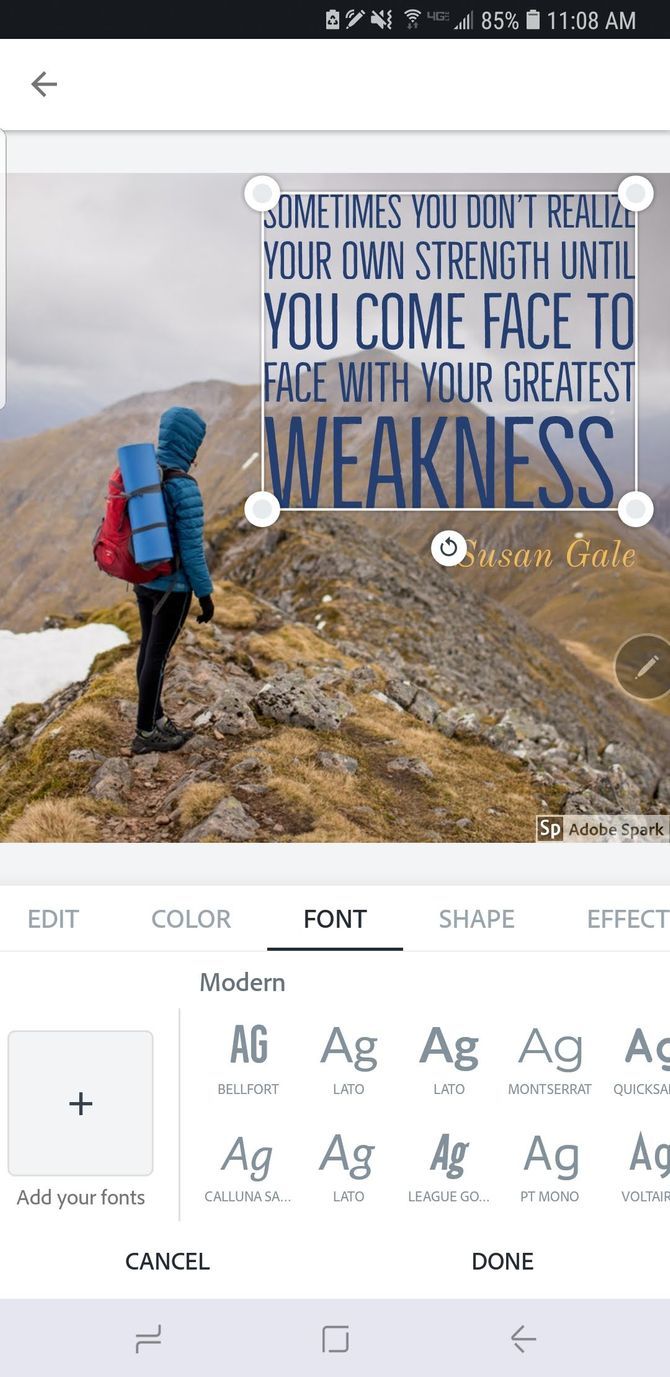
Or, if you have an Adobe subscription, you can opt to upload your own free fonts you can find on the web.
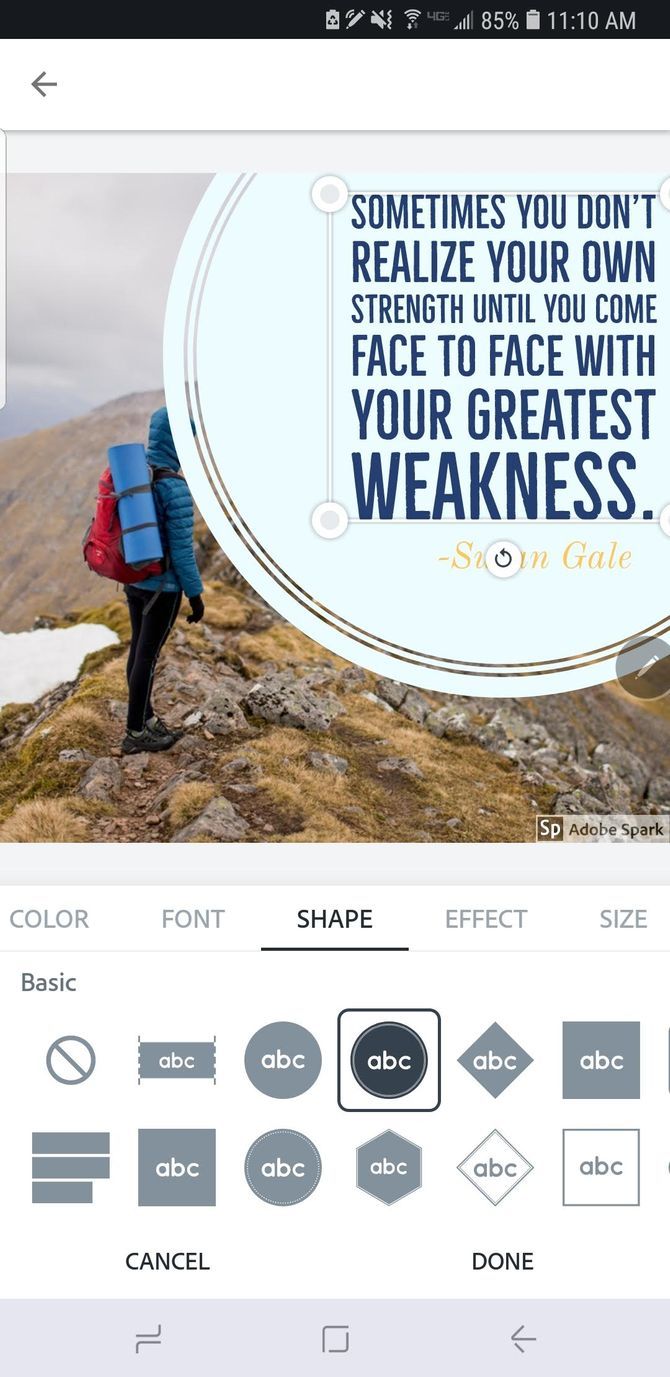
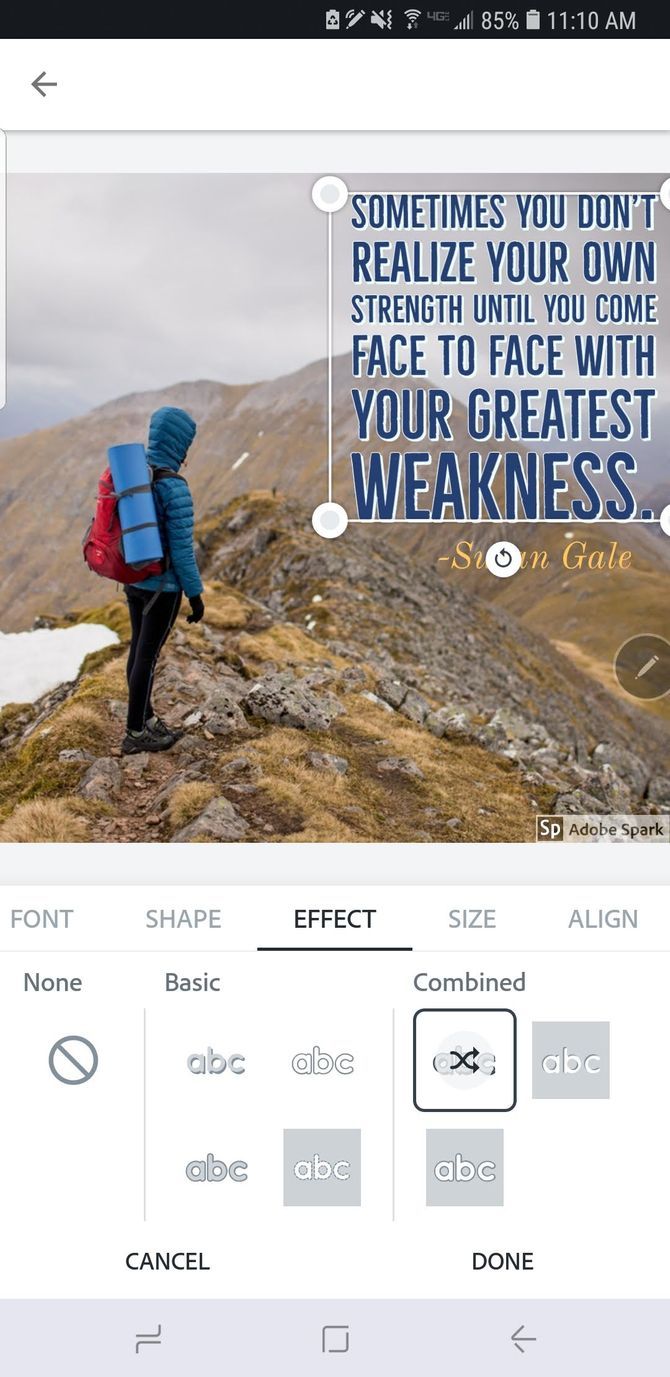
In addition to changing your font, you can go a step further and add a shape behind your text if you'd like. Under the Effect tab, you can make an outline, create a cutout of your text, and more. The other tabs have even more features like text alignment, opacity, sizing, spacing, as well as ordering.
4. Add a Filter
If you're already an Instagram expert, you're no stranger to filters. Adobe Spark Post comes with the same feature, only you can't adjust the filters as well as you can on Instagram.
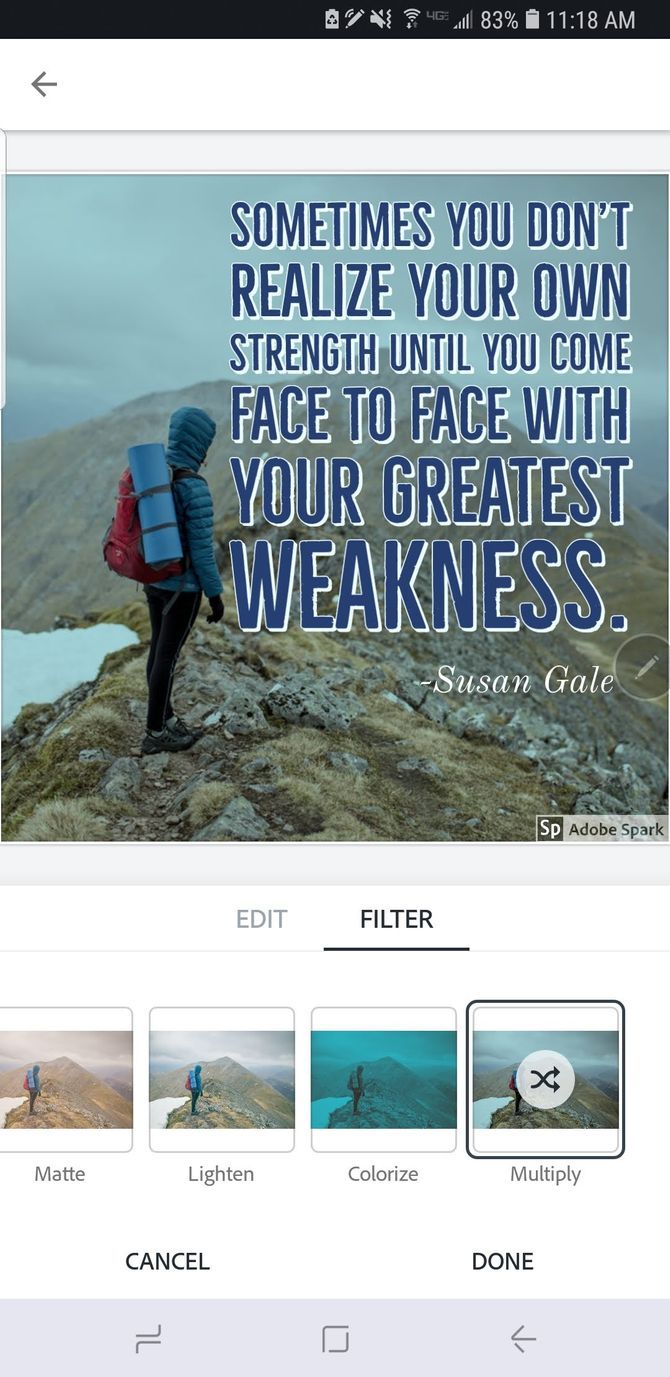
Tapping the filter icon of your choice will apply the same filter but in a slightly different way. For example, hitting the Darken filter several times will give you incremental levels of darkness.
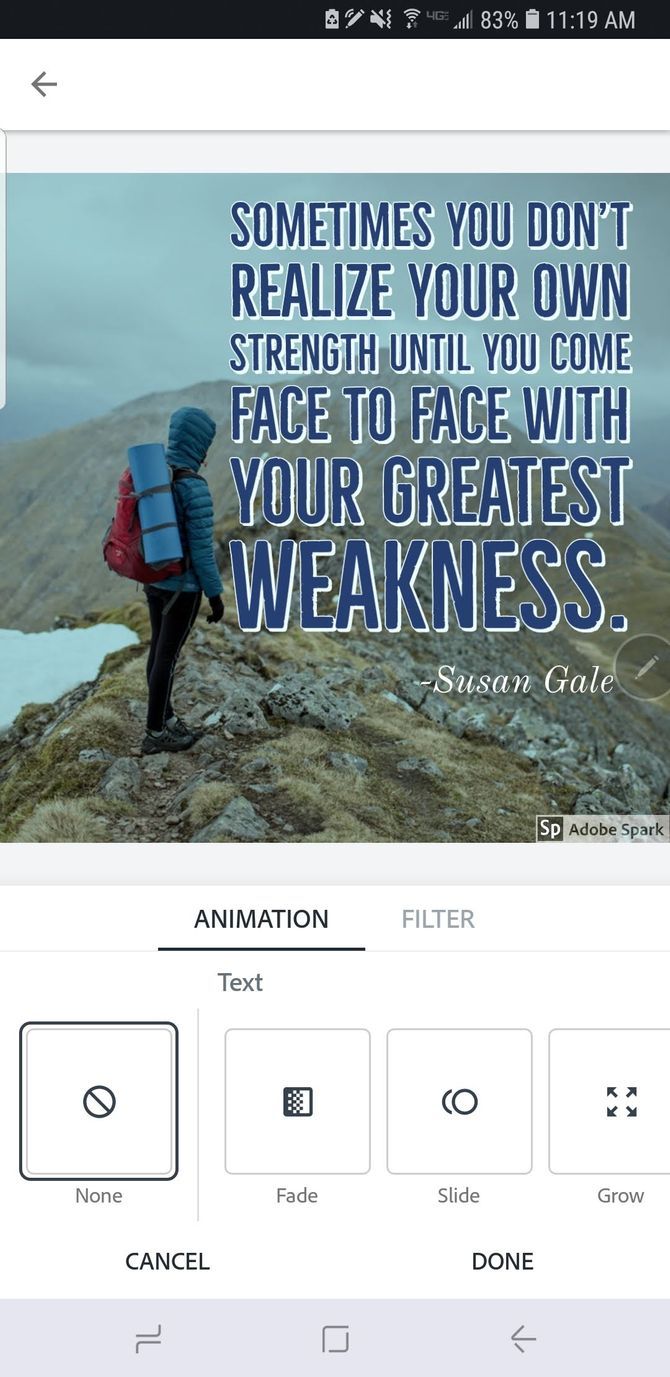
5. Animate Your Design
You've probably always wondered how to use visual tricks to make your Instagram Stories pop, such as animated text and images.
Well, I'm here to tell you that they probably used Adobe Spark Post.
Back on the main menu of your image, you'll see an option that says Effects. That's where all the magic happens. Choose to animate your text or image in a variety of ways with fade, grow, slide, and more.
Additional Features in Adobe Spark Post
So, now we know that Adobe Spark Post makes it easy to create an engaging social media post. However, Adobe has made it even easier by incorporating the Design and Layout options. This makes it one of the best tools to create shareable social media graphics.
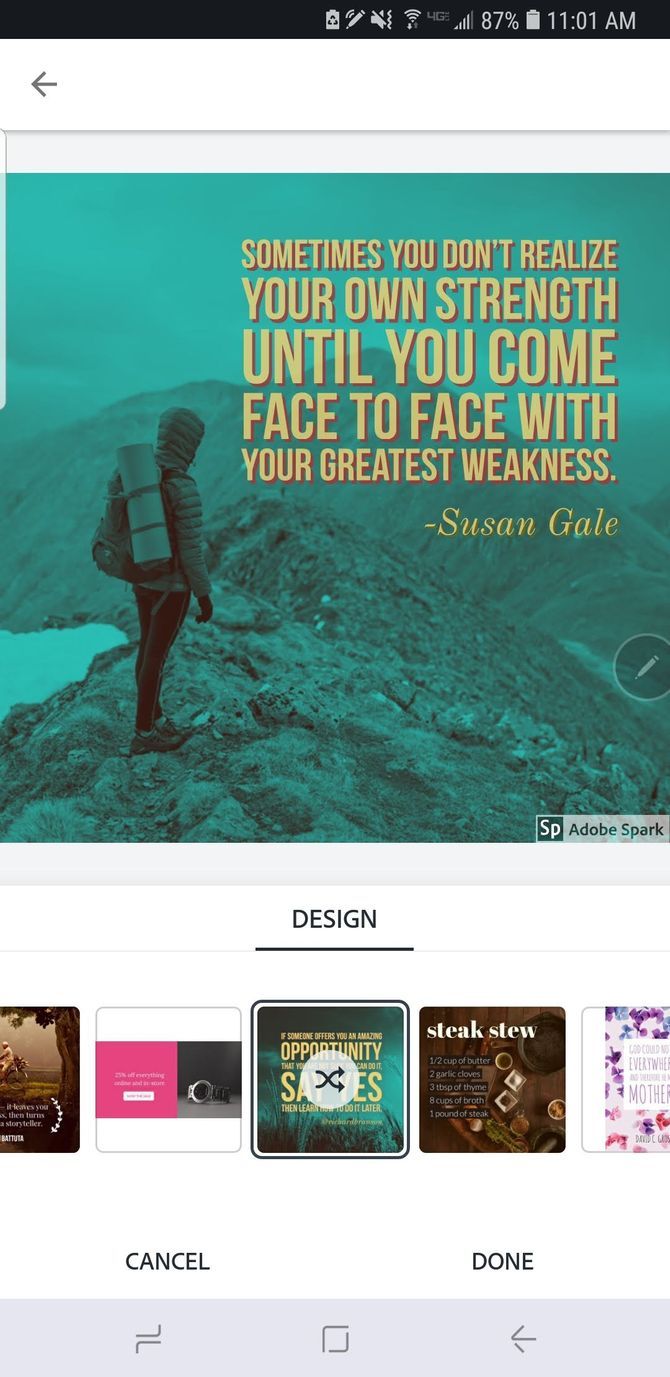
When you're really pressed for time and don't feel like picking out any fonts or colors, hit Design. Adobe Spark Post will present you with a variety of templates that formats your entire image and text in a flash.
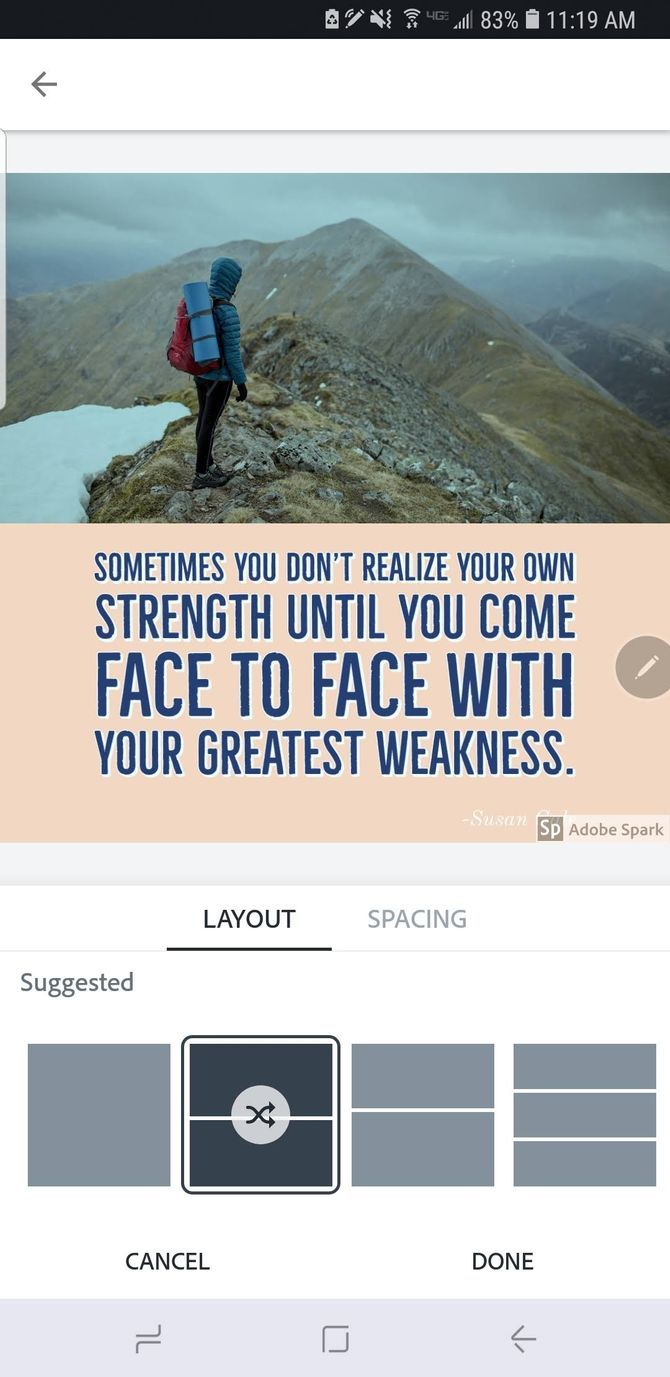
You can also edit your Layout if you're working with multiple images, or if you just want to get a little fancy with your text. Create a collage by selecting the grid option, or choose to simply add a banner to your image.
Spark Your Creativity With Adobe Spark Post
Your posts on social media definitely won't be boring when you use Adobe Spark Post. Better yet, you'll no longer have to struggle to come up with designs. When you have so many tools packed into one app, your designs can finally shine.
Maybe you're looking for a straightforward design program, but with even more capabilities. In which case, make sure to check out our article on Crello, a graphic design tool that everyone can use.


