In my search for a similar tutorial for GIMP, I didn't find an exhaustive tutorial that could be simple enough for new learners of GIMP to follow. This is a simple guide on creating a zoomed effect with explanations on some steps (advanced users, please bear with me.) Here is what I did to create the introductory image.
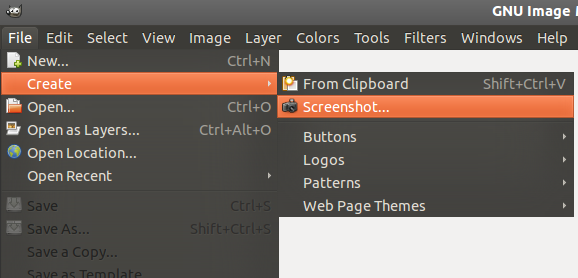
1. Drag and drop, paste or otherwise create your screenshot in GIMP, the latter of which can be done by going to File > Create > Screenshot. I will be pasting a screenshot of my entire screen (1280 x 800).
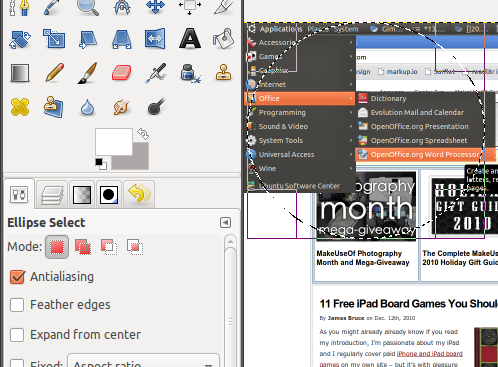
2. Use the Ellipse Select tool, make sure it's on the first mode "Replace current selection" under Tool Options, then to draw a circle over the part you want to zoom in on.
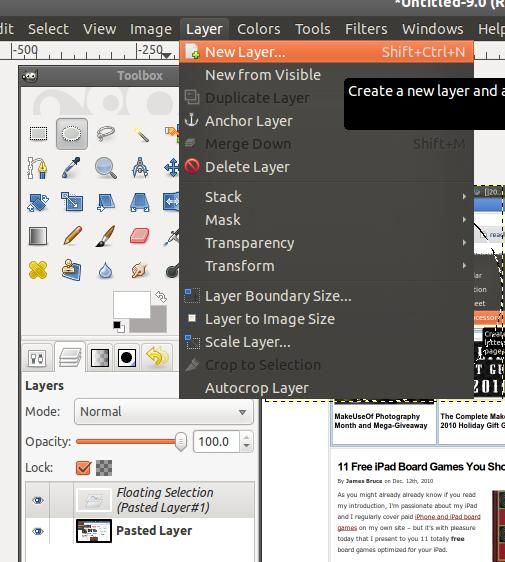
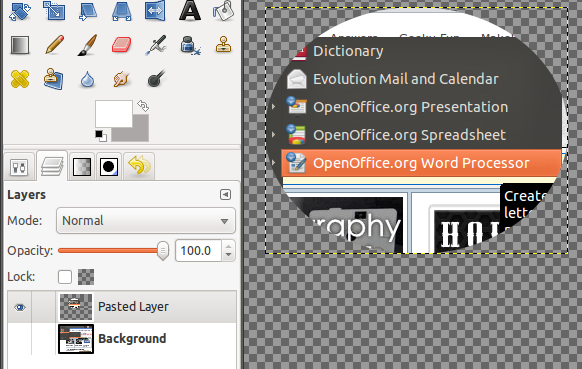
Press Ctrl + C followed by Ctrl + V to simply copy and paste the selection. You should see a new pseudo-layer called "Floating Selection" in the Layers dialog which you can see by pressing Ctrl + L.Go to Layer > New Layer to create a new layer for the pasted circle image.
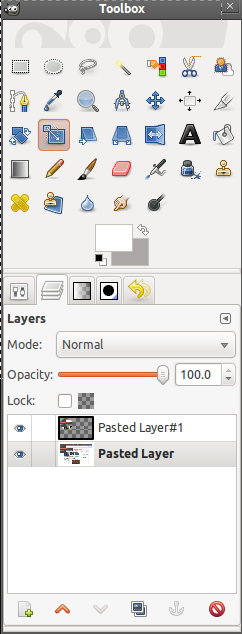
3. Now in the Layers dialog, select the bottom, original layer, and use the Scale tool to resize it if you need to, as it is probably too enormous to insert in a blog post.
Once you're done resizing, click on the eye icon for that layer you just resized to toggle visibility so we can focus on the new layer.
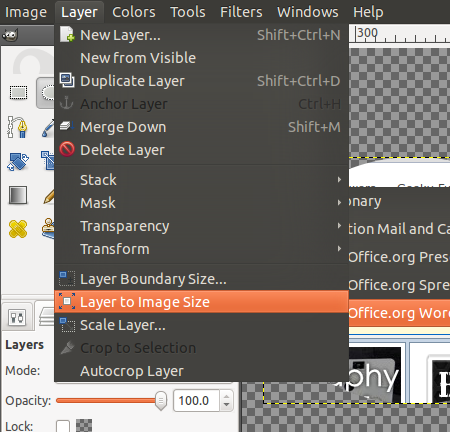
4. Select the top, new layer and go to Layer > Layer to Image Size to expand the area for this layer.
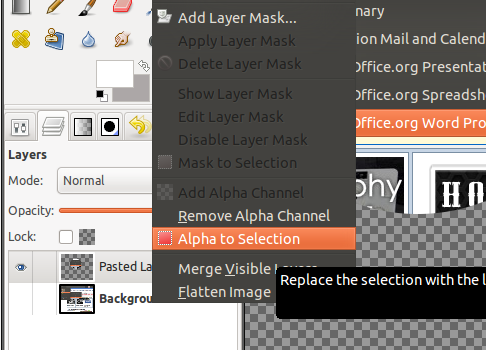
Right-click on the same layer and choose Alpha to Selection which will select the circle's outline.
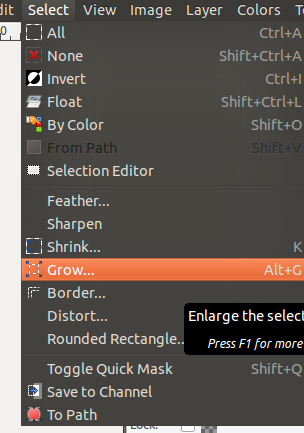
5. To create the outline for the zoomed image in white and grey, go to Select > Grow.
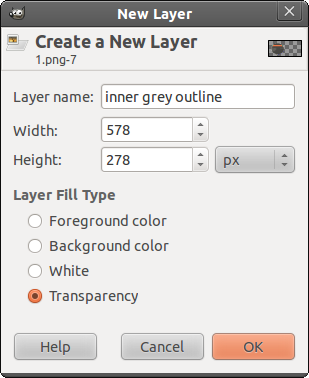
Type 1 (pixels), if it's not there by default already, and click OK. We want the grey outline to be under the zoomed circle, so the former needs to be on a separate layer. Go to Layer > New Layer. You can name it "inner grey outline" like I did, or not but it helps to distinguish the layers later on. For Layer Fill Type, choose Transparency.
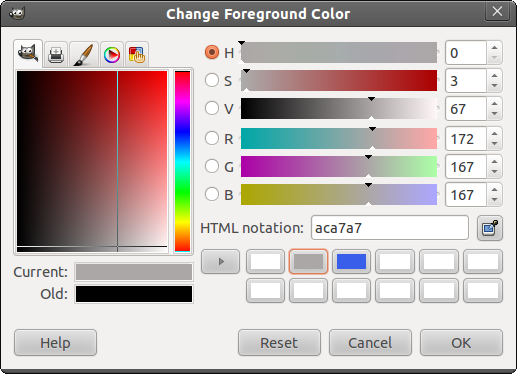
6. Choose the Bucket Fill tool, then click on the foreground color to bring up the color palette and choose a grey color (I'm using #aca7a7).
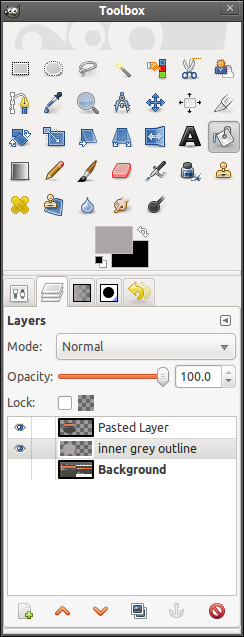
Fill the circle and go to the Layers dialog to lower this "inner grey outline" layer.
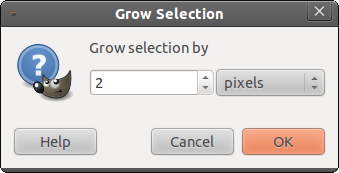
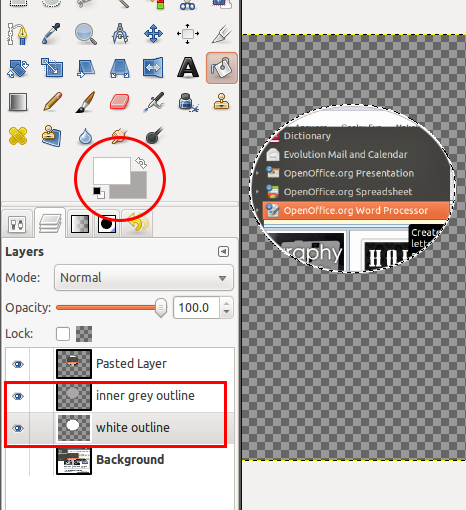
7. Go to Select > Grow and type "2" this time for the thicker white outline. Create a new layer, naming it "white outline" if you want and selecting Transparency again.
8. Now swap the grey and the background color (which you should make white if it's not already). Use the Bucket Fill tool to fill the circle with this white foreground color. Lower this "white outline" layer so it's right under the grey outline layer.
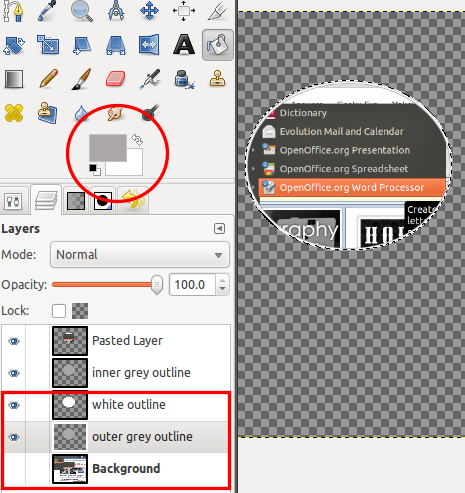
9. You should still have the selection active so create a new layer (Layer > New Layer with the optional name of "outer grey outline"), again set on a transparent background. Grow the selection by 1 pixel (Select > Grow), swap the background grey color so it's the foreground color, and bucket-fill the selection with it. Lower this layer so it's under the white outline layer and above the original background/screenshot layer.
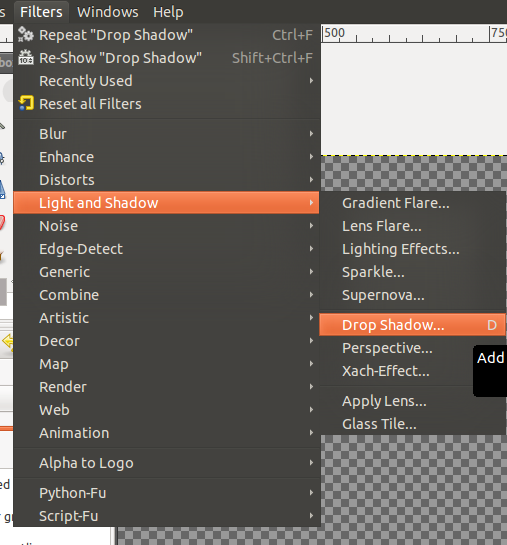
10. At this point, we're done with the outlines of the zoomed image, which looks a bit flat. We'll give it a drop shadow and an inner glow (as recommended in this GIMPChat thread) to create some depth, and make it look more like it's being magnified. Now with the selection still active, go to Filters > Light and Shadow > Drop Shadow.
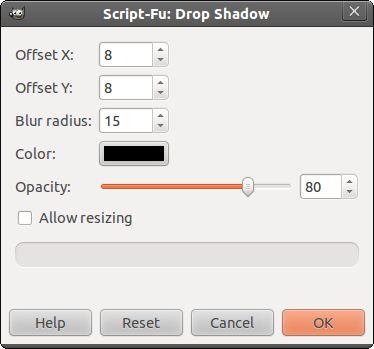
The default values should be fine, but uncheck Allow Resizing before clicking OK.
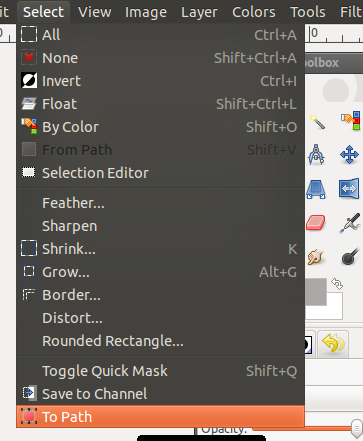
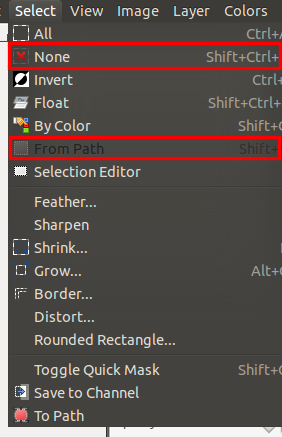
11. Now that the drop shadow's done, we will proceed to create the glow. Click on Pasted Layer (the zoomed screenshot layer) in the Layer dialog, right-click and select Alpha to Selection. Then go to Select in the menu bar > To Path (the last option).
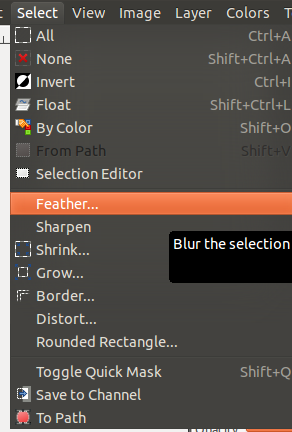
12. Create a new transparent layer (naming it "lens feather" if you wish) and select it in the Layers dialog if not selected already. Go to Select > Feather and type in 50 (pixels) in the dialog box that shows up.
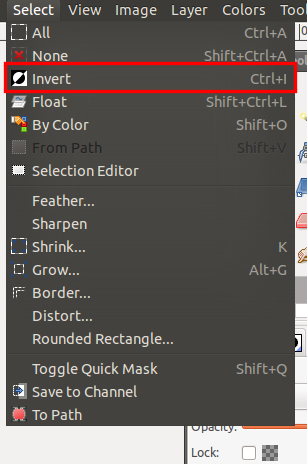
Go to Select again > Invert to make whatever we do next apply to outside the circle only.
13. Swap the colors so white is the foreground color and bucket-fill the new layer with it.
Go to Select > None to de-select. Then go to Select > From Path, then go to Select > Invert and press the Delete button.
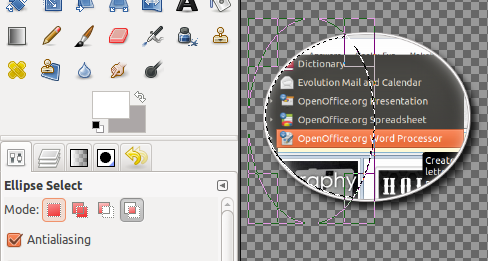
14. Right-click on the Pasted Layer (for the zoomed circle) and choose Alpha to Selection (make sure this layer is selected).Take the Ellipse Select tool, choose the 4th mode "Intersect with the current selection" and draw a circle over the left part of the zoomed image. You should have something like this.
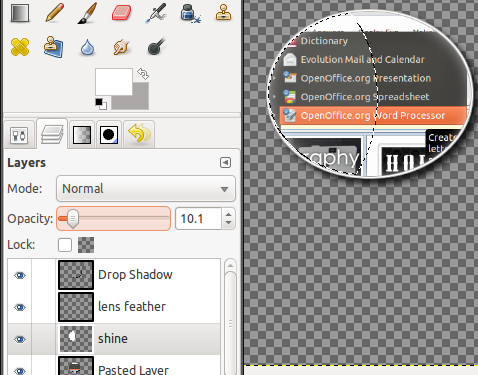
15. Create a new transparent layer, naming it "shine" if you want. Bucket-fill the selection with white as the foreground color. Tone down the opacity to about 10.
Go to Select > None.
16. If you want to move the zoomed image around, you can go to Layer > Merge Down the layers above the background bottom layer that constitute the zoomed circle with the outline and effects. Toggle the background (bottom) layer so it's visible again.
That's it! Feel free to experiment with the feather value.
What do you think? Do you have tips or suggestions on achieving the zoom effect with fewer steps? If so, please share them with us!


