In the growing world of social media marketing, profile pictures are becoming more and more important. They attach a both a face and a personality to your qualifications.
In this article, I'll show you how to create a clean, professional look from one of the most widespread photographic forms of the modern era: the selfie.
What Is a Portrait Photograph?
Our aim is to turn your selfie into a photographic self-portrait. Portrait photography focuses on the character of a subject's face. Good portrait photography can create a lasting impression on the viewer. On the other hand, bad portrait photography can make a face easily forgettable.
Let's take these two photographs taken of American actor Kevin Spacey as an example.

On the left is a Twitter profile picture. This is a typical example of a profile picture you would find on sites like LinkedIn as well. On the right is a picture taken by legendary portrait photographer Marco Grob. There is a clear difference in impression between these two images. Not only is the right-hand image of higher quality than the left, it was edited to give off a more dramatic, professional feel.
We will use various, basic Photoshop tools to commit an effect similar to the photo on the right.
Photograph Checklist
As wondrous as Photoshop is, there are a few things you should keep in mind before snapping your photo. This will ensure that your picture requires as little editing as possible.
Empty/Solid Background -- Ensure that your background is a solid color or an empty landscape. You can even use software to remove the background if necessary. This will give the picture a more official and less cluttered profile picture. Furthermore, you want to show this picture was purposefully shot. If you don't have a proper backdrop, head to your local general store and buy a white poster board. Tack that on to a wall with tape, and take your selfie.
Set Your Resolution To Max -- Ensure that you are saving and editing your photo at max resolution. This is easily identifiable through your camera's settings. All too often, LinkedIn accounts will forego this simple camera function. As LinkedIn continues to support higher resolution images, older images will appear shoddy and of lower quality.
Dress Code -- This is a profile picture, not an interview. That said, commit on either side of the fence when it comes to dress code. Qualifications will speak more to your employer than dress formality. Do not, however, assume a dress shirt with an unbuttoned collar will fool them. Either put on a tie and blazer, or maintain your shirt and jeans combo. Most importantly, be you in the photograph.
Framing Your Shot -- Place your face near the center of the shot. A central shot will maintain most aspect ratios best. Some websites crop out edges of your profile picture for thumbnails.

Stretch your hand out as far as possible, preferably using only one hand. Don't worry about the orientation of the camera, as your image will be cropped.
Lighting -- Lighting is one of the most difficult, and most tedious, aspects of photography. For our purposes, the easiest method of ensuring proper lighting in photographs is using direct, natural sunlight. It's as easy as opening a window.
Editing Your Shot
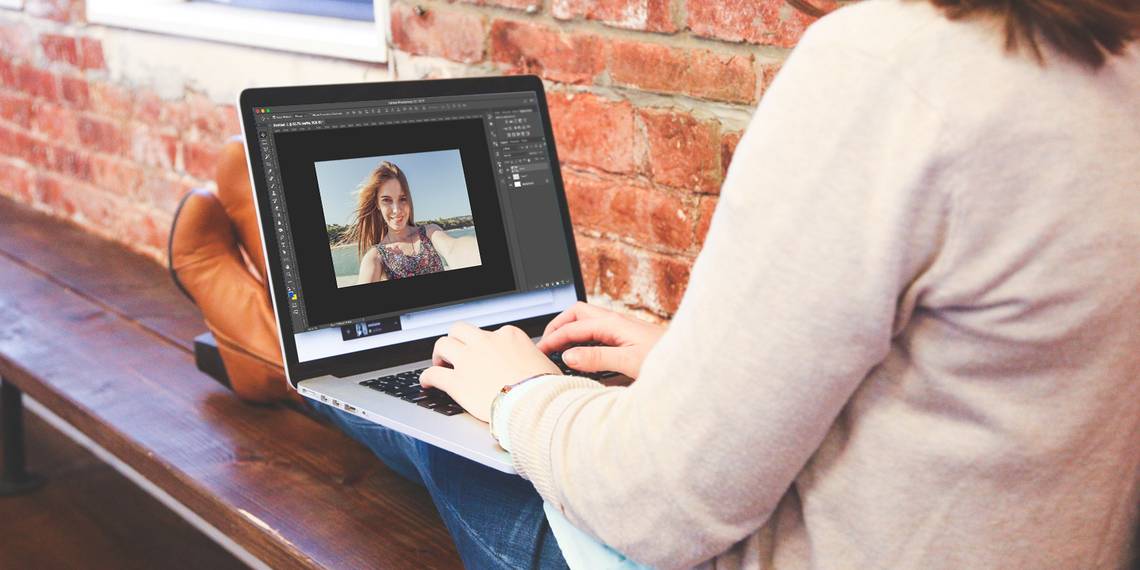
Photoshop is great for editing portraits. All of the tools used in this walk-through are simple and fundamental. To change any of the parameters suggested below, double-click on the layers indicated under your smart object.
Image Crop
First, crop your image into a square. Doing this will ensure that your image maintains the proper aspect ratio, both as a thumbnail and as a viewed image. Although it isn't the most cinematic look, the 1:1 (square) aspect ratio does its job well.
Select your Rectangular Marque Tool (keyboard command M) and click on the drop down menu beside Style. Select Fixed Ratio and enter both width and height as 1.

Orient your face in the middle of your image, but allow for space around your face as well to create a fuller picture.
Image Manipulation
Black & White Overlay -- Now that you have your image, it's time to edit it to create a more dynamic effect. First, right click your image layer and select Duplicate Layer. This will ensure that you have your original image to compare your edited one. Next, right-click the duplicate image and select Convert to Smart Object. This will allow you to edit your image's tweaks after you've enabled them.

Proceed to create a duplicate of your duplicate layer, and set it topmost. Select this top layer and head to Image > Adjustments > Black & White. A window will open listing an assortment of colors. Do not adjust the parameters; just click okay. Then, set your layer type to Overlay. Next, set your Opacity to 65%. Now, adjust the Black & White parameters by double-clicking the adjustment layer.
Attempt to create a nice contrast between light and dark colors. This will create an instant bump in the perceived image quality of your picture.

Unsharpen Mask -- Next, select your first duplicate layer (with the Normal layer type) and head to Filter > Sharpen > Unsharpen Mask. This will create a subtle, pseudo-HDR effect that further separates the noticeable difference between our colors. The effect ranges from hardly noticeable to overtly definite, so feel free to play around with the parameters.

Black & White (Optional) -- With the original duplicate layer still selected, proceed with the Black & White adjustment again. Adjust the colors as necessary. This is optional, as some believe the black and white look gives off a more professional appeal. Then, open your Levels settings with the keyboard command Ctrl/Cmd + L. Adjust the white and gray levels as you see fit, being careful to only modify them slightly.
Color Fill -- Now, we want to add a subtle blue hue. This serves two purposes: it offsets the natural, orange hue normally associated with regular indoor lighting, and provides a subtle hint of professionalism. Websites like Facebook and LinkedIn use color UIs to give off a professional feel. To add a hint of color to your photo, click on the black and white circle on the bottom of your layers window and select Solid Color. Drag this layer to top of your Layer panel, and change the layer type to Color.

Double-click the color square in your new color layer and choose a dark blue color. To enter in the color above, enter the value 111e33 beside the # sign in your Color Picker window. Finally, set the opacity of this layer to 25%. This is the final tweak to your new, professional looking profile picture.
Save Your Image
Don't go saving your file just yet. For the best results online, save your picture as a PNG-24 file. There are several reasons for this, the most important of which is PNG-24 supports millions of colors and will not lose quality when viewed as a thumbnail.

Head to File > Export > Save for Web (Legacy). In the drop down menu beside Preset, select PNG-24. It's as easy as that: save your picture and exit.
Profile Picture Showcase
The best thing of these tweaks is they apply to a large range of skin colors and shades, providing great looking pictures across the board. Below is an example using the stock photo of the man seen above.

Here is another example using a woman in a more typical selfie pose, with a similar skin tone.

The following is an example of using these tweaks with darker skin. Although some parameters will change according to skin tone, the general process should be maintained.

The following is an example of a male with a similar skin tone to the woman above.

Your New Professional Look Is Clicks Away!
It's surprisingly simple to create professional looking profile pictures. All that's left is to do it! Remember, this article just scratches the surface of Photoshop. Keep on reading to find out more about the intricacies of Photoshop.
What do you think this tutorial? Are you an avid Photoshop user? Let us know in the comments below!