These days there's a lot of options for creating workplace presentations, ranging from old-school classics like Microsoft PowerPoint to relative newcomers like Google Slides. Another platform that you can use to create a presentation is Canva.
As a template design site where you can craft beautiful documents, Canva makes the act of creating presentations as simple as Google Slides---perhaps even simpler. Here's how to design a workplace presentation in Canva.
Step 1: Launch Canva

If you don't have an account with Canva yet, check out our rundown on what the site is and what it's good for. If you already have an account, log in and go to your homepage.
Under Create a design, click Presentation.
You can also look for Presentation in the search bar, under the sign that says Design anything.

After you click on Presentation, you'll be taken to a blank workspace. Like all Canva's workspaces, you'll see a collection of pre-made templates along the left-hand side.
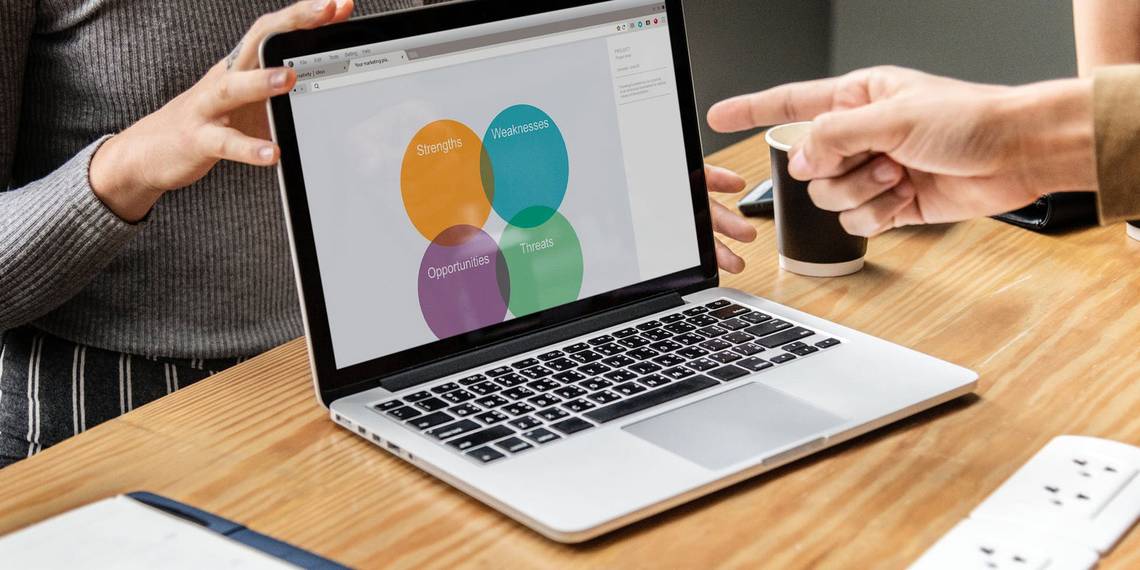
If you want to create a presentation from the ground up, you can. We've already got a great tutorial on how to create a resume from scratch using Canva, and it uses very similar principals.
If you're creating this presentation for work, however---and you're short on time---then it's probably best to go with a template.
Canva divides these templates based upon their stated purpose, ranging from creative applications to pitch decks. For this tutorial, let's go to the Professional Presentation section, as it has templates that are well suited for our purpose. Pick one that you like.

Once you click on a design, you'll see a bunch of different pages displayed along your sidebar. Each of these pages has a slightly different layout, but they all use similar elements and color schemes.
Step 2: Pick a Page Design, Change Your Text

The great thing about Canva is that there's no order in which these individual pages have to be arranged. You can use one or several designs multiple times, back-to-back, or never use them at all.
To apply a design to your first page, simply click on your blank workspace so the page is active. Then click on one of the premade designs sitting to the left. Canva will automatically load it into the page and you can begin modifying.
For this tutorial, I've decided to pick a design that would work well as a title page. By clicking on the individual text boxes within this page, I can erase the placeholder text and put down my own.
If you want to further adjust the size, color, weight, and spacing, you can do so in the Text editing box, seen here highlighted in red.
Step 3: Adjust Your Visual Elements

Having the right text---but not too much text---is one of the most important things you can consider when you're putting together your presentation. Making sure the visual elements match up is really important too.
In Canva, you can keep or delete however many graphic elements you want. You can also move them around.
To Delete an element, click on it so its bounding box shows up. Press Delete.
To Move an element, click and drag it around the page.
If you want to change the color of an element, go to the color swatch icon at the top of the screen. You can pick a color swatch from the premade palette, or you can choose a custom color with the color picker by clicking on the +.
Step 4: Add Page Notes

One of the last things that you'll want to add to your page is your presentation notes. Notes are not required, of course, but they can help you remember what you're going to say, especially if you're presenting in front of a group.
To add notes in Canva, go to the top right-hand corner of your page and click on the Add notes icon, seen here in red. When you do, another pop-up box will emerge.
Start typing your notes into the box. There's a word limit, of course, but we doubt you'll run over it. When you're done, click Save.
Step 5: Add a New Page

The whole point of slideshows is that you're showing off a series of pages. If you just had one page, for example, it would technically be a poster, so chances are high you'll want to add more.
After you finish your first page, go to the bottom of your workspace and click on +Add a new page. Canva will add another page to your presentation.

If you want to switch this page to a different style, go to the page designs on the left-hand side of your screen. Click on the one that you want.

Once you create more than one page, you might want to label them to keep your workspace organized.
To label your pages, go to the top left-hand corner of your active page where you see the dotted line. Click on it and start typing. From there you'll be able to enter a new title.

If you're not happy with this new page at all, you can delete the whole thing. At the top right-hand corner of the page, you'll see a trash can icon. Click on it.
Did you hit delete by accident, or have you changed your mind? No worries: just use the Undo button in the top left-hand corner of your workspace.
Step 6: Add a Graph

One of the best features about Canva is its ability to easily insert graphs into your presentation. It then allows you to customize those graphs to your needs.
To add a graph, find a page design that has a graph in it. Once that page is applied to your presentation, double-click on the graph inside that page so its bounding box lights up.
In the left-hand toolbar, you'll see your graph controls emerge. At the top of those controls is a dropdown menu showing you what type of graph you're using. Beneath that is a list of items, along with their values.
To change the name of these items, click on each individual box and start typing. To change the values, click on the box and insert the appropriate number.
Every time you change these values, Canva will automatically update your graph in real time, so you can see how it looks.

If you want to change the style of the graph you're using, click on the dropdown menu and choose another. Canva will automatically change the appearance of your graph while keeping your values intact.

Finally, you can also adjust the color of your graph.
Make sure your graph's bounding box is active, then go to your Edit controls in the top left-hand corner of your screen, seen here in red. Start experimenting with them to get the right effect.
Step 7: Check Your Presentation and Add Transitions

As you wrap things up, you'll want to check your presentation for errors. You might also want to add transitions between your pages.
To add transitions, go to the Present button at the top right-hand corner of your screen. Click on the icon.

When you click on that icon, Canva will open up a dropdown menu where you can pick the Transition style that you want.
After you choose your Transition style, you can also choose your Type. Type allows you to control the speed at which your presentation plays.
When you have all these things squared away, click on the blue Present button to watch your slideshow play out. It will take you to a full-screen version of it, where you can scan for errors.
When you're done checking your presentation for errors, press the Escape key to exit out of the window. Make any changes that you need to---if applicable---then finalize the design.
Step 8: Download Your Presentation for Work

Once your presentation is finished, you're ready to download. To download your presentation---or use it in another format---click on the dropdown menu beside the Present button.
Most of these options are free-to-use with a basic account, but for those that aren't, you'll see a gold "crown" symbol beside it. There's also a ton of options, ranging from downloading the file, emailing it to your coworkers, or embedding the file on another platform.
And that's it. You're done.
Ace That Slideshow Presentation
Now that you've seen how to put together a workplace presentation in Canva, you can start exploring. There's a lot of customization options, so it's best if you fiddle with those settings yourself.
Looking for other things you can design? Here's how to create a cover letter with Canva.