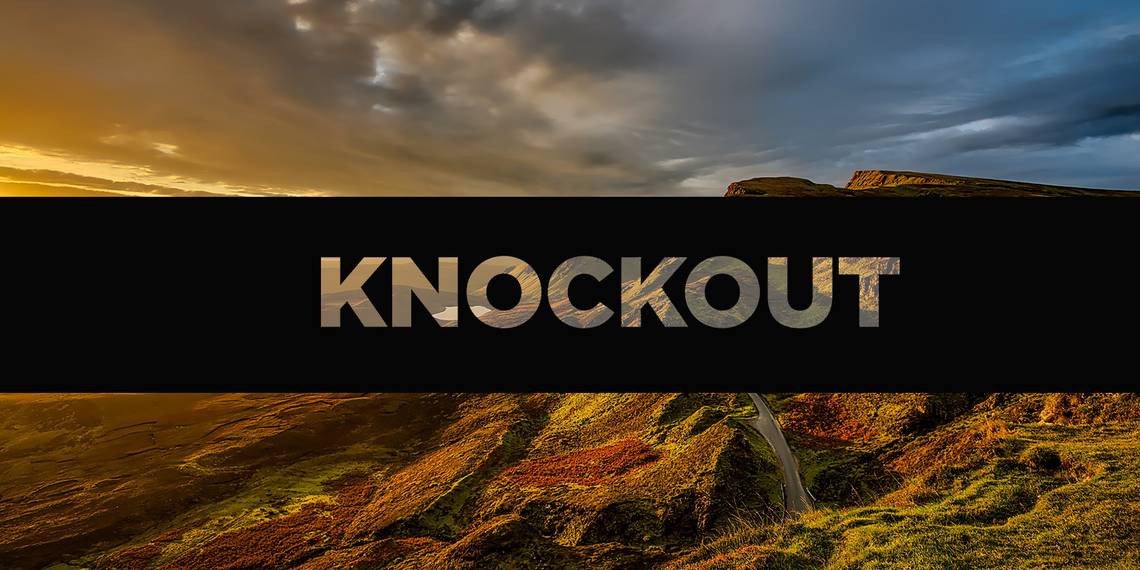
A knockout effect allows you to place a solid layer of color over a photo or image, and then punch out some of that solid layer to reveal the image behind it. You can do this with text or shapes both in Photoshop and Illustrator, but the process is slightly different for each program.
In this article, we explain how to create a knockout effect in Adobe Photoshop and Illustrator, offering a step-by-step guide.
How to Create a Knockout Effect in Photoshop
To achieve a knockout effect in Photoshop, the first thing you'll want to do is open up your image. In this example, we'll use a rectangle shape over the image, and knock text out of that shape.
Step 1: Draw the Shape
With your background image open, draw a rectangle using the Shape tool. You can either select the Shape tool from the tools menu, or you can use the keyboard shortcut U. Pick a color as well.

When you draw your rectangle, you can either choose free form and drag the rectangle across the screen to create the shape you want, or you can click anywhere on the image to enter the dimensions of your rectangle in pixels.
Step 2: Enter the Text
Next you need to type in your text on a separate layer in Photoshop. Grab the Text tool (T), click anywhere on your canvas and start typing. Then use the Move tool (V) to position the text above your shape.

If you prefer to use a shape or icon for your knockout, you can place that shape where you would have placed the text.
Step 3: Set the Blending Options
Double-click the text layer to open the Layer Style window, and choose Blending Options from the left-hand panel.
Under the Advanced Blending section you'll find the Knockout drop-down menu. You can choose between a Shallow or Deep effect here. Shallow applies the knockout effect to a single layer; Deep applies it to a group of layers.

In our example, we only need Shallow.
Finally, make sure the Preview button is checked, then drag the Fill Opacity slider to the left, towards zero.
Here you have complete control over how much of that original text will be visible. The color of your text will make a difference here unless you choose for an opacity of zero percent.

If you have a particularly busy photo, however, you probably won't want to choose a very low opacity in order to keep the text legible.
Step 4: Final Touches
Click OK to confirm your changes. You can now add the finishing touches. Because all of the elements are on their own layer you can make adjustments to all of them separately.
You can edit the background image, the shape, or the text. To adjust the knockout effect just double-click the text layer to reopen the settings box.

How to Create a Knockout Effect in Illustrator
The process to create a knockout effect in Illustrator is similar to that of Photoshop, but is a little more hands-on.
Get started by opening your background image on your canvas. Go to File > Place, then click to place the image. Use the Selection tool (V) to resize it to fit.

Step 1: Add the Shape and Text
Now draw your shape using the Rectangle tool (M). You can use other shapes if you prefer, or draw your own with the Pen tool. Select a fill and stroke color---you can change these later if you want---and drag it into roughly the position you want it.
Next, you need to add the text (or you can use other shapes for the knockout effect---it doesn't always have to be text). Select the Text tool (T), and click on the canvas. Set a color and size, and start typing.

Choose the Selection tool and click away when you're done. You can move all of the objects into position by eye, or hold shift and select the text, shape, and background image and align them properly with the Horizontal and Vertical Align tools.
Step 2: Create Outlines
Reselect your text layer and go to Type > Create Outlines, or you can use the keyboard shortcut Shift + Cmd/Ctrl + O. This will convert your text into shapes rather than editable text, so check for typos first!
Make sure that your text is on top of the shape and not behind it.

If you want to be able to control the opacity as is possible in Photoshop, copy your text layer to the clipboard with the keyboard shortcut Cmd/Ctrl + C. You won't need to do anything with it until later.
Step 3: Apply the Knockout Effect
Select both your shape and text and go to your Pathfinder tools panel. If it isn't already open, you can open it by going to Window > Pathfinder or by using the Illustrator shortcut, Shift + Cmd/Ctrl + F9.
Click here for more Adobe Illustrator keyboard shortcuts.
In the pathfinder tool, select the Minus Front option in Shape Modes. This will remove the text from your shape.

To control the opacity of your knockout effect you need to copy the text layer, as we mentioned above. Now hit Shift + Cmd/Ctrl + V to paste your text back in the exact place you copied it from. (Make sure to do this before you move any of your layers.)
You can then adjust the opacity of that layer by going to the Transparency panel, which you can open by going to Window > Transparency. Adjust the opacity slider until you have the exact shade you want.
With an opacity of around 20 percent, this is what the final product looks like:

More Photoshop Text Effects to Try
It's easy to create a knockout effect in Illustrator and Photoshop. If you've got access to both programs, we'd recommend using Photoshop first because the text remains editable at all times. But for more detailed designs, Illustrator is the way to go.
A knockout effect isn't the only creative way you can use text in your designs. Take a look at our guides detailing how to outline text in Photoshop and how to add textures to text in Photoshop for some inspiration.