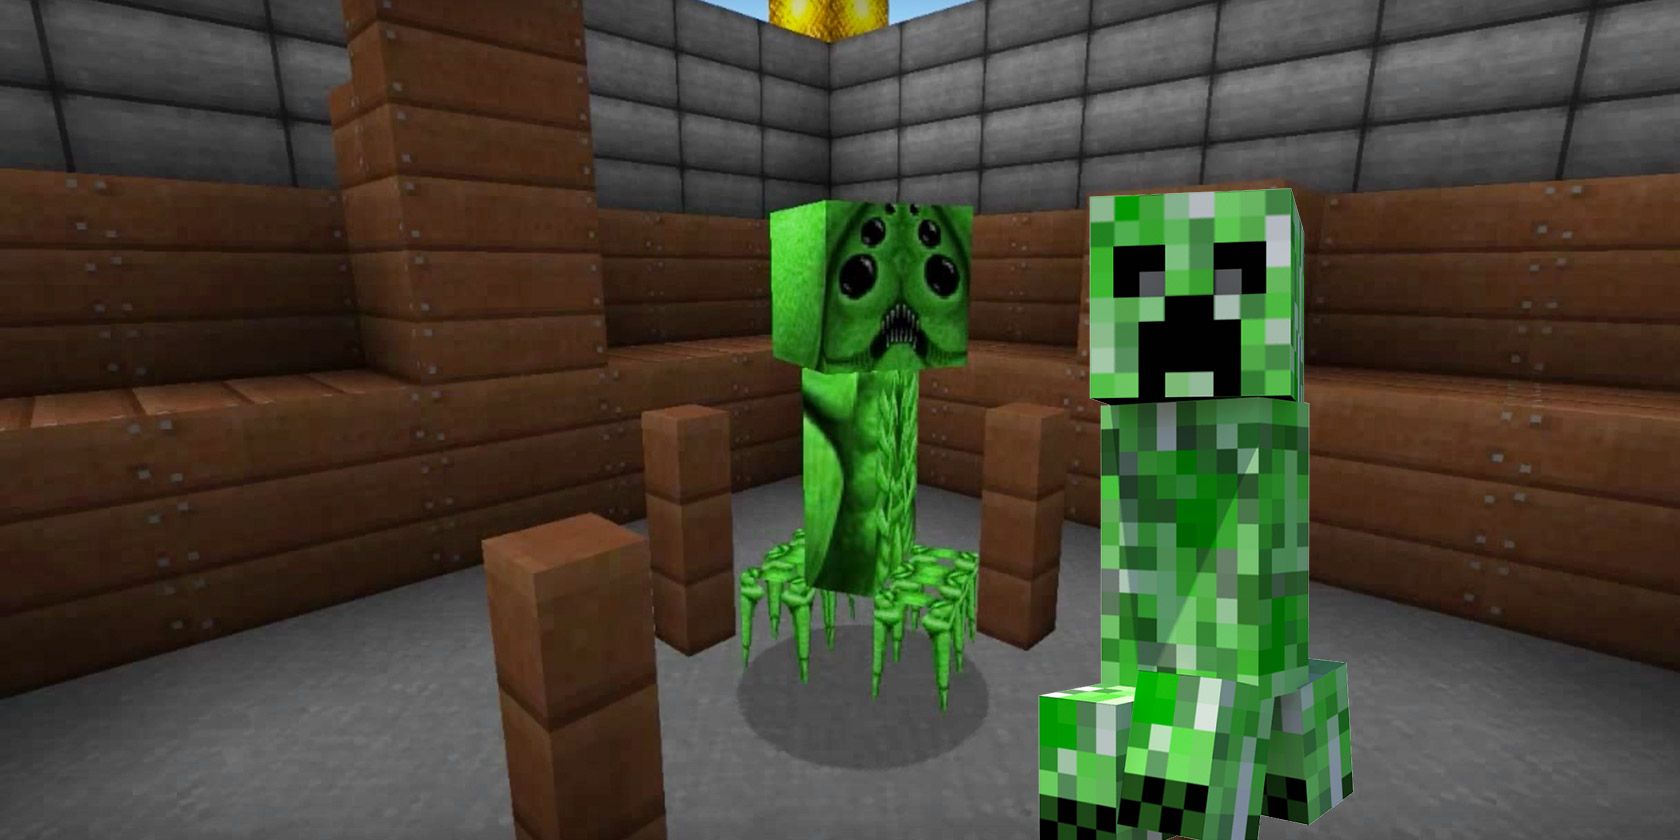
Minecraft never ceases to amaze me. The game entertains millions of users daily with its simple interface and cubic graphics. This is due, in large part, to its active modding community. Minecraft's modding community has given the original game a world of new possibilities. For instance, did you know you can change the look of every character, block, and item in the game? You don't even have to rely on the packs available online! Say goodbye to vanilla Minecraft with this guide to adding and customizing textures.
What's A Minecraft Texture?
A major part of Minecraft's allure is its simplicity. The look of every single object in Minecraft is due to simple PNG files located in the program's data files. You can edit each of these PNG image files to suit your fancy. You'll need to download WinRAR, which allows you to view and edit program files. If you have no experience with the software, don't worry. It's as easy to use as your file explorer.
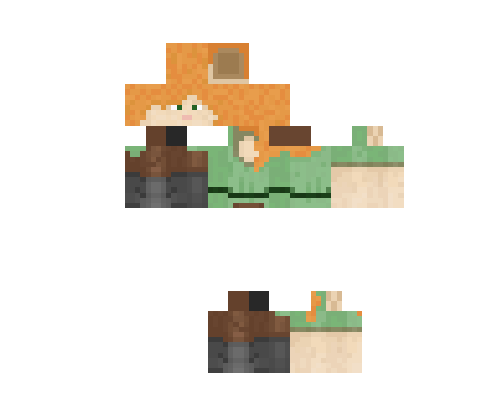
Some of Minecraft's PNG files look more like a loose assortment of parts than skins. The Minecraft program reads the files and presents them to you as complete figures.
Minecraft Launcher and AppData
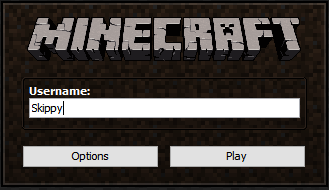
There are two main components to running Minecraft: the launcher and appdata folder. The Minecraft launcher will allow you to choose the version of Minecraft you are using. You will also log into and open the game from the launcher. The appdata folder stores the actual game data. Appdata is also the folder that you will be adding to and configuring, as it holds the texture packs you will use.
To access the launcher, find your Minecraft.exe file and double-click it. To access the AppData folder, press WINKEY + R on your keyboard and enter %appdata% into the prompt. You can also type %appdata% into your Start Menu to launch it. The folder labeled .minecraft holds your data files.
Use OptiFine for Best Results
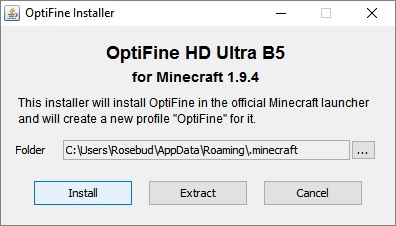
If you want the best performance from Minecraft, download and install OptiFine. This program is handy when you've started downloading realistic texture overhauls and mods.
OptiFine maxes your FPS and allows for high-quality texture and shader packs. The newest versions allow you to install OptiFine to your Minecraft game with a simple click of the Install button.
Installing Texture Packs
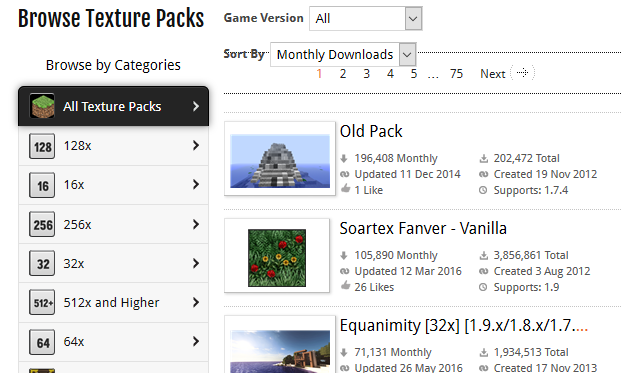
The easiest way to overhaul Minecraft's textures is to download and add a texture pack. Texture packs are available through websites like planetminecraft.com and Minecraft's Curse webpage. To begin the process, download the ZIP file for the texture and save it in an accessible location. You can leave the file name as is.
Once you've downloaded the ZIP file, open Minecraft's Resourcepack folder under Start > %appdata% > .minecraft > resourcepacks. Drag and drop, or copy and paste, your ZIP files to this folder. You do not need to change or unzip them in any way.
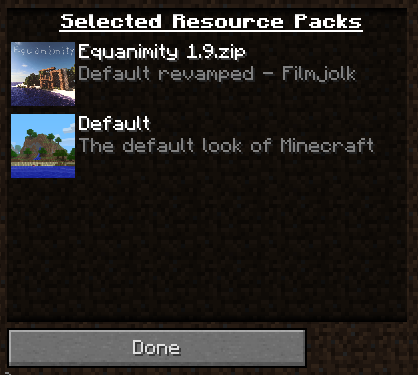
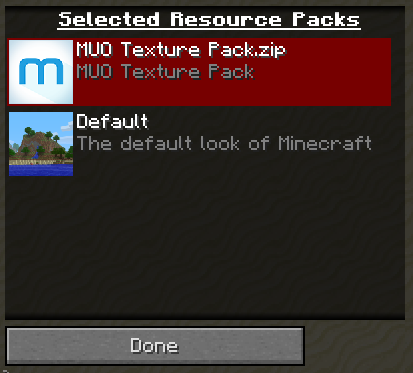
To activate them, open and begin playing Minecraft. In the splash screen, head to Options... > Resource Packs... and you should be able to view the texture packs you downloaded. There are two categories on this screen, Available Resource Packs and Selected Resource Packs. To activate your pack, click on the texture pack image to change it from an Available to a Selected resource pack.
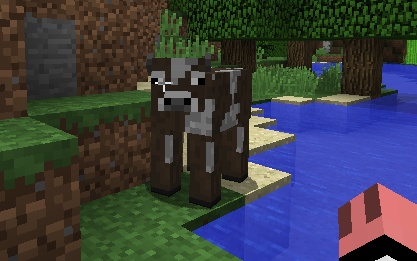
Click on the same image again to deactivate the pack. Click Done after you've activated your downloaded texture pack. Begin playing a selected world and you will be able to enjoy your texture pack. The amount of detail possible through texture packs is stunning. For example, this is a default Minecraft cow in its vanilla environment.
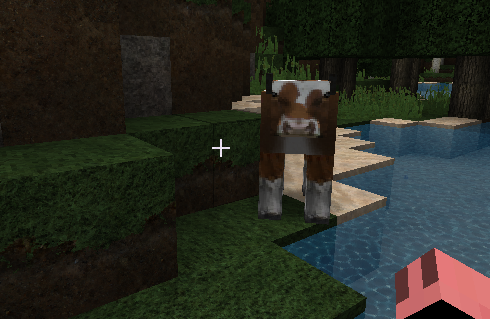
Here is that same cow with the LB Photo Realism Pack, a popular texture pack found online.
Note that the grass, water, and surroundings also change with the installed texture pack.
Creating Your Own Textures
Not happy with the texture packs you find online? Create your own. I'd advise beginners to download a texture pack close to the original and create a copy of the pack for editing purposes.
Upon opening a texture pack, you'll notice two files - a PNG and MCMETA file - and a folder. The .png works as your texture pack logo, and the .mcmeta activates your pack in Minecraft. Create a copy of a pre-existing texture and name it whatever you'd like. Copy that file name, as you're going to use it to edit some content. Right-click on your new ZIP folder and select Open with WinRAR. If you change any of these files, ensure you maintain the same file name throughout your editing.
Open and edit your pack.png file to whatever you'd like the pack's logo to be, making sure you maintain the 96 x 96 pixel size. Next, open the MCMETA file with any text editor on your PC (including Notepad and Wordpad). You will see the previous name of the texture pack in quotation marks. Change it to the name of your new folder.
 {

            "pack": {

            "pack_format": 1,

            "description": "[Folder Name Here]"

            }

            }
Save this file with the .mcmeta extension, or save over the present file. Now, your texture pack is ready to go.
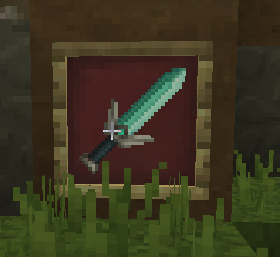
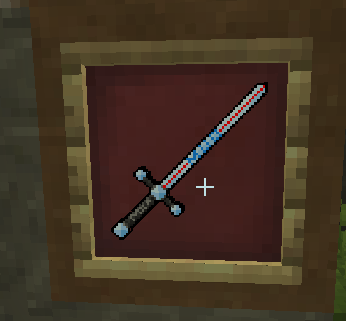
Your assets folder will hold all the textures. Click through the folders located within your asset folder to edit the textures. Open any PNG file and edit it with a graphics editing program. If you want to change the look of your diamond sword, for example, find diamond_sword.png. I found mine under assets > minecraft > textures > items > diamond_sword.png. Edit this PNG file -- usually by right-clicking the file and selecting Edit -- or swap it with another diamond sword texture, and save. You'll be able to see and use your own textures once you enter a world.
For example, this is the sword that was present in the original texture pack.
Here is the sword I made, with heavy modifications.
Once you become comfortable with editing textures, there's no telling what you can create.
Installing Shader Packs
Shader packs work a lot like texture packs. Shader packs will change the way shade looks in your Minecraft world. Adding Shaders to Minecraft is vital for creating a realistic world experience. Best of all, they're simple to install.
Go online and choose which shader packs you'd like to use. I am using a shader pack called MrMeepz' Shaders. Download the ZIP file listed on the page. MrMeepz' Shaders come in different levels of detail. Bigger packs provide more detail to your world, but require a better computer to run. Open Minecraft's shader folder under Start > %appdata% > .minecraft > shaderpacks and move your shader pack to this folder.
Once the file is in place, open Minecraft. In the splash screen, head to Options... > Video Settings... > Shaders... and you should see your Shader pack. Click on your shader pack to activate it and click Done. Enter a world and enjoy your new shader.
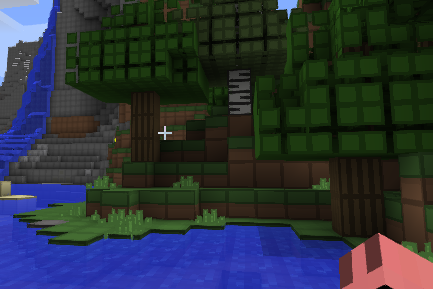
Here is a before screenshot of my Minecraft world with a texture pack named oCd.
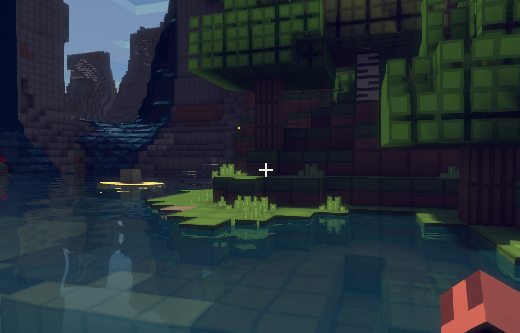
Here is that same landscape with my new shader pack activated.
Note the crystal clear effect of the water and the glow given to the plants. Shaders elevate the cubic graphics of Minecraft, transforming it to an immersive world.
Installing And Creating Your Own Skin Textures
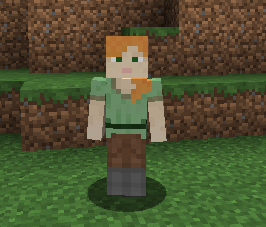
While playing Minecraft, press F5 twice to view your character.
The process to changing your character's skin texture is more difficult than installing texture packs, although still fairly simple. Open your AppData folder and head to .minecraft > versions. This folder stores the various versions of Minecraft you play. In the TeamExtreme launcher, you can change the version of Minecraft you are using. You will have to open and play in a Minecraft world before a version folder appears.
Create a copy of the Minecraft version you want to change, and rename the folder with the added text - Skins. This will allow you to keep track of which folders you have modded and which you haven't. It's always good to keep an extra, unmodded folder in case there are issues with your modded folder.
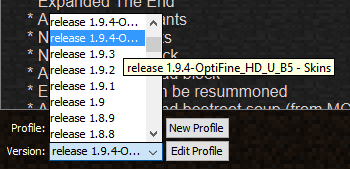
There are two files in your version folder, a .jar and a .json. Rename both of these files to your folder title, - Skins included. Open the .json file with any text editor and replace the id parameter with your folder name. In my case, I replaced "id": "1.9.4-OptiFine_HD_U_B5" with "id": "1.9.4-OptiFine_HD_U_B5 - Skins". This will activate your skin in-game.
Next, right-click your .jar file and select Open with WinRAR. You will see the WinRAR file explorer. Delete the META-INF folder, as it will prevent you from changing your program files. Then, navigate to your skin's texture under assets > minecraft > textures > entity. Find and double-click the alex.png file. This is the skin file for my character. If your character is male, you will have the steve.png file as your default character skin.
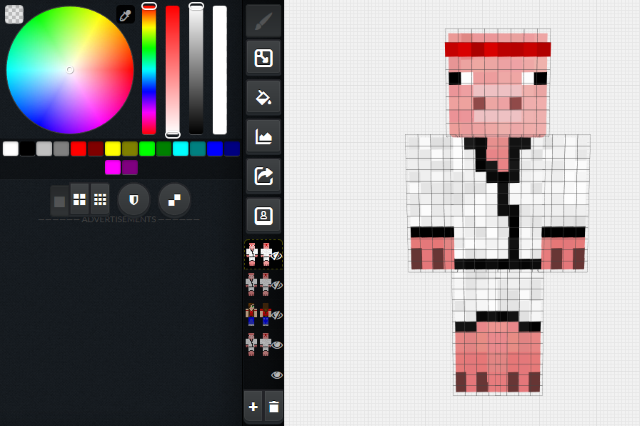
Time to download and customize some skins. The best website to download and create custom skins for Minecraft is needcoolshoes.com. This website allows you to customize skins pixel by pixel, and provides tools like Saturation and Contrast levels to suit your needs.
After you've finished customizing your skin, download it onto your Desktop for easy access. Rename the file alex.png or steve.png depending on the default skin of your character. Finally, drag your custom skin into your entity folder to replace the default skin. Double-clicking the default png, alex.png in my case, should now open the custom skin.
Open the Minecraft launcher and select your game version in the botton left-hand corner. You should be able to see the name of your - Skin folder upon mouse-over. Click on it to activate your new character skin and select Play.
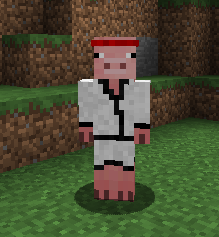
All that's left is to open a world and check your skin.
Your new character is now ready to explore the expansive Minecraft universe.
Your Minecraft, Your Rules
Minecraft is a simple game, but that doesn't mean its limited. Minecraft is something of a graphic designer and program developer's dream. Plenty of modifications made and updated by fans are available online. This makes it easy to overhaul your Minecraft experience completely. From a realistic-looking Minecraft to a completely custom one, there are virtually no limits to what this game can do.
Do you like to mod or re-texture Minecraft? What are your tips? Let us know in the comments below!

