Have you ever wanted to add an image map to your web site? An image map is a graphic that contains hotspots that link to URLs. They are used as a means to give a web designer greater design flexibility in that they can insert links almost in any place they desire. Yes, image maps can help that much.
There are several pieces of design software that can help a designer to create an image map, but many of them are very expensive. I have chosen to learn how to use GIMP because it is free. Follow these simple steps to create your own image map using GIMP.
1. Create Or Find The Image You Want To Use
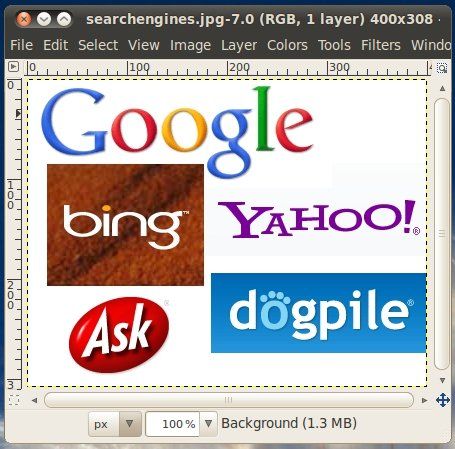
Any image will do and a lot of it depends on what you are trying to accomplish as a designer. I have seen image maps where faces are clickable which bring you to the bios on each person. For this example, I will be adding several graphical logos that I will later make clickable.
2. Open The Image Map Editor In GIMP & Start Mapping
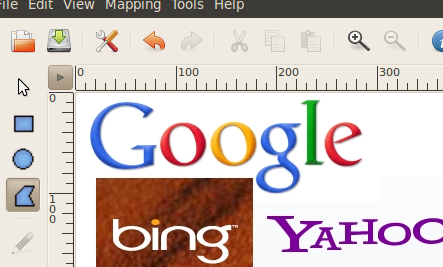
Once you have the image where you want it, find the menu Tools -->Web -->Image Map. This should bring up the image map editor where you are offered several tools. You can use different shapes to accomplish the effect you desire.
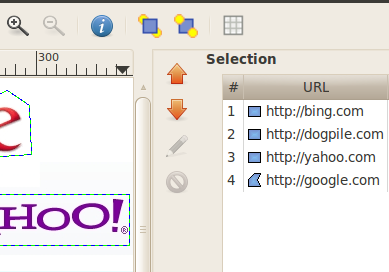
There are also two workspaces: the image map and the list of links you have mapped.
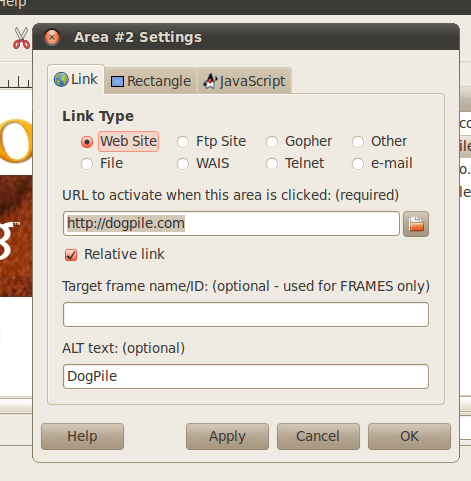
Using the editor should prove to be self explanatory. Basically you use the shape tool most conducive to covering the area you want to be linked to the URL. You will notice that as you finish each shape, a pop up appears for you to fill in. The most basic settings to fill in are on the first tab. Fill in the address and the ALT text and you should be fine.
3. Get The Code
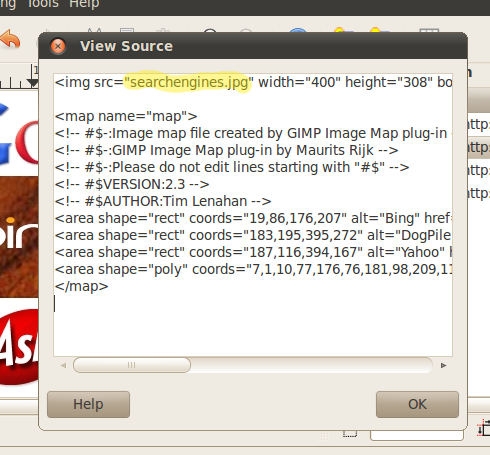
It's good to know that after all of the designing is done, what you need in the end is the code. You see, image maps are actually written in HTML and in order for you to actually get the image map up and running on your site, you will need to grab the code. With GIMP, this is easy to do. Just go to View-->Source to view the source code.
You'll notice that I highlighted a part of the code. This is the address where the image being mapped is located. If the file containing the code and the image file are not in the same directory, you'll want to put the correct location of the image there.
4. Test The Image Map
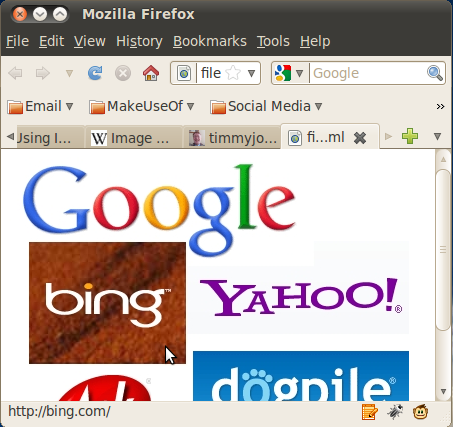
If you save the file, you will notice that it is nothing but a file containing the code but with a file extension of map. Change the file extension to HTML, make sure there is no period in the front of the file name, and make sure the image is in the same folder as the HTML file and you should be able to test it. Double clicking the HTML file should open it in your default web browser.
There you have it, a free and easy way to create an image map for your website using GIMP. Do you create image maps? If so, what tools do you use to do it?


