Adobe Lightroom is a popular photo editing tool for photographers, and it's not difficult to see why. One of its most convenient features is the ability to create presets, allowing you to give your photos more of a consistent look.
Presets let you apply the same edits to each of your pictures—and while making one can take hours, you'll cut down your editing time over the long run.
But how do you create a preset in Adobe Lightroom? Let's find out. We'll discuss the process for both Lightroom Classic and Creative Cloud.
How to Create a Preset in Adobe Lightroom Classic
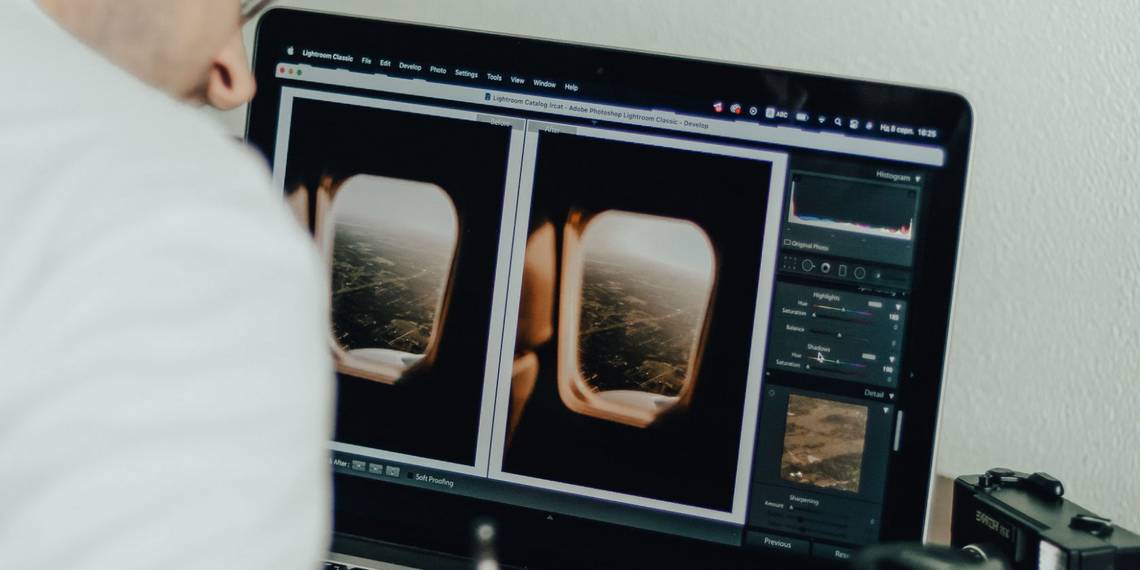
If you use Lightroom Classic, you'll need to open your photo in the Develop tab and apply all the edits you want in your photo. If you want all of your photos to have a vintage feel, for example, you can create a preset for that specific look.
Once you've made your edits, go to the Presets tab on the left-hand side of your screen. Then, click on the + icon and select Create Preset.

A window titled New Develop Preset will appear. Give your preset a name and select the settings you'd like to include in your preset. Once you've made your desired amendments, hit the Create button.

How to Create a Preset in Lightroom Creative Cloud
If you use Lightroom Creative Cloud to edit your photos, creating presets is a slightly different process. First, you'll need to choose the photo you want to edit and make your adjustments—before selecting the Presets option in the top right-hand corner.

When the Presets tab opens, click on the + icon. Like Lightroom Classic, you can name your preset here. On top of that, you can choose which features you'd like to include.

Hit the Save button once you've finished.
How to Apply Your Custom Lightroom Preset
Regardless of whether you use Lightroom Classic or Creative Cloud, the process to apply your custom Lightroom presets is pretty similar. In Lightroom Classic, you'll need to go to the Presets tab on the left-hand side. If you expand the User Presets dropdown menu and scroll down, you'll find your newly-created preset.

Meanwhile, you'll need to click on the Presets tab in the top right when using Lightroom Creative Cloud. Then, select the Yours tab and expand the User Presets dropdown menu.

In both apps, click on the preset you'd like to apply to your photos. You can use the Amount slider to choose how intense you'd like the edits to be.
If you don't like how your presets look on different images, you can make whichever adjustments you feel are necessary.
Make Your Own Presets in Lightroom
Regardless of whether you use Lightroom Classic or Creative Cloud, making presets for your photos is easy. You can adjust how intense you'd like the presets to your images, such as tweaking the clarity.
Once you've created presets in Lightroom, you can also export them and share these with others.