Have you ever watched a speed-drawing video on YouTube? You know the ones - they often feature some great Photoshop artist showing off their skill by creating a beautiful piece of art right in front of your eyes. A large part of what makes them so impressive is how fast everything happens. The video is shown in fast-forward, so that every second of video is actually several seconds (or even a minute) of real time.
If you're still not quite sure what time lapse videos look like, here's a great example :
The funky video above was made with ChronoLapse. This free, open-source app can create time-lapse videos either using your monitor or a webcam (or even combine both).
Let's take a quick tour of the app and figure out how to use it to create a simple time-lapse screencast.
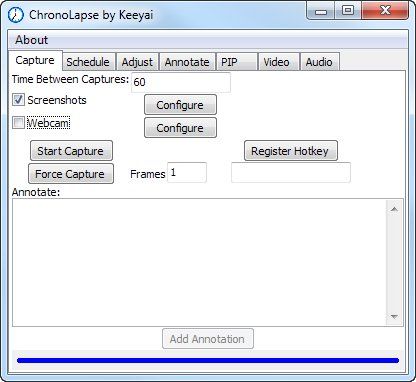
Here's the main window:
As you can see, you can configure the interval between each capture (screenshot or webcam capture), and the source. You might want to change the interval, according to the pace of whatever you're capturing: If you're working in a frenzy and there's a lot happening on the screen, setting a shorter interval would capture the action better.
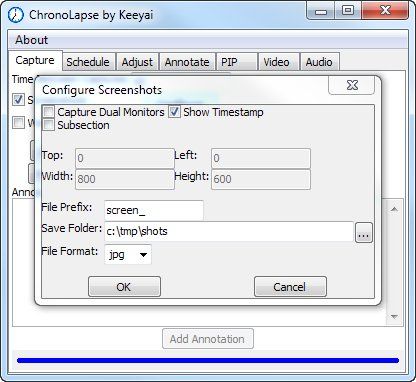
Next, let's take a closer look at configuring the screenshot source:
If you have a dual-monitor system, you can use ChronoLapse to capture both monitors, as shown in this video.
You can also limit it to just a section of your screen, in case you don't want it to capture any sensitive information displayed outside of the window you're working on. Sadly, you cannot drag a marquee to indicate the area you'd like to capture. You can only manually specify its pixel borders. Also, you can't "lock" the capture to a specific window - you can only capture a section of the screen (or the whole screen). For now, let's just leave it as it was. Make sure you configure the Save Folder. This is where the captured images go. You'd want to use a new, empty folder.
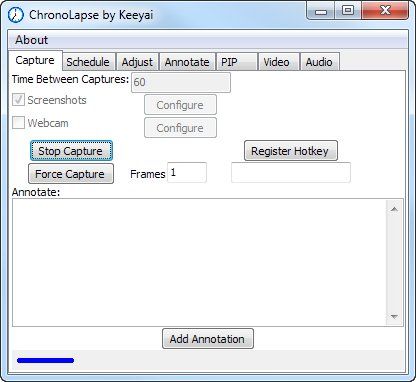
Next, launch the application you wish to capture, load your file, and get ready. Once you're all set, switch back to the ChronoLapse window and click Start Capture. The button will change to Stop Capture.
Now go back to your app and go about your business, creating the masterpiece you'd like to record for posterity. If you need to pause for a while, you can just switch back to the ChronoLapse folder and click Stop Capture. Once you're ready to start, just click Start Capture again.
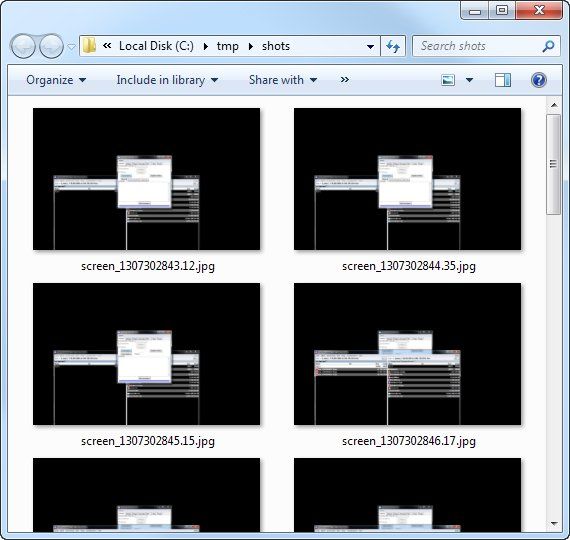
Once you're done working, go to your capture folder and check out the images:
You will probably see a few images you don't want to end up in the final video, such as screenshots showing the ChronoLapse interface itself. Simply delete those.
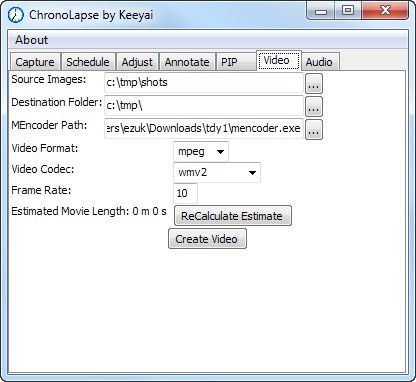
Now it's time to make your movie! Switch back to ChronoLapse, and click the Video tab:
The Source Images folder should, of course, be the folder you originally captured all of the images to. Don't worry about MEncoder. That's the video encoder, and it comes bundled with ChronoLapse. Don't change this setting unless you have a good reason.
You can also leave the codecs as they are. The chances are you're going to upload the video to YouTube, which can process these easily. One thing you might want to tweak is the frame rate. Depending on the desired duration of the video, you can set how many frames per second your video should contain. Change this value and click ReCalculate Estimate (their capitalization, not mine). Once you're happy with the projected duration, click Create Video.
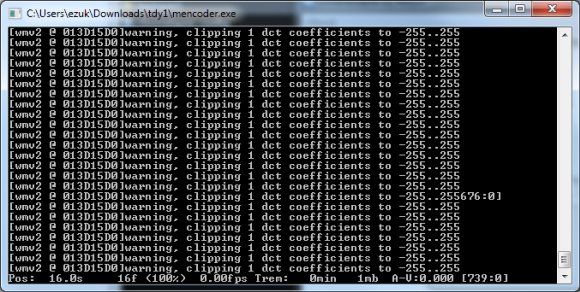
A console window will now pop up, while MEncoder does its magic:
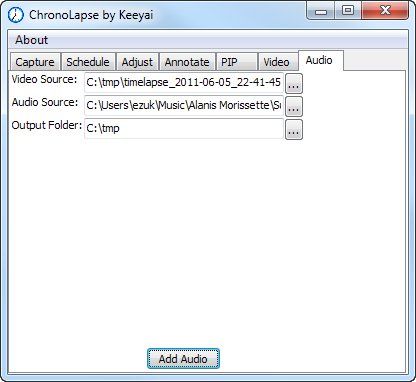
Once done, you'll have a video file of your creation. Play it back and see if you're happy with it. If you are, now's the time to add audio. You can do this using ChronoLapse itself:
Just select your video file, any audio file (I obviously wouldn't use Alanis for a real screencast...) and an output folder. Hit Add Audio and let MEncoder do its magic. Of course, this isn't going to work if you're going to narrate anything and need to sync the audio up to specific spots in the video, but then again, time lapse videos are rarely narrated. If you do need to narrate or add any other effects, you're better off using a standard video editor.
You can do lots of other things with ChronoLapse. As soon as you bring a webcam into the picture, a host of other possibilities opens up. But I hope this short tutorial was enough to whet your appetite, and if you create anything cool, I'd love to see it in the comments!
Image Credit: ShutterStock


