I did not realize what a shutterbug I was until I had my daughter. I have now amassed more than twenty thousand pictures of my daughter and her shenanigans in the last 2 years. I have my screen saver showing them - that is when my machine is idle. So basically no one sees all my hard work and no one enjoys these pictures right now.
Well that is about to change. I downloaded a little 15MB application called PhotoFilmStrip (actually they send you to Sourceforge to grab the installer.)
Install the application and allow it to associate PFS files with itself and you are on your way to creating your first picture slideshow filmstrip! This application does render the pictures and transitions into video (which you can choose the quality of) so it does take some time to render. My 15 picture set took about 7 minutes to work so you can figure around 45 seconds per picture in a environment like mine.
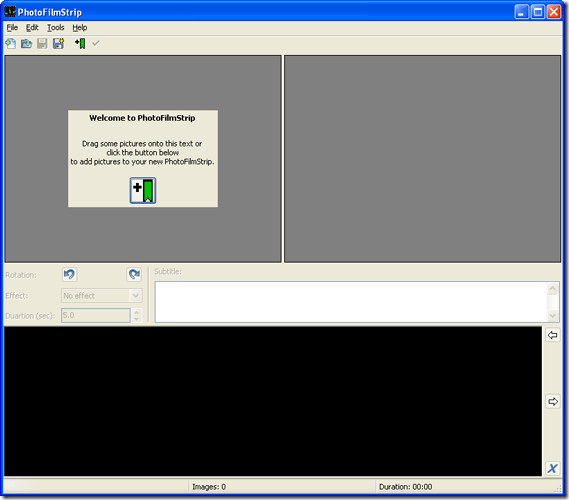
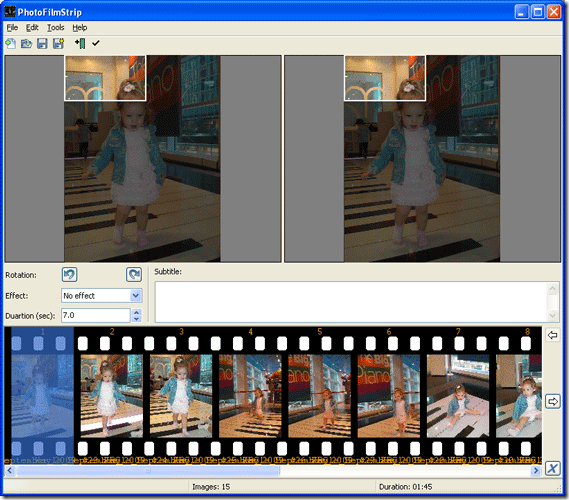
You can start by either dragging and dropping your pictures onto the top left portion of the screen which you can see in the screenshot below:
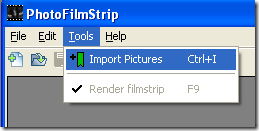
You can also hit Tools - Import Pictures
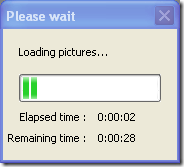
While the photos are loading into PhotoFilmStrip you will see a standard status bar letting you know where you stand (and how long you will wait!)
Then finally after all your images are in the program you will see them appear in chronological order on the time line at the bottom of the interface"¦ Kind of like a film strip. (Hindsight: after ruining the first render I realized I need to resize that box to cover my subject. Simply manipulate it with your mouse for each one. This will get the focus and not the floor or ceiling! Hopefully this will save you some time!)
Now we can take a look at our options for creating them into a hot picture slideshow video. I did not go this far with my experiments but you can add an audio track or subtitles to your new piece de'resistance!
When you are all done hit F9 or the Tools menu option and then Render Filmstrip. This is the magic that makes your video out of the still images and anything else you imported.
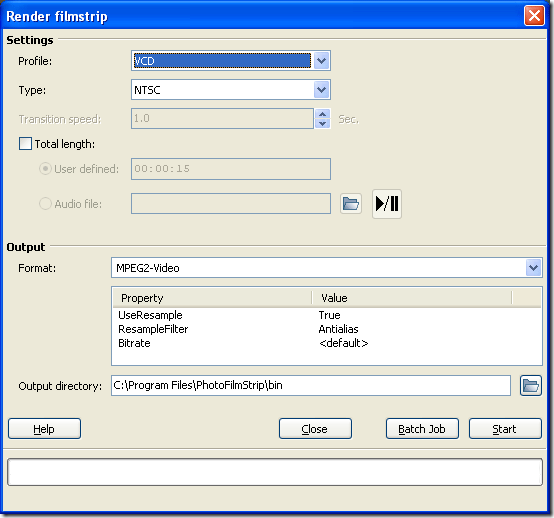
After starting the process you will see your options for creating your video. Among them are the quality of the video profile. There is VCD all the way up to HD video. Obviously the better the quality the longer it will take to render and the larger the final output file will be.
You can set the length of the video and if you are going that route you can set up an audio file to play along with the video. This can be music or synced up video - either which way it is as simple as pointing it to the right file. You can play and test the audio file using the play and pause buttons.
On the bottom of the screen is the output settings. You can change the MPG2 video to be Xvid and you can choose your output directory. Hit start or batch job to run multiple projects. And you are off to waiting. Be prepared to wait a while depending on the amount of pictures and the size of them -you know go smoke em if you got em!
After outputting my video I realized that I needed to go back to the beginning and mark the center of the images where the subject is instead of just leaving them alone. Some of my shots then only focused on the top of the pictures.
We would love to see what you created - hit us with some youTube links in the comments!
Download: PhotoFilmStrip

