Java provides JDBC (Java DataBase Connectivity) as a part of the Java SDK (Software Development Kit). Using this API, it is very easy to connect to a relational database and perform common operations such as querying, inserting, updating, and deleting records.
While the core JDBC API is included in java, connecting to a particular database such as MySQL or SQL Server requires an additional component known as the database driver. This database driver is a software component which translates the core JDBC calls into a format understood by that database.
In this article, let us look at the details of connecting to a MySQL database and how to perform a few queries with it.
The MySQL Database Driver
As explained above, to be able to connect to a MySQL database, you need the JDBC driver for MySQL. This is called the Connector/J driver and can be downloaded from the MySQL site here.
Once you download the ZIP (or TAR.GZ) file, extract the archive and copy the JAR file mysql-connector-java--bin.jar to a suitable location. This file is required for running any code that uses the MySQL JDBC Driver.
Creating a Sample Database
Assuming you have downloaded the MySQL database and set it up properly where you have access to it, let us create a sample database so we can use it for connecting and performing queries.
Connect to the database using a client of your choice and run the following statements to create a sample database.
create database sample;
We also need a username and password to be able to connect to the database (unless you want to connect as the administrator, which is generally a bad idea).
The following creates a user named testuser who will connect to the MySQL database from the same machine where it is running (indicated by localhost), using the password securepwd.
create user 'testuser'@'localhost' identified by 'securepwd';
If you are connecting to a database running on another machine (named remotemc), you need to use the following (remotemc can be a hostname or an ip address):
create user 'testuser'@'remotemc' identified by 'securepwd';
Now that the username and password has been created, we need to grant access to the sample database created previously.
grant all on sample.* to 'testuser'@'localhost';
Or, if the database is remote:
grant all on sample.* to 'testuser'@'remotemc';
You should now verify that you can connect to the database as the user you just created with the same password. You can also run the following commands after connecting, to make sure permissions are all correct.
        create table joe(id int primary key auto_increment, name varchar(25));
drop table joe;
Set Up Java Class Path
Let us now get into the details of how to connect to MySQL from Java. The first step is to load the database driver. This is done by invoking the following at a suitable location.
Class.forName("com.mysql.jdbc.Driver");
The code could throw an exception, so you can catch it if you intend to deal with it (such as formatting the error message for a GUI).
        try {
  Class.forName("com.mysql.jdbc.Driver");
} catch(ClassNotFoundException ex) {
  // use the exception here
}
It is very common to invoke this code in a static block in the class so the program fails immediately if the driver cannot be loaded.
        public class Sample

  static {
    try {
      Class.forName("com.mysql.jdbc.Driver");
    } catch(ClassNotFoundException ex) {
      System.err.println("Unable to load MySQL Driver");
    }
  }
}
Of course, to be able to find the driver, the program must be invoked with the driver JAR (downloaded and extracted above) included in the class path as follows.
java -cp mysql-connector-java-<version>-bin.jar:... <class to run>
Connecting to MySQL From Java
Now that we have squared away the details of loading the MySQL driver from java, let us get connecting to the database. One way to create a database connection is to use the DriverManager.
        String jdbcUrl = ...;
Connection con = DriverManager.getConnection(jdbcUrl);
And what is the jdbcUrl? It indicates the details of the connection, including the server where the database is located, username and so on. Here is a sample URL for our example.
String jdbcUrl = "jdbc:mysql://localhost/sample?user=testuser&password=secrepwd";
Notice that we have included all the parameters required for connection, including the hostname (localhost), username and password. (Including the password like this is NOT a good practice, see below for alternatives.)
Using this jdbcUrl, here is a complete program to check connectivity.
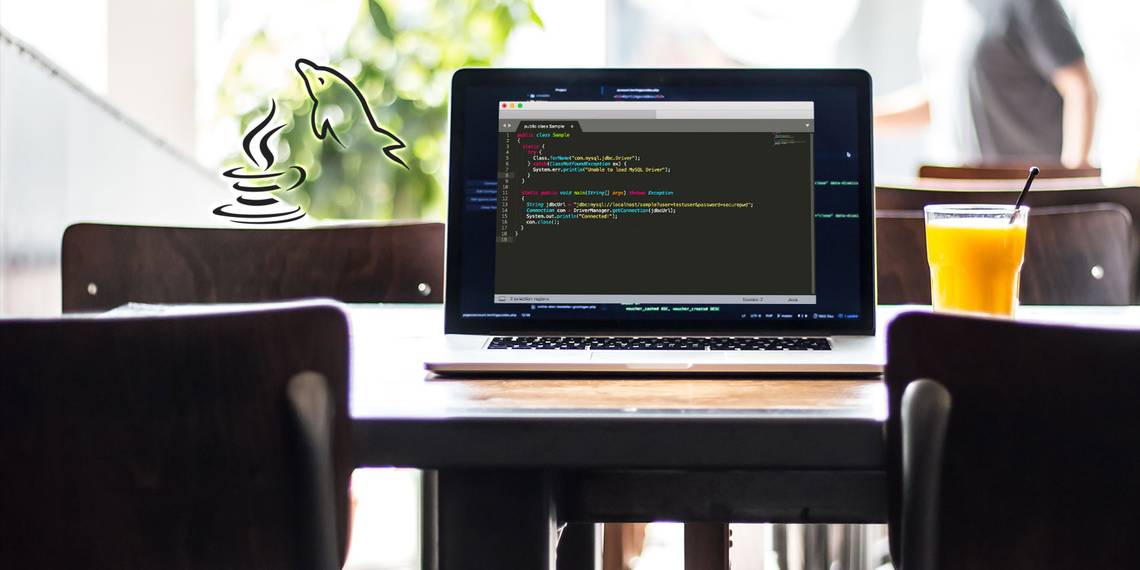
        public class Sample
{
  static {
    try {
      Class.forName("com.mysql.jdbc.Driver");
    } catch(ClassNotFoundException ex) {
      System.err.println("Unable to load MySQL Driver");
    }
  }

  static public void main(String[] args) throws Exception
  {
    String jdbcUrl = "jdbc:mysql://localhost/sample?user=testuser&password=securepwd";
    Connection con = DriverManager.getConnection(jdbcUrl);
    System.out.println("Connected!");
    con.close();
  }
}
Note that a database connection is a precious resource in a program and must be closed properly as above. The above code, however, does not close the connection in case of an exception. In order to close the connection on a normal or abnormal exit, use the following pattern:
        try(Connection con = DriverManager.getConnection(jdbcUrl)) {
  System.out.println("Connected!");
}
As noted above, it is a bad idea to embed the password in the JDBC URL. To specify the username and password directly, you can use the following connection option instead.
        String jdbcUrl = "jdbc:mysql://localhost/sample";
try(Connection con = DriverManager.getConnection(jdbcUrl, "testuser", "securepwd")) {
}
Querying the Database From Java
Now that the connection to the database is established, let us see how to perform a query, such as querying the database version:
select version();
A query is executed in java as follows. A Statement object is created and a query is executed using the executeQuery() method which returns a ResultSet.
        String queryString = "select version()";
Statement stmt = con.createStatement();
ResultSet rset = stmt.executeQuery(queryString);
Print the version from the ResultSet as follows. 1 refers to index of the column in the results, starting from 1.
        while ( rset.next()) {
  System.out.println("Version: " + rset.getString(1));
}
After processing the results, the objects need to be closed.
        rset.close();
stmt.close();
And that covers all there is to connecting to MySQL from java and performing a simple query.
Also check out our SQL commands cheat sheet.