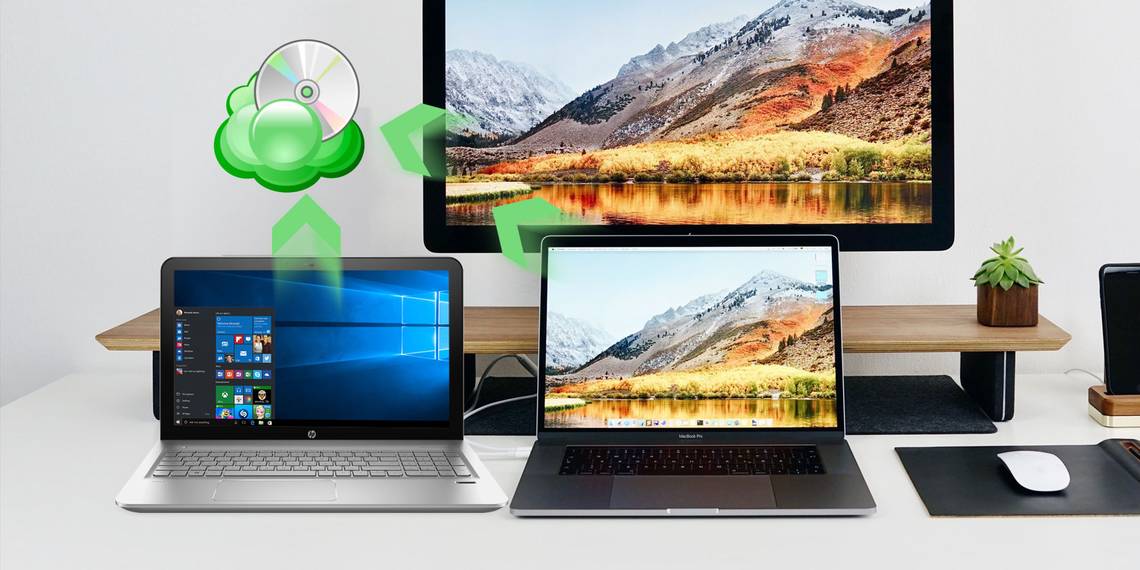
Backing up your computer is one of the most important tasks for users. Without a backup, you could lose years' worth of documents, pictures, and more in an instant.
CloudBerry Lab, the same team behind the free remote assistant app, offers a handy backup utility as well. Let's take a look at this software and see what it can do for you.
Getting Started
To get started with your cloud backup for business, head to the CloudBerry Backup page. Click the green Download Free Trial button and then choose the platform you'd like to install on. CloudBerry Backup supports Windows 7 and newer, macOS 10.8 (Mountain Lion) and newer, various flavors of Linux, plus Windows Server 2003 and newer for business environments.

After choosing your platform, enter your email address and the download will begin. Install it like you would any other program, and you'll see the following prompt to choose your install option:

The Home Edition is free for private use. It includes basic features but doesn't support compression, encryption, or image-based backups. If you'd like, you can also click Start 15 days trial to give the software a try with all tools. Activate commercial version lets you enter your license key if you've already bought a license.
If you choose to install the free version or start a trial, you'll need to enter the activation code you received in your email. In case you didn't get one, click I do not have activation code, confirm your email address, and you can log in that way. When activating the trial, you must also choose the edition you'd like to try.

Your First Backup
Once you enter the software, you'll see its main screen. The four backup options are:
- Files
- Image Based
- Microsoft SQL Server
- Microsoft Exchange
In both the free and pro desktop editions, the only available option is Files. Since the other options are intended for commercial use, we'll talk through creating a backup using the Files option.
Starting the Backup
Click Files to get started and you'll see the wizard.
Your first choice is between Local or Cloud Backup and Hybrid Backup. The first lets you store files on your PC to either an external/secondary hard drive, or cloud storage. But the second option, Hybrid Backup, is more interesting. This lets you back up your PC to a local drive, then upload that backup to cloud storage.

Not only does this follow the vital 3-2-1 rule of backup, but it also reduces load on your computer. You get to run two backups with one plan, simplifying the process for you. Plus, if you choose to encrypt and compress the backup, the hybrid method only requires doing this one time. We recommend using this if you plan to back up to both destinations as it's quite handy.
If you check the Enable ransomware protection box, CloudBerry Backup will warn you when files that you've backed up are under attack from ransomware. Click Next to proceed once you've chosen.
Choosing a Backup Location
Next, you'll need to choose a location for your backup. If you chose Hybrid Backup, click the Add New Account button to specify a folder. Enter a friendly name in the Display name box, and browse out to the right Path. Click OK to save the destination and Next to proceed.

Second if you chose Hybrid Backup, or first if you chose Local or Cloud Backup, you'll have to click Add New Account and choose a cloud service to save to. If you're running a local backup only and want to back up to a folder on your PC, choose File System and enter a location as above.
For backing up to cloud storage, CloudBerry Backup offers several options. Popular choices include Amazon S3, Azure, Google Cloud, and Google Drive. However, note that CloudBerry Backup does not provide storage for cloud backups. You must purchase a storage plan from a provider on your own and then link your account to CloudBerry.

Because most of the storage options here are intended for business use, we recommend home users back up to Google Drive or OneDrive. With the small amount of space that personal files take up, using Amazon S3 or Microsoft Azure is overkill. You can purchase 100GB of space from Google Drive for $2/month, or 1TB for $10/month.
Select a cloud destination, enter your login credentials to connect your account, and click OK.
Continuing the Backup Plan
Once you've specified the necessary backup destinations, you can enter a plan name for easy identification. Check the Save backup plan[...] box to remember the plan for convenience.

Continue, and you'll see a few advanced options. If you enable Force using VSS, the backup will access the most recent version of files even if they're locked because they're being used by another app. Leaving this unchecked means it will only back up the last-saved version of the file if it's locked.
Checking the Backup NTFS permissions box will store information about what PC users are allowed to access the file. This isn't necessary for most home users, nor is the Use backup operator option.

Next, you'll need to select the folders you want to back up. After you've checked what you want, hit Next again. You'll see some advanced filter options. If you want to get specific about the folders and files to back up, use these.

Finishing the backup
If you have a licensed copy of the app, you can enable compression and encryption if your destination supports it. Compression makes the files smaller to save space, and encryption protects the backup with a password to prevent unauthorized access. If you encrypt the backup, make sure you don't lose the password.
Use the Retention Policy dialog to select how long you keep this backup for. Click the options link under Use defaults to set your default if this is your first backup.

Next, you'll need to set a schedule for the backup. Use No schedule if you want it to run manually, which isn't a good idea as it's easy to forget. We recommend using the Recurring option and setting it to run regularly. Daily is a good option if this is your primary PC backup. Make sure to select a good time too.

If you like, you can enable a notification when the backup completes. Enter your email address and you'll get a message if the backup fails (or every time, per your preference). You can also add an entry to the Event Log in Windows to help troubleshoot failures.

Finally, you'll see a summary of all your choices. Click Next after you've reviewed it. Then click Finish to wrap up, optionally checking Run backup now to get started right away.
Managing Backups
Once you've created your first backup, you can review plans, add more backup destinations, and more anytime.
On the Welcome tab, you'll see the results of your last backup, upcoming backups, and your storage accounts. Click the Plus icon in the Storage Accounts section to connect a new account.

Check the Backup Plans tab to review your current plans. You can edit or delete them, view their history, and review important information as needed.
Use the Restore Plans tab to restore your files when needed. You can follow the wizard to choose where you'd like to restore your files from, which version to restore, and other options.

Select the Backup Storage tab and you can browse the files you have backed up. This allows you to use a familiar navigation tree to restore or delete files and folders.
Finally, use the History tab to get information on past operations.
Plans and Other Tools
That's the core feature set of CloudBerry Backup. The free version lets you use the above procedure to back up your files, and works with up to 200GB of data. If you upgrade to the Pro version of CloudBerry software for Windows cloud backup, you can work with up to 5TB of data (remember that you'll still need to purchase storage separately), use compression and encryption, and are eligible for email support.
If you want to use the Image Based, SQL Server, or Exchange options, you'll need to upgrade to a commercial plan. These support additional backup options, but home users don't need them.
To switch your plan, click the blue button in the top-left corner of the software, then click Licensing. Here you can start the Pro trial, buy a license key, or enter one you've bought.

All Backed Up With CloudBerry
We've seen what CloudBerry Backup for Windows Desktop can do for you. While it offers plans and features suitable for business users, its desktop versions also provide great options for home use. If you like customizing every aspect of your backup, you should certainly take a look at CloudBerry Backup.
What do you think of what CloudBerry offers? Do you prefer local or cloud backups? Leave your thoughts down in the comments below!