Do you have a flash drive that is a little bit iffy? Are you just a geek and like to run checks against"¦ well anything that you can run tests against? Are you worried that your flash drive might be failing?
If you have answered yes to any (or all) of these three questions than have i got a free application for you! I have been using it for a little while now and I must say it does exactly what it says it will do. It will check your Flash Drive for bad blocks or in errors in reading and writing to it.
Think of it as putting your Flash Drive through the test, and it does work for normal, regular other drives as well.
SSD drives are still pretty damn expensive and you do not want to start using a damaged drive then you can use this to test those drives also.
The homepage for this little app is in Russian and is located at http://mikelab.kiev.ua a direct download link is available to our non-Russian speaking friends here http://mikelab.kiev.ua/PROGRAMS/ChkFlsh.zip of course you could always just translate the page using any number of web translation tools but hey we are trying to make it easy for you right?
Update: I have found an English version of the site as well here: http://mikelab.kiev.ua/index_en.php?page=PROGRAMS/programs_en
Let's see what ChkFlsh can do! Long story short this application has the ability to read and write to every block or sector of your flash drive. Why would you want to do this? Well it simulates actual read and write activities to your drive, and that will tell you if your drive might be getting ready to fail. After you download and ChkFlsh you will have three files, one executable, one text file and one .bat file (Called Danger.bat).
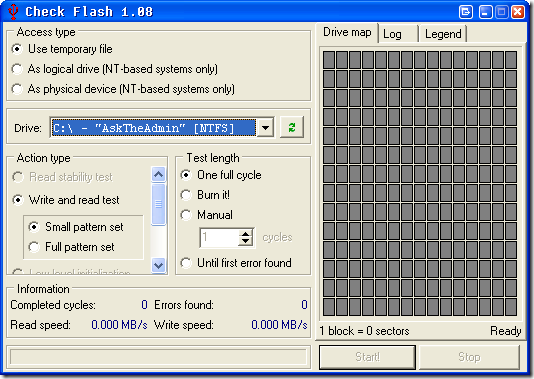
The danger.bat file will execute ChkFlsh with the /ALL option and launch ChkFlsh's GUI as you can see below. If you run just ChkFlsh.exe you will only see flash drives. This full test will destroy the data on your drive hence the files name DANGER!
I just pulled down the Drive drop down menu and choose a flash drive as you can see:
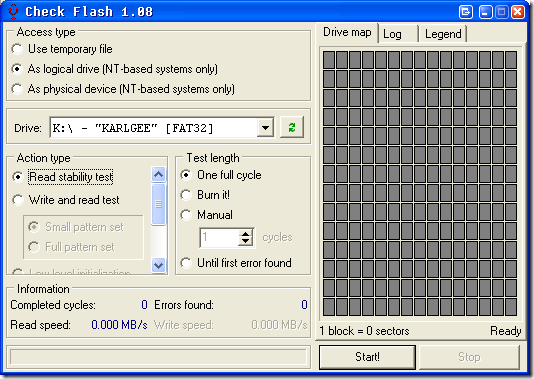
I choose the second option to use as a logical drive and selected K:\ my 2gb Cruzer. Unless you want to blow away all the data on your drive you should only use the Read stability test. AGAIN THE WRITE AND READ TEST WILL WIPE YOUR DRIVE! YOU WILL HAVE TO FORMAT IT TO USE IT AGAIN! BEWARE!
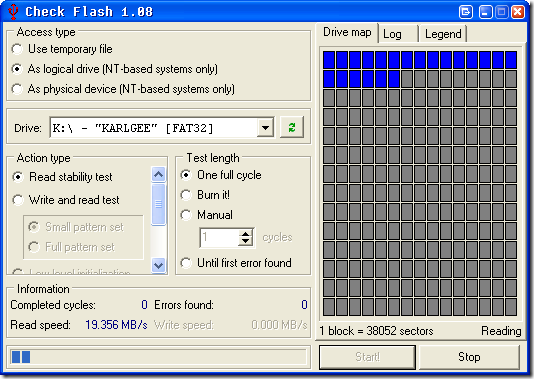
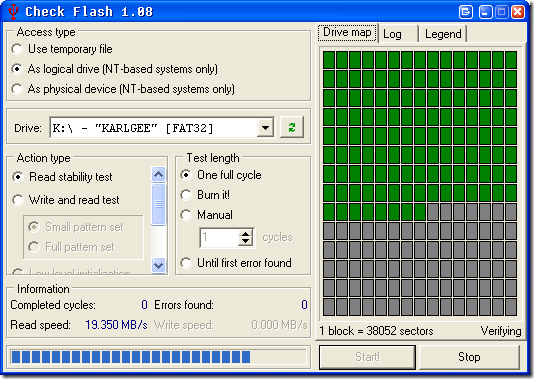
I picked the One Full Cycle option for test length. And then I hit start:
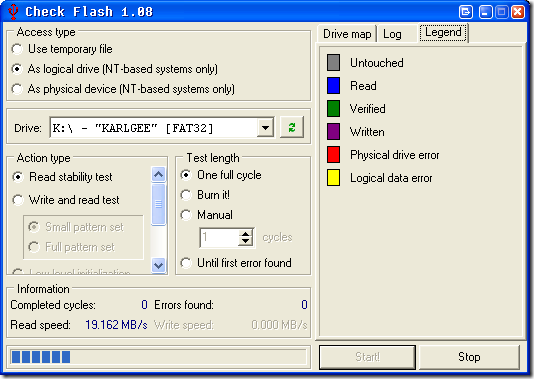
You can also see an old school defrag/check disk window display a representation of your drive. The legend is as follows:
The drive ran through marking everything as Read (blue) then it starts verifying by marking blocks green as you can see below:
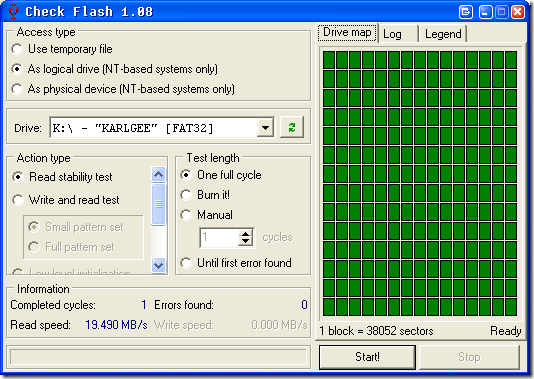
So as it reads through your data it will assign each block a color so you can see what is going on. Errors and read speed can be found at the bottom of the applications window.
When it is complete you will see a screen similar to this:
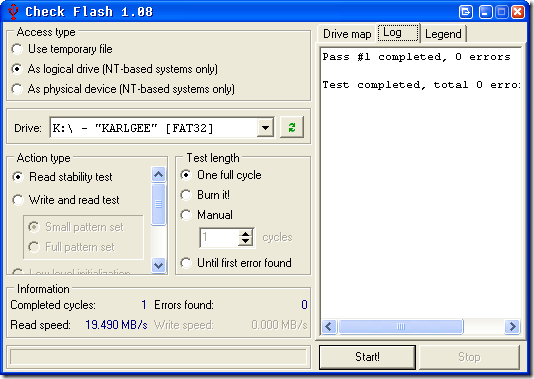
And if you click on over to the Log tab you will see your results in plain English.
Awesome my Flash drive is stable and I can continue on storing all those important pornos documents and applications on there :)
You can run ChkFlsh with lots of switches that can be found in their included text file. In other words you can do any of the applications intended uses via command line or a batch file. I am adding that information to this post for reference here:
/All Show all available drives/devices (instead removable only)
/Access:<index> Preselect "Access type" (see hints on radio buttons)
/Action:<index> Preselect "Action type" (see hints on radio buttons)
/Pattern:<index> Preselect pattern set for "Write and read test" (see hints
on radio buttons)
/File:"<filename>" Set file name for "Save image" or "Load image" single pass
/TestLen:<index> Preselect "Test length" (see hints on radio buttons)
/TestCount:<count> Set value for "Manual" test count
/Sure Supress warnings about destructive operations
/Start:"<drive>" Start process immediate for specified drive or device
("<drive>" is a first charachters in the drop-down list of
selected access type: "C" or "D:" or "E:\" for temporary
file or logical drive access; "0" or "1:" or "2:\" for
physical device access type). If no drive or device will
found, error message displayed and no any process started.
Examples:
ChkFlsh.exe /Access:1 /Action:1 /Pattern:1 /Sure /Start:"Z:\"
Selects "As logical drive" access type, "Write and read
test" with "Full pattern set", supress warning about
erasing data during test and start process with these
options for drive "Z:\"
ChkFlsh.exe /Access:2 /Action:3 /File:"C:\image.img" /Start:"4:\"
Stores full image of device number 4 into file C:\image.img
ChkFlsh.exe /TestLen:3
Select by default "Until first error found" test length and
wait for any other user input
Do you have another method to testing Flash drives? Do you put your SSD to the test? Let us know in the comments!


