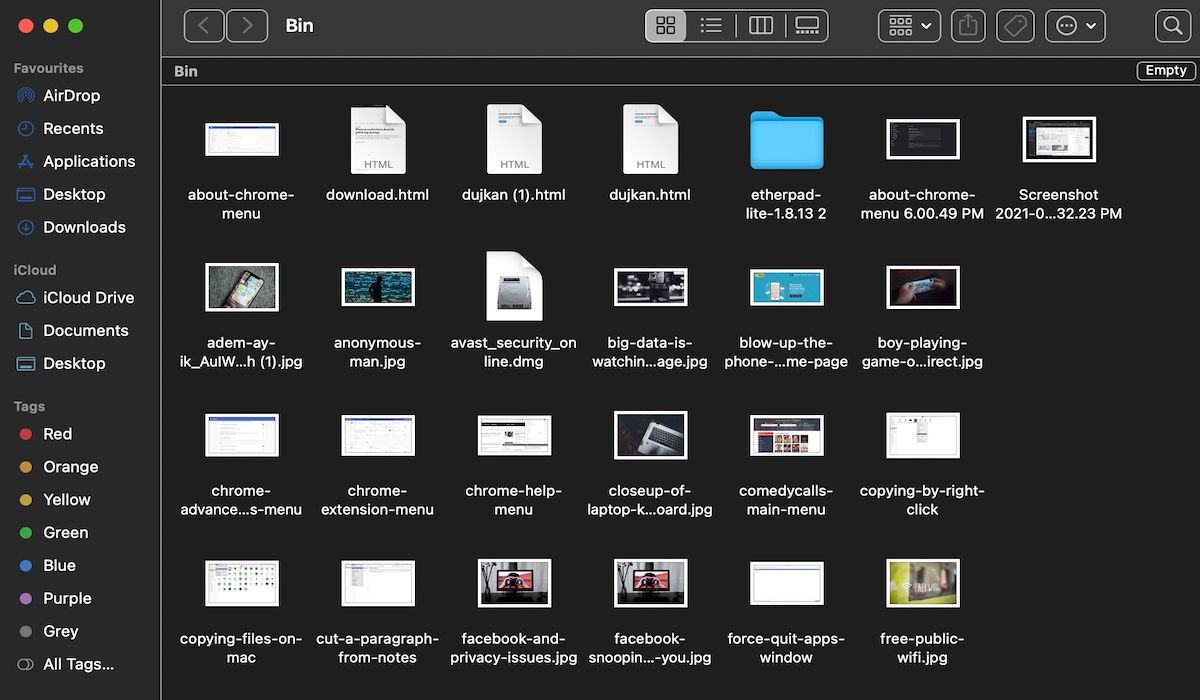
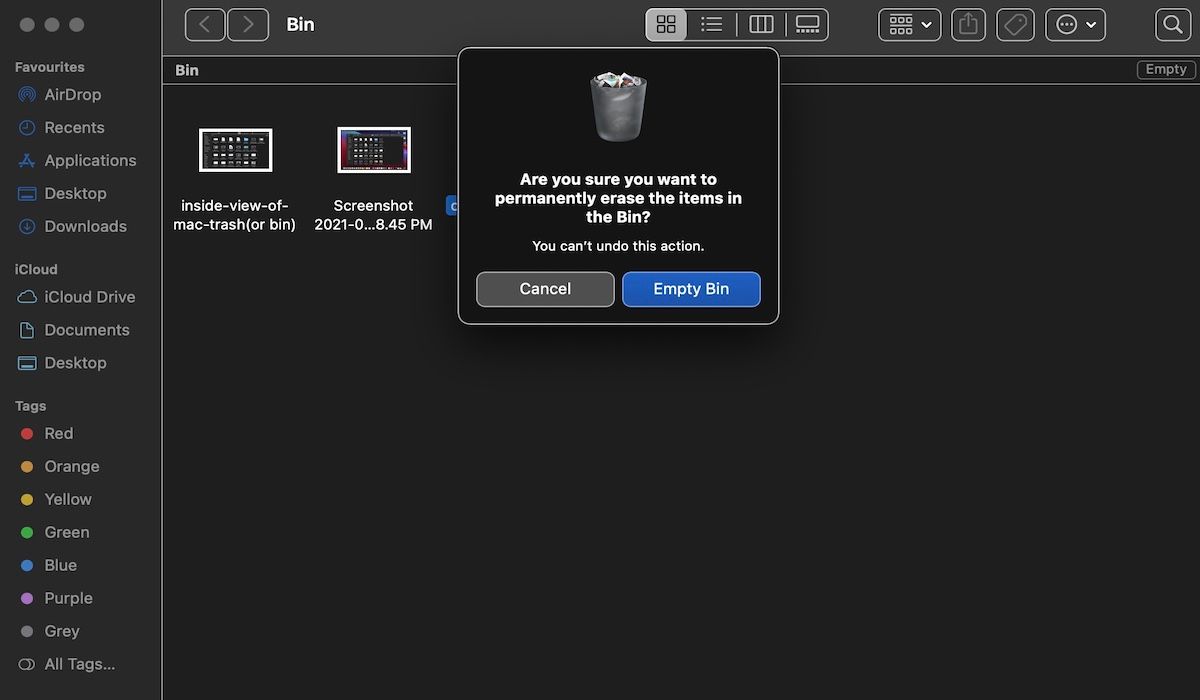
Normally, emptying the Trash folder—which may be called the Bin in your region—is a quick process. You open the folder and click the Empty button in the top-right corner.
That's all it takes. However, there are cases when the Trash doesn't let you permanently delete certain files.
This guide covers how to deal with such cases. It shows how to check whether files are in use or locked. We'll also review how to perform disk repairs in cases where a disk problem is stopping you from emptying the Trash. Also, we'll look at how to use the Terminal to force the Trash to empty.
1. Restart Your Mac
Ideally, when you close an app or a file, it's supposed to release the CPU memory that it's occupying for running itself. But on rare occasions when this doesn't happen and the program keeps hold of the memory space on your computer, it can lead to various problems.
To make sure that this isn't the case here, a quick restart is worth a shot before we get into more complex solutions.
So, reboot your Mac and then give another go at emptying the Trash. If it doesn't work, jump to the next section.
2. How to Empty the Trash on Mac When Files Are in Use
Often, your Mac's Trash folder won't empty because certain files inside are still in use.
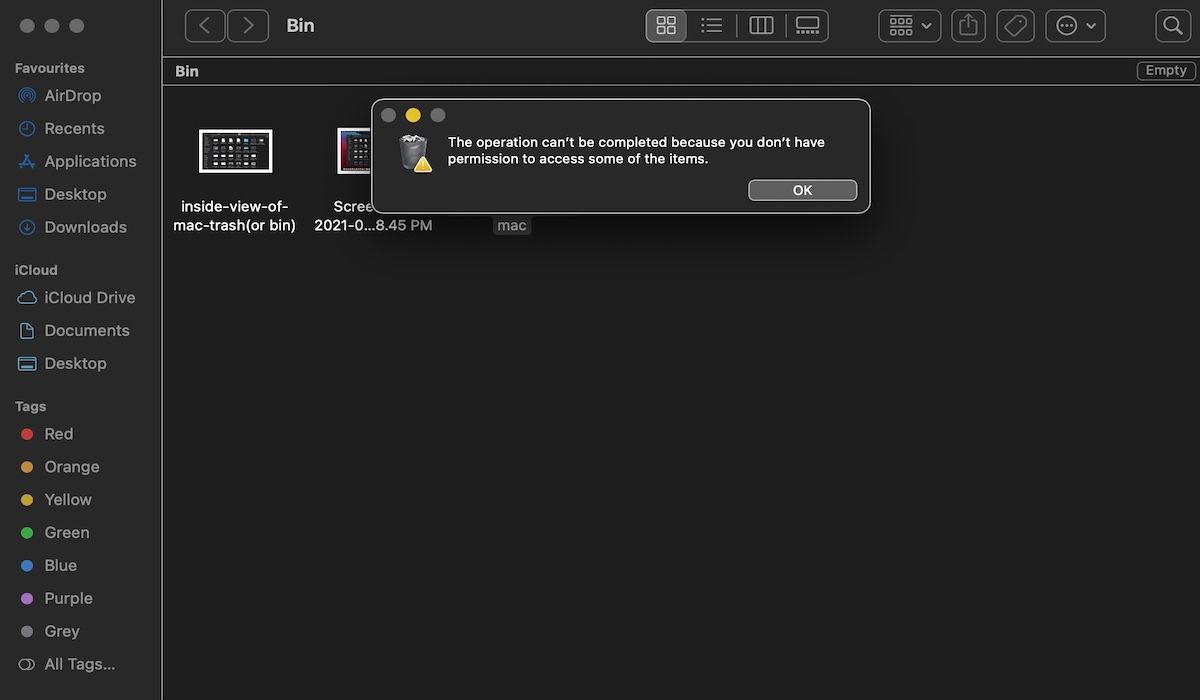
Another app, or some kind of background operational process, might be using them. Either way, you'll know this is the case because a popup will tell you something like: The operation can't be completed because the item is in use.
This means you'll have to close the file before you can delete it permanently. For example, if the item is a Word document, you'll have to close it in Word. If it's an application, you'll have to quit out of that app. And so on.
Occasionally, you might not be able to identify exactly where the file is open. In these cases, perhaps a background process is using it. To test whether this is the case, press Option + Cmd + Esc to open the Force Quit window.
Now close any additional programs that you think might be stopping you from clearing the Trash on your Mac.
Advanced File Usage Troubleshooting
Alternatively, a startup or login item might be using the file in question. You can get around this by starting up your Mac in Safe Mode. This stops some software from booting up automatically.
To boot your Mac in Safe Mode and empty the Trash:
- Shut down your Mac.
- Turn on your Mac and immediately hold Shift.
- Once you've booted up in Safe Mode, open the Trash.
- Click the Empty button (in the top-right corner).
This will delete the file if a startup app was using it. If not, another option is to use Terminal to check which app has the file locked. Here's how you do that:
- Open Trash.
- Press Cmd + Space to launch Spotlight.
- Type Terminal and press Return.
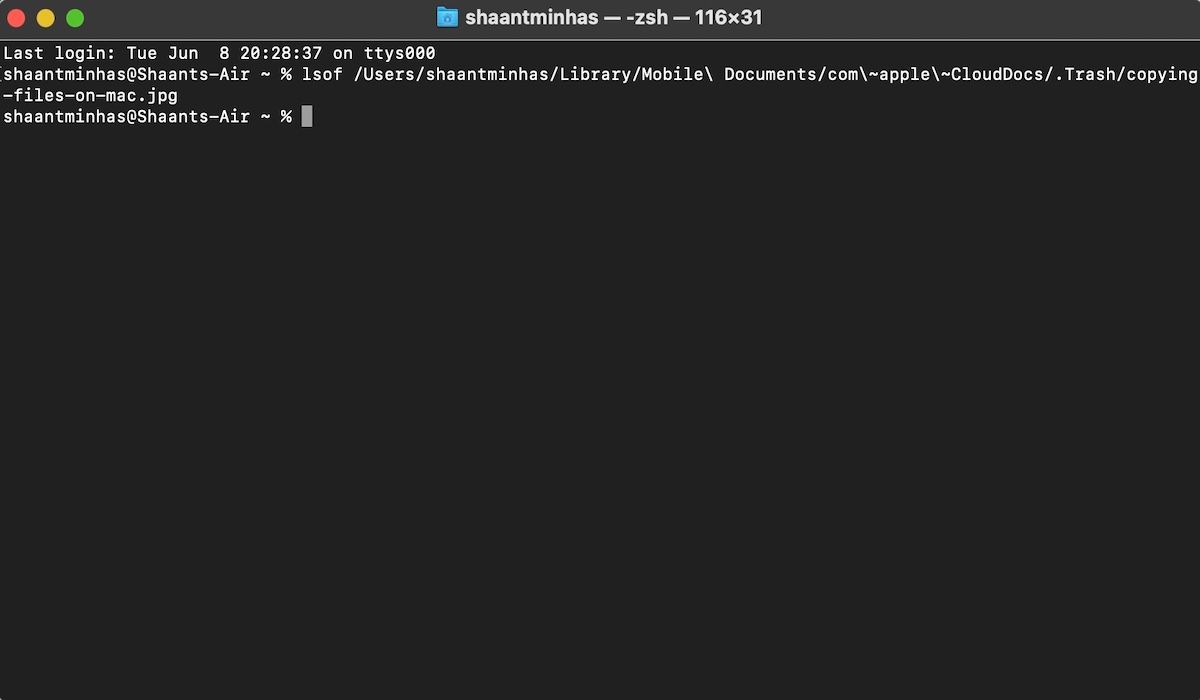
- Type lsof and press Space. This command means list open files and displays a list of files in use with the processes that opened them.
- Go back to Trash and drag the file you want to delete to the Terminal.
- Press Return to run the command.
This will bring up a list of the apps using the file. In our case, it doesn't do this as the file is not in use by any program.
However, if are seeing a list, you'll have to close all the programs. But bear in mind that Terminal might not give the full names of apps. So you might have to try closing several apps.
If this is your first taste of the Terminal, have a look at our Terminal beginner's guide for more tips.
3. How to Empty the Trash When Files Are Locked
In another case, the files you're trying to delete may be locked. You can easily correct this by going to the Trash and unlocking them. Here's what you need to do:
- Open the Trash.
- Control-click the file you want to delete.
- Click Get Info.
- Disable the Locked checkbox.
This will unlock the file and let you delete it. Once again, you can do this by clicking the Empty button. Alternatively, you can Control-click the file and click Delete Immediately.
4. How to Empty Trash When Your Disk Needs Repairing
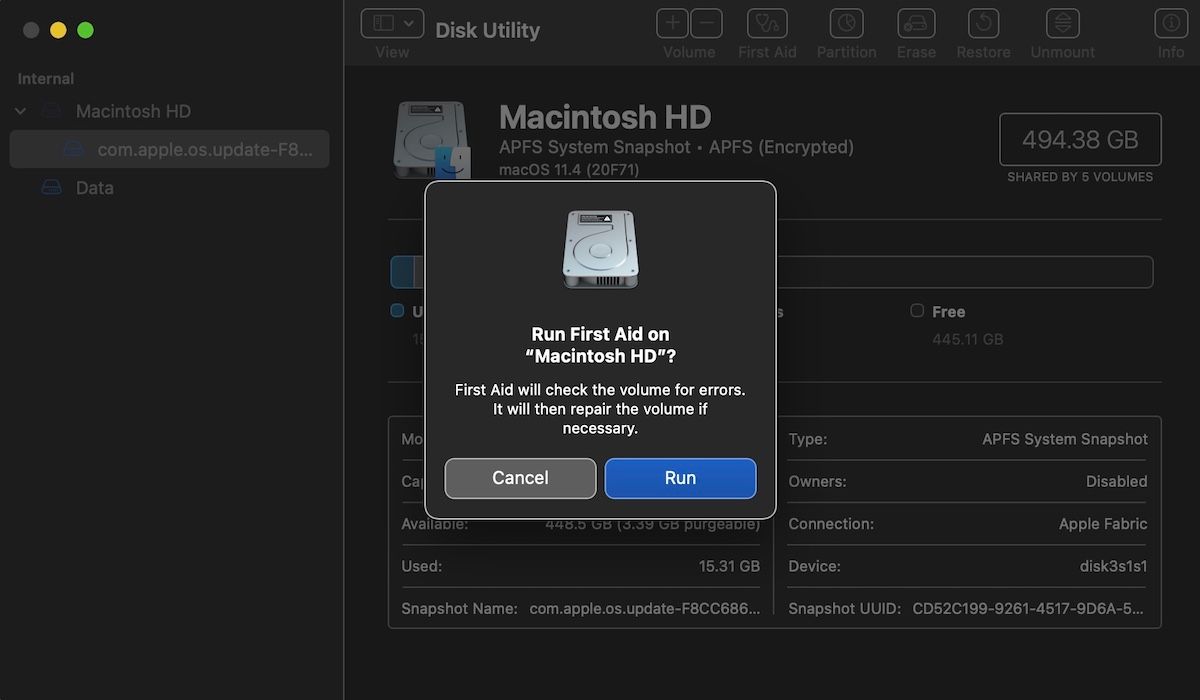
It's possible for a hard disk issue to prevent your Trash from emptying. You can run a test for this by launching Disk Utility and using the First Aid function.
Follow these instructions to complete the process:
- Press Cmd + Space to launch Spotlight.
- Type Disk Utility and press Return.
- Select your hard disk's name. Make sure it's the one containing the file you want to delete.
- Click First Aid, then choose Run.
The First Aid function will let you know if it finds any errors, but it can't fix problems on your main drive while it's running. You'll need to reboot your Mac in Recovery Mode to fix disk issues on your startup drive.
Repairing your Mac's disk is a good option when you have a problem and other steps haven't worked. In most cases, a disk repair should let you permanently delete items in the Trash.
If there isn't a disk issue at the root of your problems, you may need to force the Trash to empty.
5. How to Force the Trash to Empty
There are several ways to force-empty the Trash.
If a file is locked and you can't unlock it, you can try deleting it while holding the Option key. Trying holding Option while you click the Empty button. By holding Option, your Mac will bypass any locks on files.
This is quite useful if your Mac won't let you unlock any files.
Another option is to use a Terminal command to force the Trash to empty. This overrides any locks on your files and deletes files that are still in use. It also gets around any other errors that prevent the Trash from emptying.
As such, it's an effective way of permanently deleting files. However, it might be that macOS is preventing you from deleting files for a good reason. You may have accidentally sent something to the Trash that's important for a certain app to operate.
You should therefore proceed with caution when using the nuclear method described below:
- Press Cmd + Space to open Spotlight.
- Type Terminal and press Return to launch it.
- Type sudo rm -R and press Space. This is the command to force-delete files.
- Go back to the Trash and drag the files you want to delete to the Terminal window.
- Press Return.
- Enter your Mac's administrator password to authorize the command. This won't show as you type it, which is a security feature.
- Press Return to confirm and run the command.
This will immediately delete the files you dragged to the Terminal window. You can finally rest assured that your Mac is rid of that trash.
This Is How You Empty the Trash on Mac
Emptying your Trash is a good way of keeping your Mac clean and uncluttered. It saves disk space, helping your Mac to run more smoothly. Hopefully, this article helped you get the Mac Trash empty.
Known for its robust software and hardware design, your Mac might still fail on certain occasions, ranging from a dysfunctional mouse to more Trash troubles—as in our case.

