If you live in a multiple computer environment, you will know of the advantages of using NAS (Network-Attached Storage). Instead of storing common files inside a personal computer and synchronizing all those computers on a regular basis, it would be easier to store the files inside NAS and have all the computers within the network access the files there. NAS is perfect for collaboration in a small computer network, or for storing and sharing files.
But getting a NAS means spending more money on hardware. If you are within a personal network, have a computer with Ubuntu and some storage space to spare (either an internal or external drive(s)), you could build your own NAS using all the ingredients you already have.
Installing Samba In Ubuntu
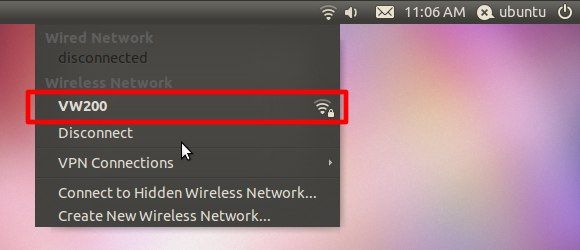
The first thing you need to do before anything else is make sure that your computer is connected to a local network. A wireless network is OK, but a wired network is highly recommended as it will give you a more stable connection.
The second thing to confirm is that you have a computer with Ubuntu installed. I used a netbook and Ubuntu Netbook Edition for my experiment. If you don't want to install Ubuntu on your computer, you can install the OS on a USB drive instead.
To be able to share storage within a local network, you need to add Samba to your Ubuntu. Samba is the most commonly used file server system. It is the open-source implementation of Microsoft's network protocol which means that it will work with all Windows, OS X and Linux machines on your LAN.
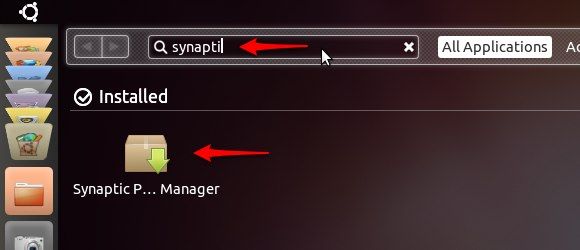
- Start by opening "Applications" from the side menu and search for "Synaptic Package Manager". This is the utility to add and remove packages (applications) within Ubuntu.
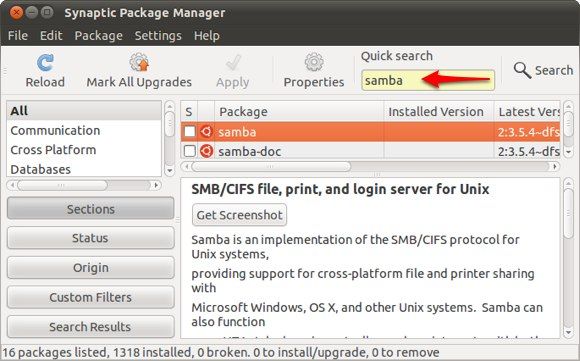
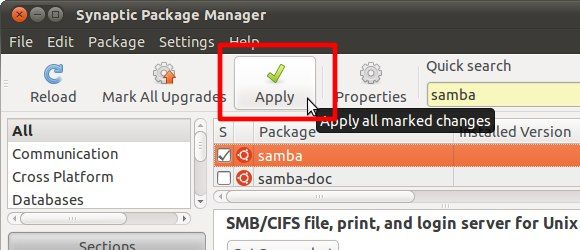
- Open Synaptic Package Manager and search for "samba".
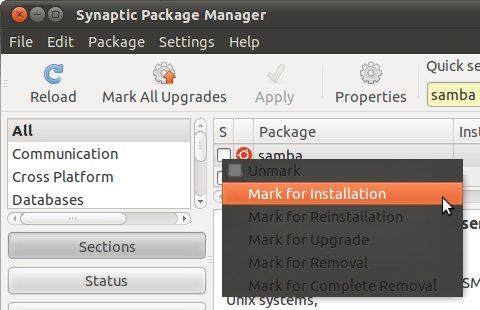
- From the search results, right click on "samba" and choose "Mark for Installation".
- Then click the "Apply" button to install it.
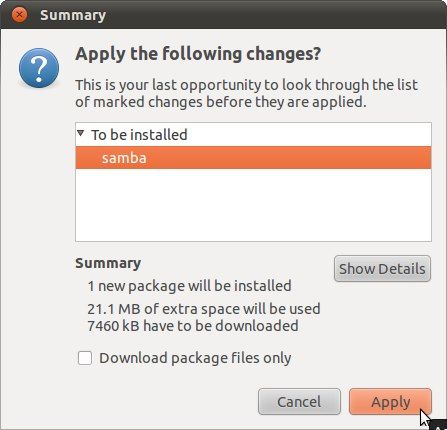
- A confirmation window will appear. Click "Apply" to continue.
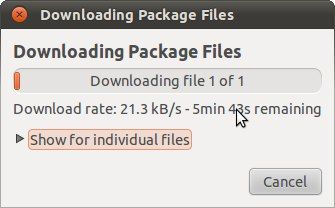
- Ubuntu will download and install the package. The process might take a while depending on the speed of your internet connection.
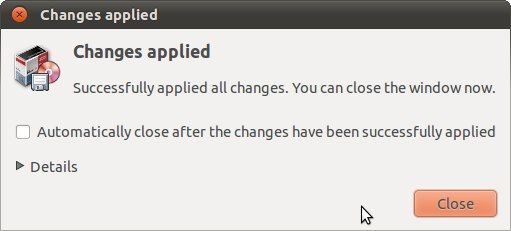
- Another confirmation window will appear after the installation is complete.
- Now you are ready to share some storage space within your network.
Create And Share Folder(s)
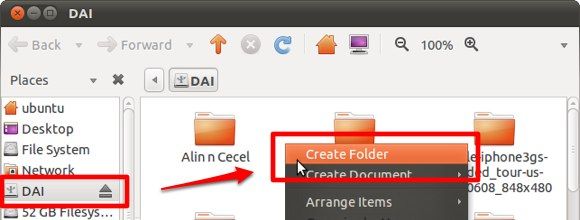
The next step is configuring the folder(s) to be shared to other users on your network. If you want to use an external drive as the Network Attached Storage, you can attach it to your system. If you don't want other users to mess up your existing folders, just create new folder(s) to share inside this storage space by right clicking on an empty space and choosing "Create Folder".
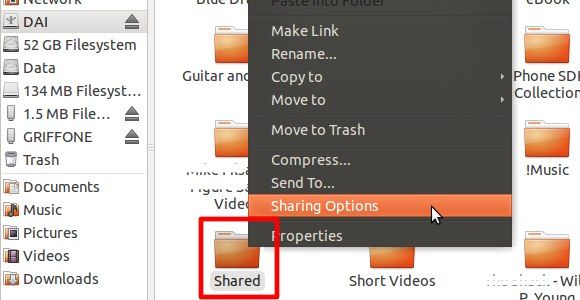
- Right-click on any folder that you want to share to access the "Sharing Options".
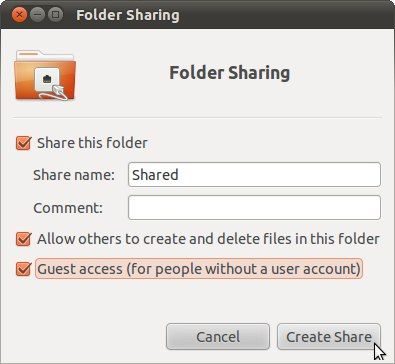
- Since we are going to use this storage inside a personal network, check all the boxes and fill in the required fields. Please consult the network administrator (or friends who understand networking) if you plan to use your Network Attached Storage inside a public network.
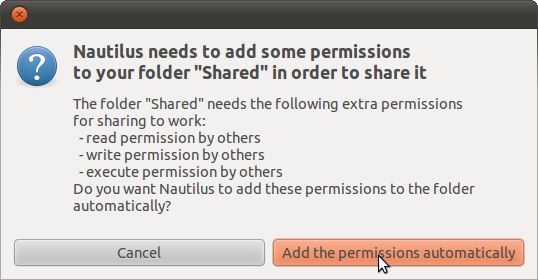
- You need to give permission to your machine before you can share the folder.
After that, your shared folder(s) will appear in the network and everybody within the network can use the folder(s) to store their files. Repeat the process to other folders that you want to share on the network.
Accessing The Shared Folders
To access the shared folders from any computer within the network, point the computer's file manager to:
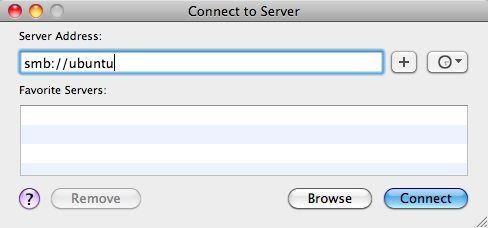
smb://ubuntu
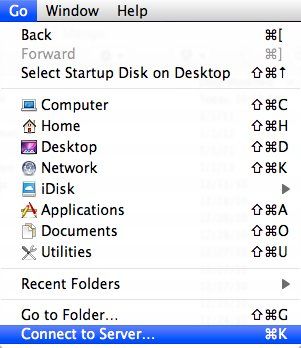
- In Mac, you can do this by going to the "Go - Connect To Server" menu (or by using "Command + K").
- You can write down the address manually and click "Connect", or you can use the "Browse" button to find the location of the shared folder(s).
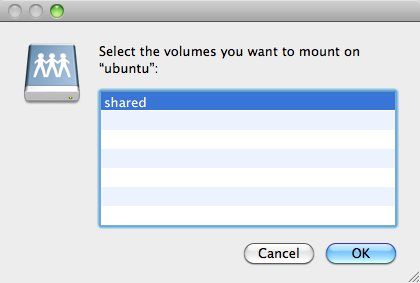
- The available folder(s) will appear on the list. Click "OK" to mount it.
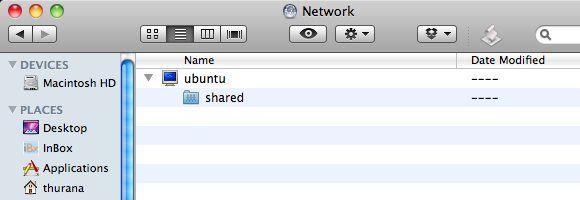
- After the folder is mounted, you can use it as if it's a folder inside the local hard drive.
I can't give an example of accessing the shared folder on NAS from a Windows machine because my Windows is installed on the same machine where I installed Ubuntu. But the process should be similar. You should find the "Connect To Server" menu from "Control Panel - Network".
I also used a rather unstable wireless network, so my results of building my own NAS are a bit disappointing. If you are able to try this on a stable network and/or also able to try accessing the shared folder(s) from a Windows machine, please share your results in the comments below.
Image credit: animaster


