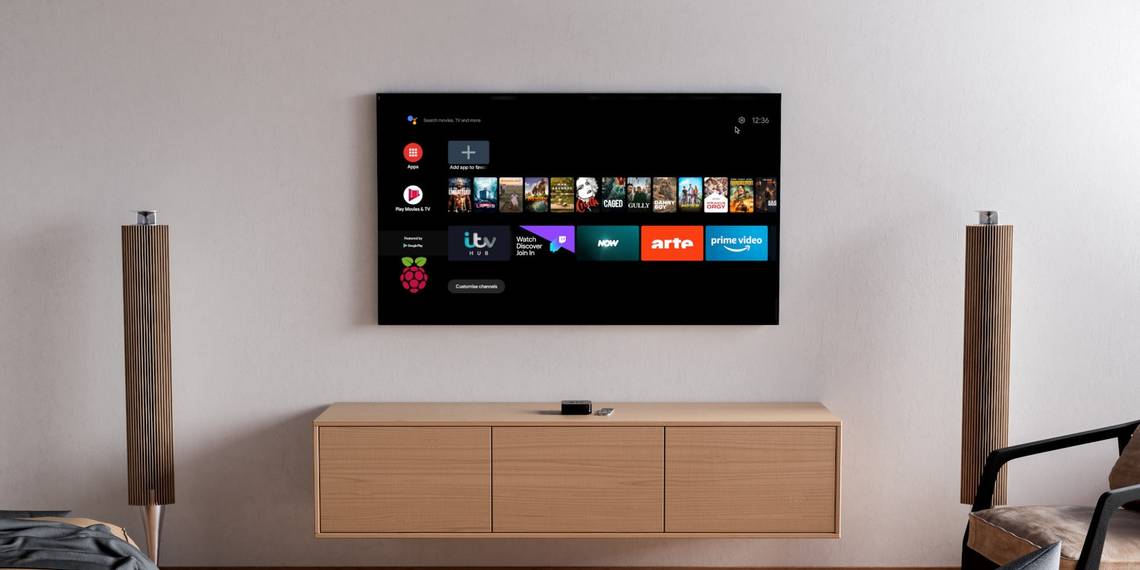
You don’t have to spend hundreds of dollars on a new TV to get Android TV. In fact, all you need is a compact $50 computer and a microSD card. You can make your own Raspberry Pi Android TV box for a fraction of the price of a new TV, and configure it exactly how you want.
Learn how to install Android TV on Raspberry Pi 4 and 400 computers.
Android TV on Raspberry Pi
Before starting, it's important to understand that the versions of Android and Android TV used in this project are beta standard. As such, they come with certain shortcomings that you may not experience with an actual Android TV unit.

Two Raspberry Pi models are suitable for running Android TV:
- Raspberry Pi 4
- Raspberry Pi 400
You’ll get the best results with a Raspberry Pi 4 with 8GB of RAM.
The steps for the Raspberry Pi 4 and Raspberry Pi 400 are below.
If you want to build a Raspberry Pi smart TV without spending money on a new Android TV, here’s what you need to do.
It is possible to install Android on a Raspberry Pi 3 or 3B+, but installing apps will slow things considerably. Additionally, there is no adequate user interface to create an Android TV-like experience. As such, a Raspberry Pi 4 is your best option for Android TV.
Install Android TV on a Raspberry Pi 4 or 400
To build your own Raspberry Pi 4-based Android TV, you'll need:
- Raspberry Pi 4 (4GB or 8GB models are best)
- A good quality microSD card (16GB or more)
- Raspberry Pi 4 PSU
- USB keyboard and mouse (alternatively, a combi remote)
- USB flash drive
- HDMI cable
- Ethernet cable (optional)
With those items gathered, you're ready to start.
Step 1: Download and Install Android TV
To install Android TV on your Raspberry Pi 4, start by grabbing the LineageOS 20 Android TV build.
Download: LineageOS 20 Android TV by KonstaKANG
You should then install LineageOS to the SD card using Etcher. Refer to our guide to installing a Raspberry Pi OS for details.
When complete, eject the SD card, place it in your Raspberry Pi 4 or 400, and boot the computer.
Step 2: Pair a Bluetooth Controller
If you have a Bluetooth remote (or spare game controller), you can use it with the Raspberry Pi Android TV.
After the first boot, you will be prompted to pair the controller, so ensure it’s in pairing mode first. Follow the on-screen instructions for pairing. Note that wireless and cabled USB controllers can also be used, along with a mouse and/or keyboard.

Once this is done, click Start and Accept the EULA. Select your Location, then, if using Wi-Fi, connect to the best network (click Skip if you’re using Ethernet or want to set up Wi-Fi later). Uncheck the telemetry option (LineageOS Features) then Start to begin using the Android TV environment.
Step 3: Learn to Use Android TV on Raspberry Pi
Before you start installing any apps, it’s a good time to familiarize yourself with the controls. This is a particularly smart idea if you are using a keyboard.
The controls are as follows:
- F1 = Home
- F2 = Back
- F3 = View open apps
- F4 = Menu
- F5 = Power
- F11 = Volume down
- F12 = Volume up
Note that if you tap F5, the device will go into standby. To fully shutdown, hold F5. Other power options are available in the Settings > System menu.
Step 4: Update Android TV
To ensure you’re using the latest and most secure build of Android TV, check for updates. Go to Settings > System > Updater. If a new update is available, click Update and wait for the package to download. Once this completes, click Install and wait.
Use the Preferences button to determine how often the system checks for updates.
Step 5: Install Streaming Apps

This version of Android TV does not currently support Google Apps. As such, you will need to sideload APK files.
APKs are Android installer files, the equivalent of EXE files on Windows.
The best way to do this is to grab a bunch of suitable apps from a safe APK download site.
Suggest apps:
- A browser
- VLC player
- Your usual media streaming apps
- A VPN
Once you’ve done this, copy them to a USB storage device. Eject this, connect it to your Raspberry Pi, and open the File Manager app in Android TV. To install an APK:
-
Browse to the APKs
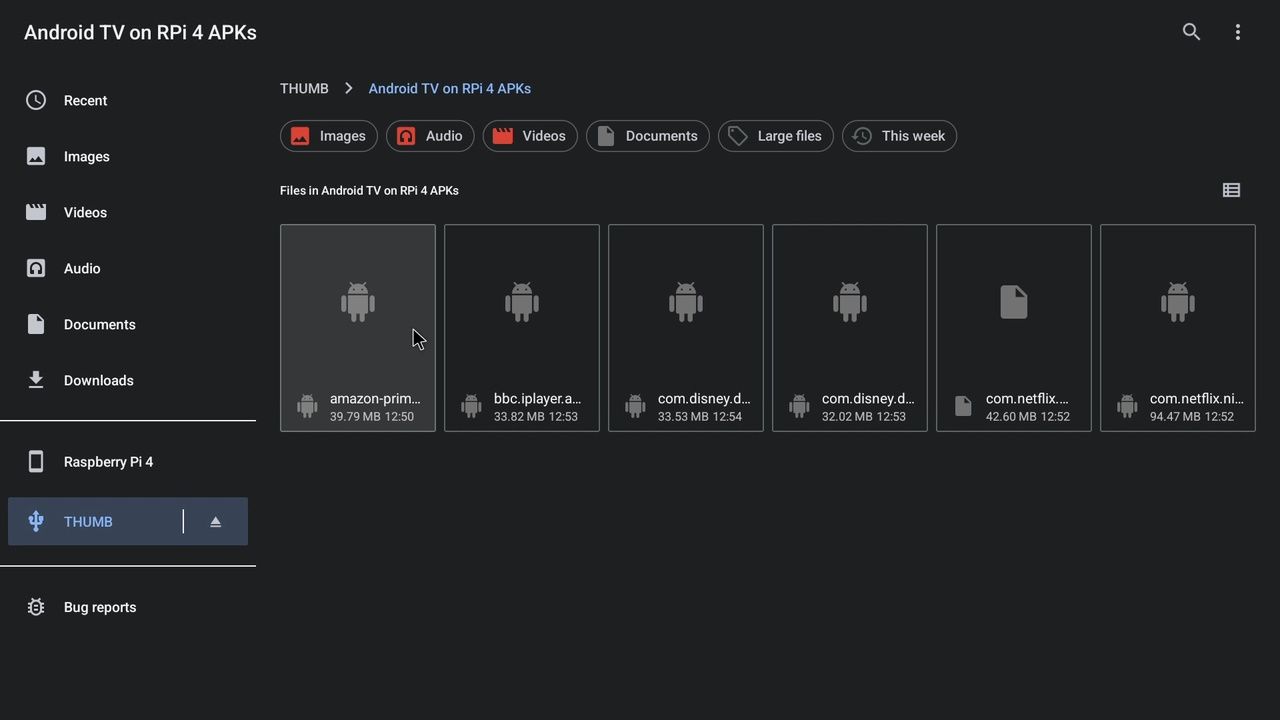
- Select one to install
- At the warning, click Continue
-
When as if you want to install the app, click Install
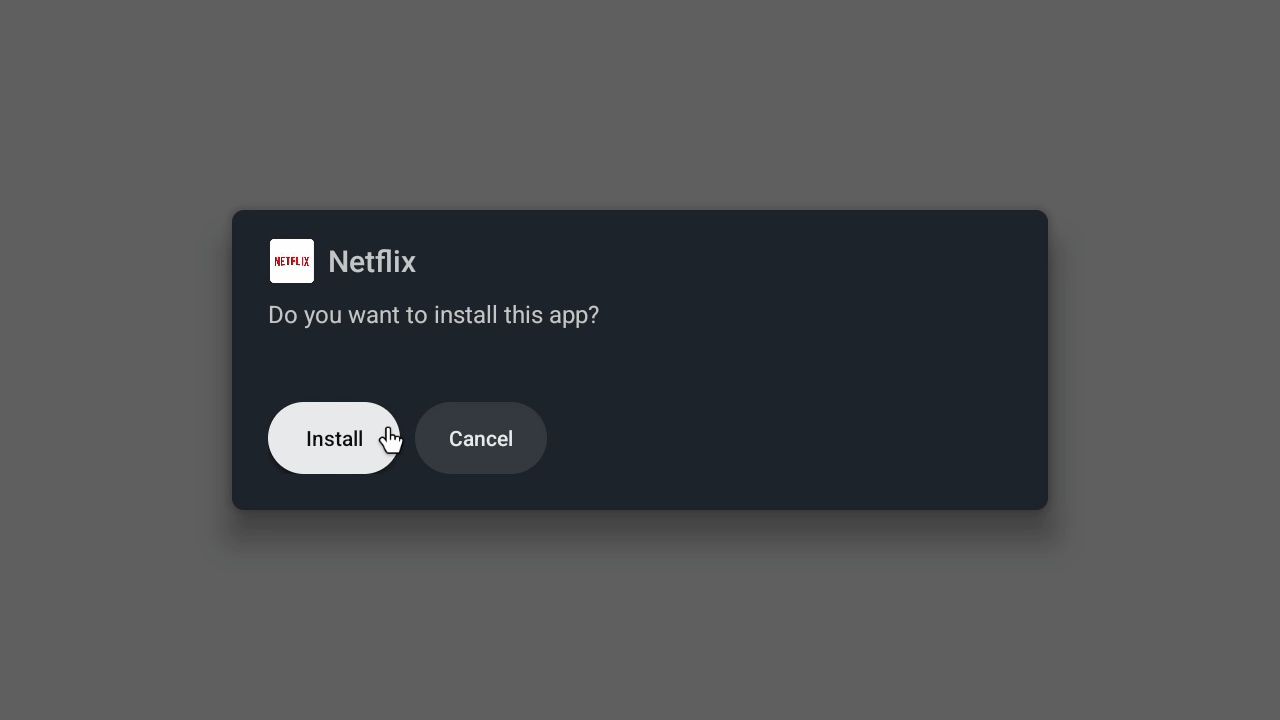
- Click Open to use it, or Done to install another


Some versions of popular apps may not work. In this event, try older releases instead. There is an element of trial and error to this.
Step 6: Reboot Your Raspberry Pi 4 to Use Android TV
With the Google apps installed you can start using Android TV. Sign in to your accounts, download media streaming tools, or connect your own media to the system. It's all there for you!
Want further configuration? This build of Android TV for Raspberry Pi 4 features several tweaks you can make to the set-up. This covers everything from setting up a hardware power button to configuring SSH. You can also enable an IR remote and send audio through the 3.5mm jack instead of HDMI.
You'll find Raspberry Pi 4 specific options in Settings > System > Raspberry Pi settings.

Tweaks and troubleshooting tips can be found on the download page at the KostaKANG website, and tweaks can still be made in the /boot/ partition. Otherwise, you now have an Android TV Raspberry Pi 4!
Enjoy Your Media With Android TV for Raspberry Pi!
By now you should have a Raspberry Pi 4 (or 400) Android TV streaming videos and music and playing games thanks to the LineageOS and the Android TV user interface. To all intents and purposes, you have a DIY Raspberry Pi TV box powered with Android TV.
Admittedly, you may run into trouble with performance, so ensure your microSD card is up to scratch. Also, check you're using an approved Raspberry Pi power supply. This will ensure the Pi gets the power it needs without risking undervoltage and microSD card corruption.