Of the many projects that you can build with the Raspberry Pi, one of the most interesting and permanently useful is the motion capture security system.
All you need is the usual Raspberry Pi setup, a webcam and an optional battery pack, along with a nondescript case for concealing the security system.
With this setup, you can keep an eye on your property from a remote location, receiving alerts if anything is captured by the webcam and a link to the footage if necessary.
Compared with the price of off-the-shelf security systems, this is remarkably affordable and portable, and as you'll see below can be setup in minutes.
What You Need for Your Motion Capture Security System
There are several approaches for building a motion capture security system for the Raspberry Pi. I initially followed blogger Kean Walmsley's suggestion to use an ARM-based distro of Arch Linux rather than the usual Raspbian.
However, this just didn't seem to come together, so I reverted to the Raspbian OS, and made use of the camera drivers and motion detection package, which we'll come to in a bit.

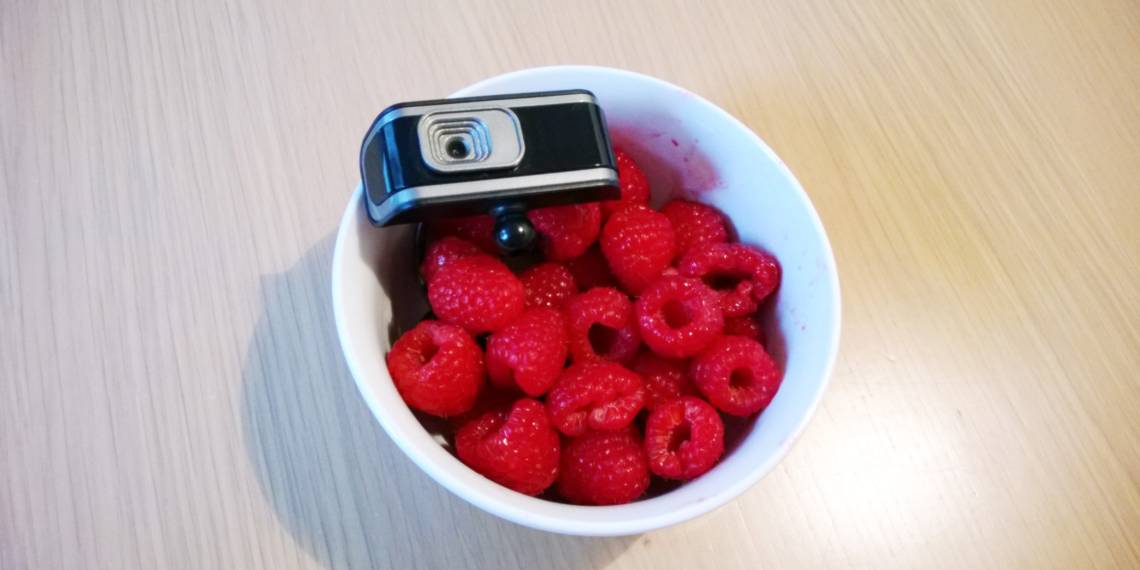
In addition, you will also need a Raspberry Pi, a formatted SD card, a webcam (see elinux.org/RPi_USB_Webcams for compatible devices) and a power supply; you will probably need a powered USB hub too, as many webcams need their own power supply when connected to the Pi. This might be a powered USB cable, or a battery solution for the Raspberry Pi, of which there are many options, most of which you can find via the eLinux wiki. Note that there are alternatives, however, such as 4x or 6x rechargeable AA batteries. Some portable iPad chargers will also work – but check your charger's model number online before attempting to connect to your Raspberry Pi)
If you don't already have a webcam, you might prefer to spend a few dollars on the official Raspberry Pi webcam.
Follow the instructions outlined previously on MakeUseOf to install Raspbian, and for the best results, ensure that it is set up with SSH. You should also change the password, using the raspi_config menu.
Install the Required Software
With the Raspberry Pi booted up and with an SSH connection open from your main computer (you can use a keyboard on your Pi, but SSH is better as future communication with the security setup will need to be performed this way) you should begin the process of downloading the latest update:
sudo apt-get update
Next, install the emacs editor, agreeing to the prompts:
sudo apt-get install emacs
Following this, you will need to install a VNC server. This will enable you connect to the security system and view the output. Observe and agree to any prompts.

sudo apt-get install tightvncserver
After installing VNC Server, enter the command vncserver – you will be required to set a password to use the system. You should also agree to the subsequent request to enter a view-only password.

The next step is to edit the VNC Server initialising script. Enter the following to switch to the correct directory:
cd /etc/init.d
You can then run emacs:
sudo emacs tightvncserver
With the console open, copy the following:
        #! /bin/sh
# /etc/init.d/tightvncserver
#

# Carry out specific functions when asked to by the system
case "$1" in
start)
su pi -c '/usr/bin/vncserver'
echo "Starting VNC server "
;;
stop)
pkill vncserver
echo "VNC Server has been stopped (didn't double check though)"
;;
*)
echo "Usage: /etc/init.d/blah {start|stop}"
exit 1
;;
esac

exit 0
Right-click to paste it into emacs. A few moments later, it should auto-save. Exit by pressing Ctrl+X and agreeing to save the file upon exiting.
You should then modify the permissions for the VNC Server directory, making the new script executable:
sudo chmod +x tightvncserver
The following command will instruct the VNC Server to load when you boot the Raspberry Pi Security Centre:
sudo update-rc.d tightvncserver defaults
We're nearly done, so end the current VNC session:
sudo pkill Xtightvnc
You are then ready to restart it:
sudo /etc/init.d/tightvncserver start
On your main device – the computer with which you plan to observe your webcam – you can now open your VNC client. Various suitable clients are available – I've used the TightVNC client for Windows.
Configuring Your Webcam

We're now at the stage where we can begin to prepare the Raspberry Pi for your webcam, which means installing drivers, the necessary libraries and capture software. Enter the following commands in turn, paying heed to the prompts.
First, it's the motion detection software:
sudo apt-get install motion
Next, install the required libraries:
sudo apt-get install libv4l-0

UVCcapture is software designed to capture the feed from a webcam:
sudo apt-get install uvccapture
You can now attach your webcam and check that all is working. Enter the following command:
dmesg | tail
This will output the details about your camera model, as below.

We then need to set the motion capture, so run:
emacs /etc/default/motion
…and set start_motion_daemon to yes.
If you have problems with permissions here, use:
sudo chmod 777 /etc/default/motion
Remember to undo this after the edit has been saved.
With this change saved (CTRL+C, following the on-screen prompts to save), you will then need to edit the motion.conf file.
emacs /etc/motion/motion.conf
The script below (taken from a Raspberry Pi forum thread "Installation Guide for motion detection with webcam") should be added to motion.conf:
        set "daemon on"
set "minimum_frame_time 5" (this can be modified, depending how often you want to take picture)
set "pre_capture 2"
set "post_capture 2"
set "output_normal on"
set "quality 100"
set "ffmpeg_cap_new on"
set "ffmpeg_timelapse 30"
set "ffmpeg_variable_bitrate 2"
set "get_dir /media/webcam/motion"
set "webcam_port 8080"
set "control_port 8081" (important)
set "webcam_localhost off"
set "width 320" (important)
set "height 240" (important)
Note that these settings can be configured as necessary. Those labelled "(important)" should be left as they are.
Configuring Media Settings for Motion
We're almost done, with just a few media settings and configuration of your wireless dongle to go.
Motion detection images need to be saved to the media folder – but first, you will have to change read/write permissions:
sudo chmod 777 /media
Next, launch the motion software:
sudo /etc/init.d/motion start
Motion can be stopped with:
sudo /etc/init.d/motion stop
You should see a message confirming that the software is running. Is it talking to your webcam? Run the following command to check:
tail -f /var/log/syslog
The output should confirm that the device is live and receiving data. The final step here is to boot the VNC client on your desktop computer and connect to your Raspberry Pi (run ipconfig to check the IP address) using the :1 suffix, which indicates X session number one.
Boxing Up and Positioning the Motion Sensor Security Camera
Although you might prefer to remove the webcam from its stylised case for improved portability and easier secretion, it's best to assess the options for positioning before doing this.
Indoor testing will help you to establish the camera's range and motion capture sensitivity, useful for when it comes to setting the device up outside.
For external use, you'll need to use a suitable waterproof case, perhaps an old ice cream tub or a hobby box from an electronics store. Some drilling may be required in order to run your power cable to the mounted Raspberry Pi-powered security camera if you want to position it outside. However, you may also consider a battery-powered solution for your little computer (note that it will need regular recharging, however). Ethernet may be preferred under the circumstances, so you might want to go into full DIY mode and apply some mastic gun waterproofing, but if you want to use wireless networking, you can. Using a wireless repeater might assist with signal strength outdoors.
Post-Positioning Checks
With the RPi in position, you should head back to your computer and check everything is as it should be.

Begin by checking that the network connection is up and running. Although this should have been checked earlier, your wireless dongle may have trouble connecting in windy weather or if you have some unusual architectural structures or materials.
With the connection established, you should also head outside and run through several motion capture scenarios to ensure that your movement is detected and alerted.
Finally, for the first day of testing, keep an eye on the battery use if you have chosen a portable power source, as you will need to know how much recharging is required. Be aware that if you have the camera positioned indoors or relatively close to a powered out-building that using mains power is a better solution.
Conclusion: Home Security Solution with an Educational Tool!
Who would have thought that you could do so much with a case-free, stripped down mini-computer ostensibly designed to teach children programming with tools like Scratch? (The possibilities of the Raspberry Pi are seemingly endless. Find out more in our Raspberry Pi Unofficial Manual.)
Like the media centre solution and the other remarkable uses, setting up your Raspberry Pi as a home security solution with motion capture is that it is something that can be done either with a single device co-opted into security whenever you head out, or with an affordable dedicated device. But keep in mind that security cameras can be hacked, so you'll need a bit of prep work to keep your home security system safe.