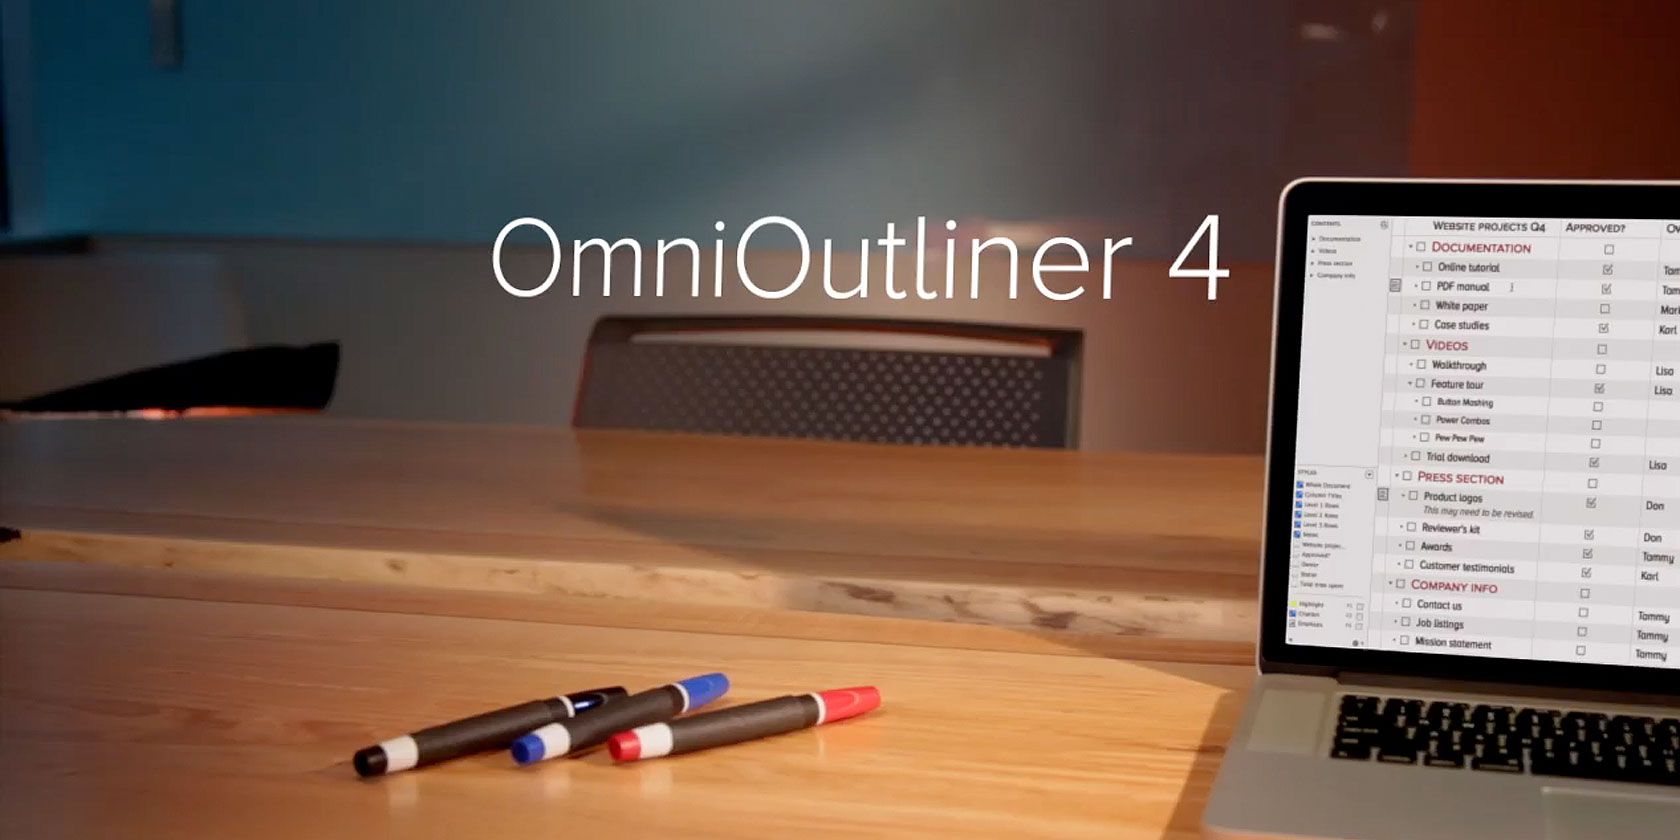
If you want to go beyond old school methods or limited Microsoft Word outlines and save time in the process, OmniGroup's OmniOutliner takes creating outlines to another level.
Updated in January of this year, OmniOutliner comes with a new UI design, retooled styles, a cleaner Inspector, text zooming far greater customisation and much more. Today's review looks at OmniOutliner Pro, which adds support for AppleScript, exporting to Word format and even more advanced customisation and document-specific settings.
Neither the standard or pro version are cheap, and each have 14-day trials available to help convince you of the power and time saving features on offer.
Stylizing Content
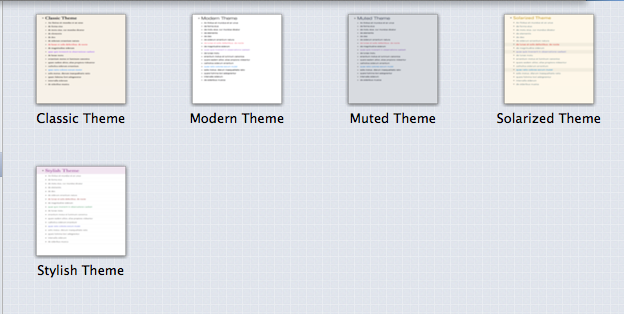
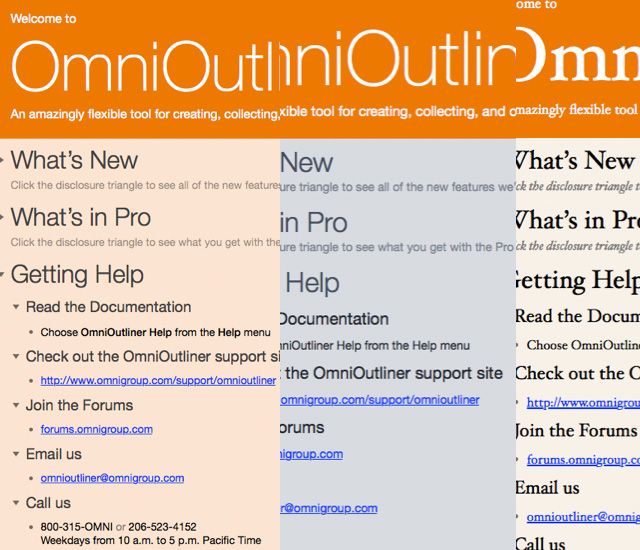
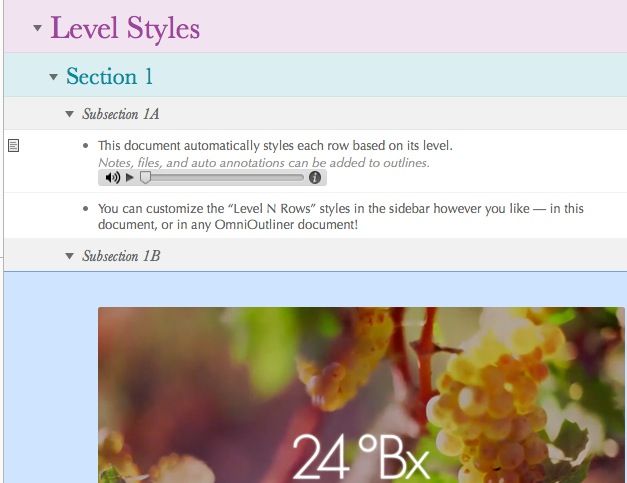
You can quickly see OmniOutliner's styling capabilities right after downloading and launching the application. When the welcome document opens, which is actually an outline, apply (click Format > Apply Template Theme) one or more of the pre-defined style themes to see how an outline can be changed or spruced up.
After spending some time with OmniOutliner, you will want to create or customize themes with your own colors, font styles and sizes – all of which can be saved as user templates. While you can certainly create a simple and straightforward text-based outline, there's no reason not to make it stylishly presentable.
Starting With Templates
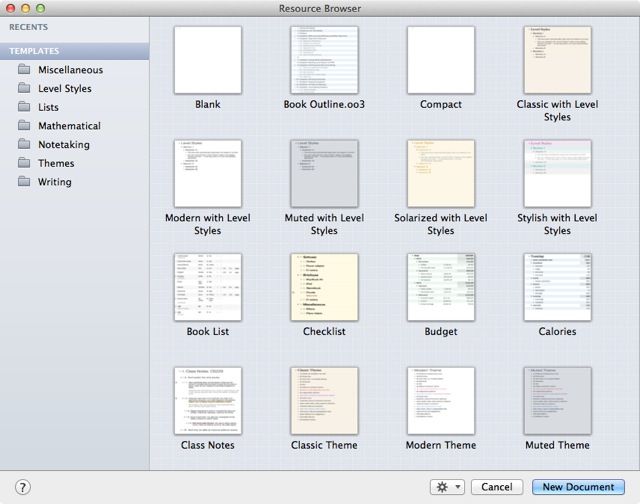
OmniOutliner comes with 20 different templates (from simple lists, budget outlines, to book drafts and class notes) that may be useful for helping you get started with outlining. You can also start from scratch with a blank document.
OmniOutliner is far more useful once you've figured out the various controls and features, which can be a little confusing at first. Keep in mind: a typical outline document consists of top level rows and indented child rows, columns (if needed) and styles (font, font size, and character attributes, like bold, italics, and spacing).
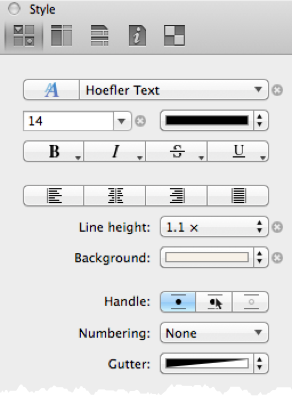
While using OmniOutliner you will mainly writing and managing items in the outline section, and using the Inspector to stylize your content.
Auto-Numbering
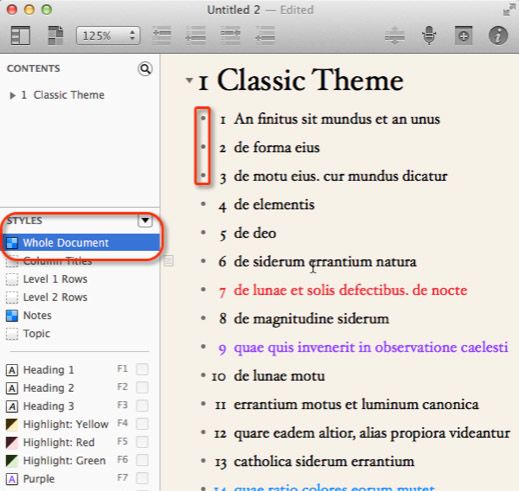
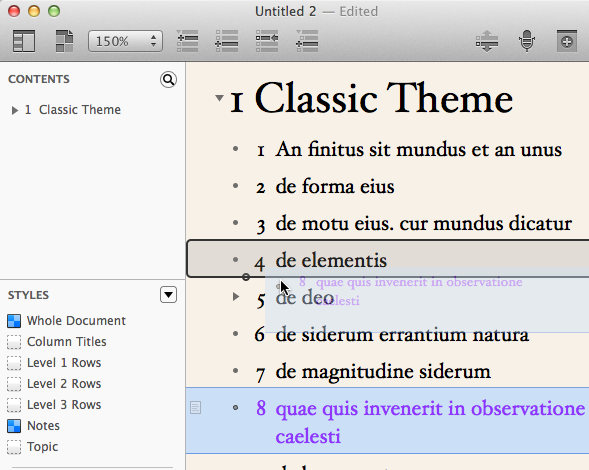
Before getting into a more complex outlining, let's start with a simple list template (File > New > Classic Theme) and see what can be done. Lists are useful brainstorming tools, but OmniOutliner provides a few time saving strategies for creating and managing lists. First off, you can use the handles to move items around in the list. You don't have to copy and paste to relocate items.
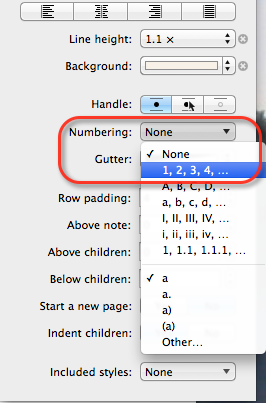
One of the features I like best about OmniOutliner is the Auto-Numbering capability. The items in a list, or any outline, can be easily numbered by clicking on Whole Document in the Styles sidebar. Now in the Inspector, select Numbering, and choose the 1, 2, 3, 4... order from the drop-down.
This feature not only numbers items, but also allows you to also move items around the list, and the items automatically get re-numbered.
If you have ever created a numbered outline in a plain text editor or simple pen and paper, you probably know what a pain it can be to switch items around and have to manually re-number them.
Complex Outlines
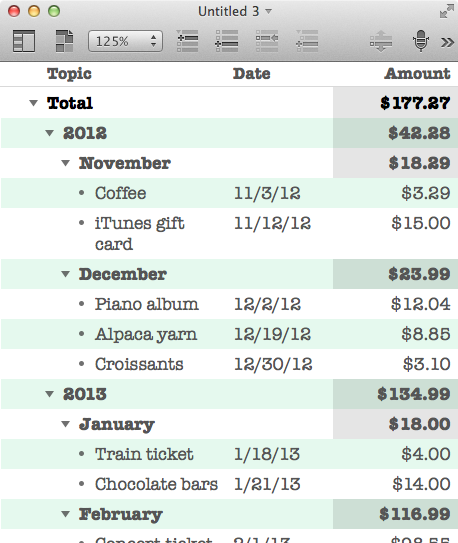
OmniOutliner can handle more complex outlines including not only top level rows and sub-levels, but also columns in which data can be calculated and manipulated.
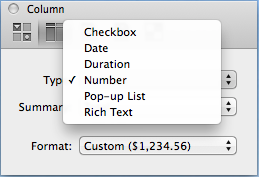
After adding a column to a document, you can select it, and then use the inspector to dictate what type of data you want to format in the column. This is similar to how it's done with formulas in Excel, and columns can include checkboxes, dates, pop-up lists, numbers and totals, as well as rich text.
Text notes, image files, and audio annotations can also be inserted or attached in outlines. Inserted items can be hidden with a click of a button. Try doing that with a simple pen and paper or Word document.
Get More Done, Easier
You can start with a free trial version of OmniOutliner to see to see all that is possible. If you purchase the Standard version from the Mac App Store, you can use the in-app purchase to upgrade to the pro level, which provides more features for customizing notes, adjusting line heights and padding, hiding and showing columns, manually adding page breaks and more powerful features. Don't forget to download the OmniOutliner manual to learn about the many other tools and features within the software.
There is also an iPad version [No Longer Available] of OmniOutliner that syncs with the Mac version using OmniGroup's special free OmniPresence application, which syncs all OmniGroup documents between your devices, instead of using iCloud.
We have reviewed other outlining tools for writers and artists, and also the less expensive, and basic Cloud Outliner for the Mac, which works great for straightforward outlines, but is missing lots of other other features. OmniOutliner is useful for students, writers, project managers, and presenters who need to gather and organize information without the hassle of figuring out complex spreadsheets.
Let us know what you think of OmniOutliner and how you use it in your Mac workflow.

