We all love our smartphone apps. However, sometimes you find yourself thinking "this would be so much better if I could use it on my desktop with a mouse and keyboard."
Whether this is a game or a native app, things can get much more comfortable when sitting at a desk. BlueStacks allows you to run Android games and apps on Windows devices and Macs. Once you have learned to use it, you can enjoy your Android apps at your leisure.
Let's dive into what BlueStacks is and how it works.
What Is BlueStacks?
BlueStacks is software that brings the latest Android version OS to your Windows computer/Mac. It allows you to utilize your mouse and keyboard with apps and resize the app's screen size to your liking.
You can run multiple apps concurrently as well as multiple instances of the same app. Not every Android app boasts compatibility for different operating systems, so BlueStacks is a good common ground for running Android apps on all devices.
For those who are into gaming, BlueStacks provides a plethora of features, including the ability to stream Android games. It severely boosts graphics performance when utilizing a graphics processor to play games, allowing you to render games in a much higher quality. There are multiple modes available for different games types, such as MOBA mode and shooting mode. It provides native controller support and keyboard mapping and you can easily achieve high FPS (frames per second).
What Is Required to Run BlueStacks?
In order to run Bluestacks, you must be first be an administrator on your PC. If you want to make sure you are an administrator, you can refer to our guide to checking admin privileges on PC. The minimum requirements to run Bluestacks 5 are as follows:
- OS: Microsoft Windows 7 and above.
- Processor: Intel or AMD Processor.
- RAM: At least 4GB of RAM.
- Storage: 5GB Free Disk Space.
- Up-to-date graphics drivers from Microsoft or the chipset vendor.
BlueStacks 5 will work on systems that fulfill these requirements. However, for the optimum experience, especially for those looking to use BlueStacks for gaming, the developers recommend the following requirements:
- OS: Microsoft Windows 10
- Processor: Intel or AMD Multi-Core Processor with Single Thread benchmark score > 1000.
- Graphics: Intel/Nvidia/ATI, Onboard or Discrete controller with benchmark score >= 750.
- RAM: 8GB or higher
- Storage: SSD
- Make sure you enable virtualization on your device. You can follow our guide to activate this setting.
How to Download and Install BlueStacks on Windows
To use Android apps, you will first have to install the BlueStacks app.
- Open your browser of choice and go to the official website.
- Select Download BlueStacks and save the installer.
- Run the downloaded file.
- You can select Customize installation to specify where you want to install the program.
- Once you specify the install location, install BlueStacks. This may take some time depending on your internet connection and computer.
- If an error occurs, disable your antivirus and re-enable it once you have finished installing BlueStacks.
- Once the installation finishes, BlueStacks will start automatically.
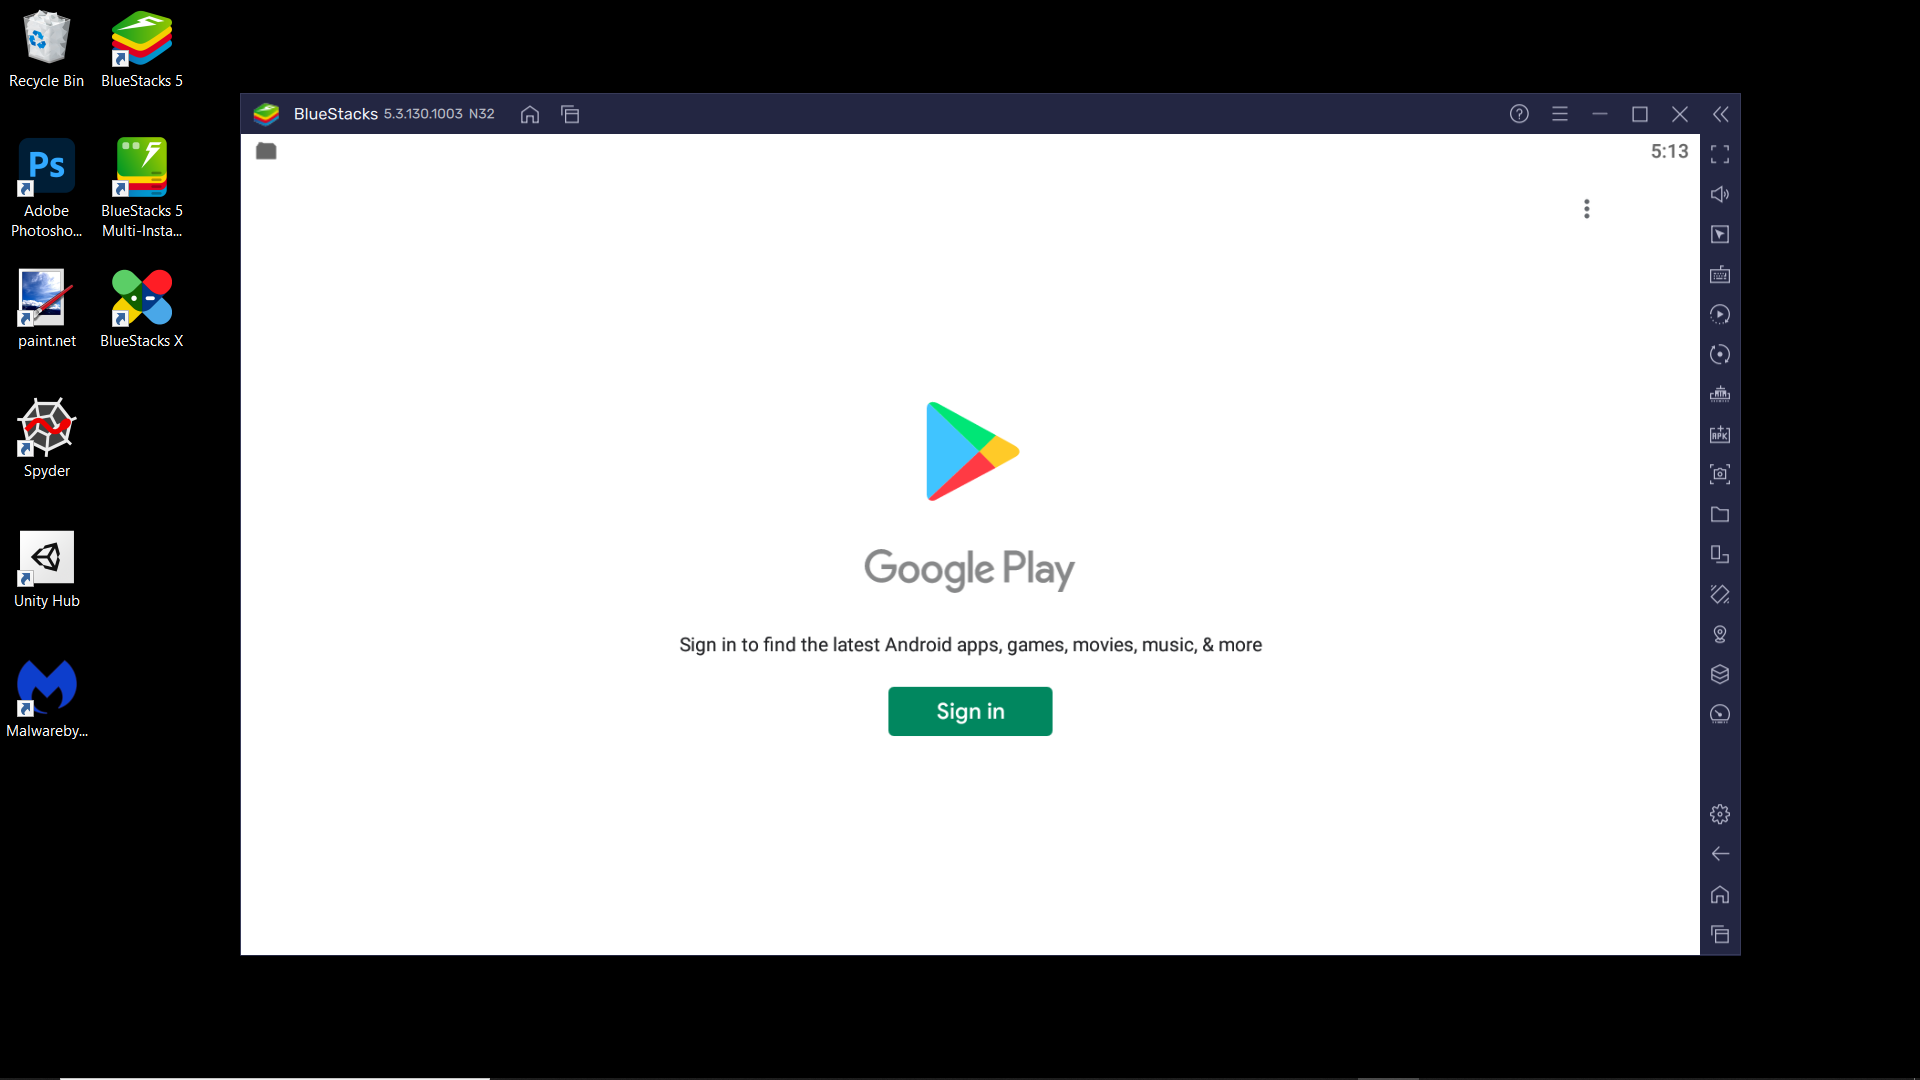
- In order to access the Google Play Store, you will have to sign in to your Google account.
How to Install BlueStacks on Mac
To install BlueStacks on your Mac, visit the website and download the installer. After doing so, follow the steps below.
- Once you run the installer, it will ask you to confirm if you want to run the program. Click on Open to continue.
- The installation window will now appear. Select Install Now to start the process.
- Now a new helper window will appear. Enter your username and password and select Install Helper.
- After confirming your user information, a pop-up will appear stating "System Extension Blocked." Select Open Security & Privacy.
- Navigate to the general tab in the settings and click on the Allow button.
- If you use macOS 11 Big Sur, you will need to restart and reboot your Mac. Click on the Restart button from the security & privacy settings.
- If you use macOS 10.15 Catalina or below, you can launch BlueStacks.
How to Set Up Your Google Account in BlueStacks
You can use BlueStacks as it is, but in order to access the Play Store, sign in with your Google account:
- Select the Play Store icon and it will present the option to sign in.
- Select Sign in and enter your account details.
- Confirm the Google agreement.
- You can select the option to sync your Google data to your BlueStacks, enabling you to access all your files and apps.
- You will now log in to your Google account.
- Mac users who don't have a Google account will have to create one first.
How to Install and Run Android Apps From Google Play Store With BlueStacks
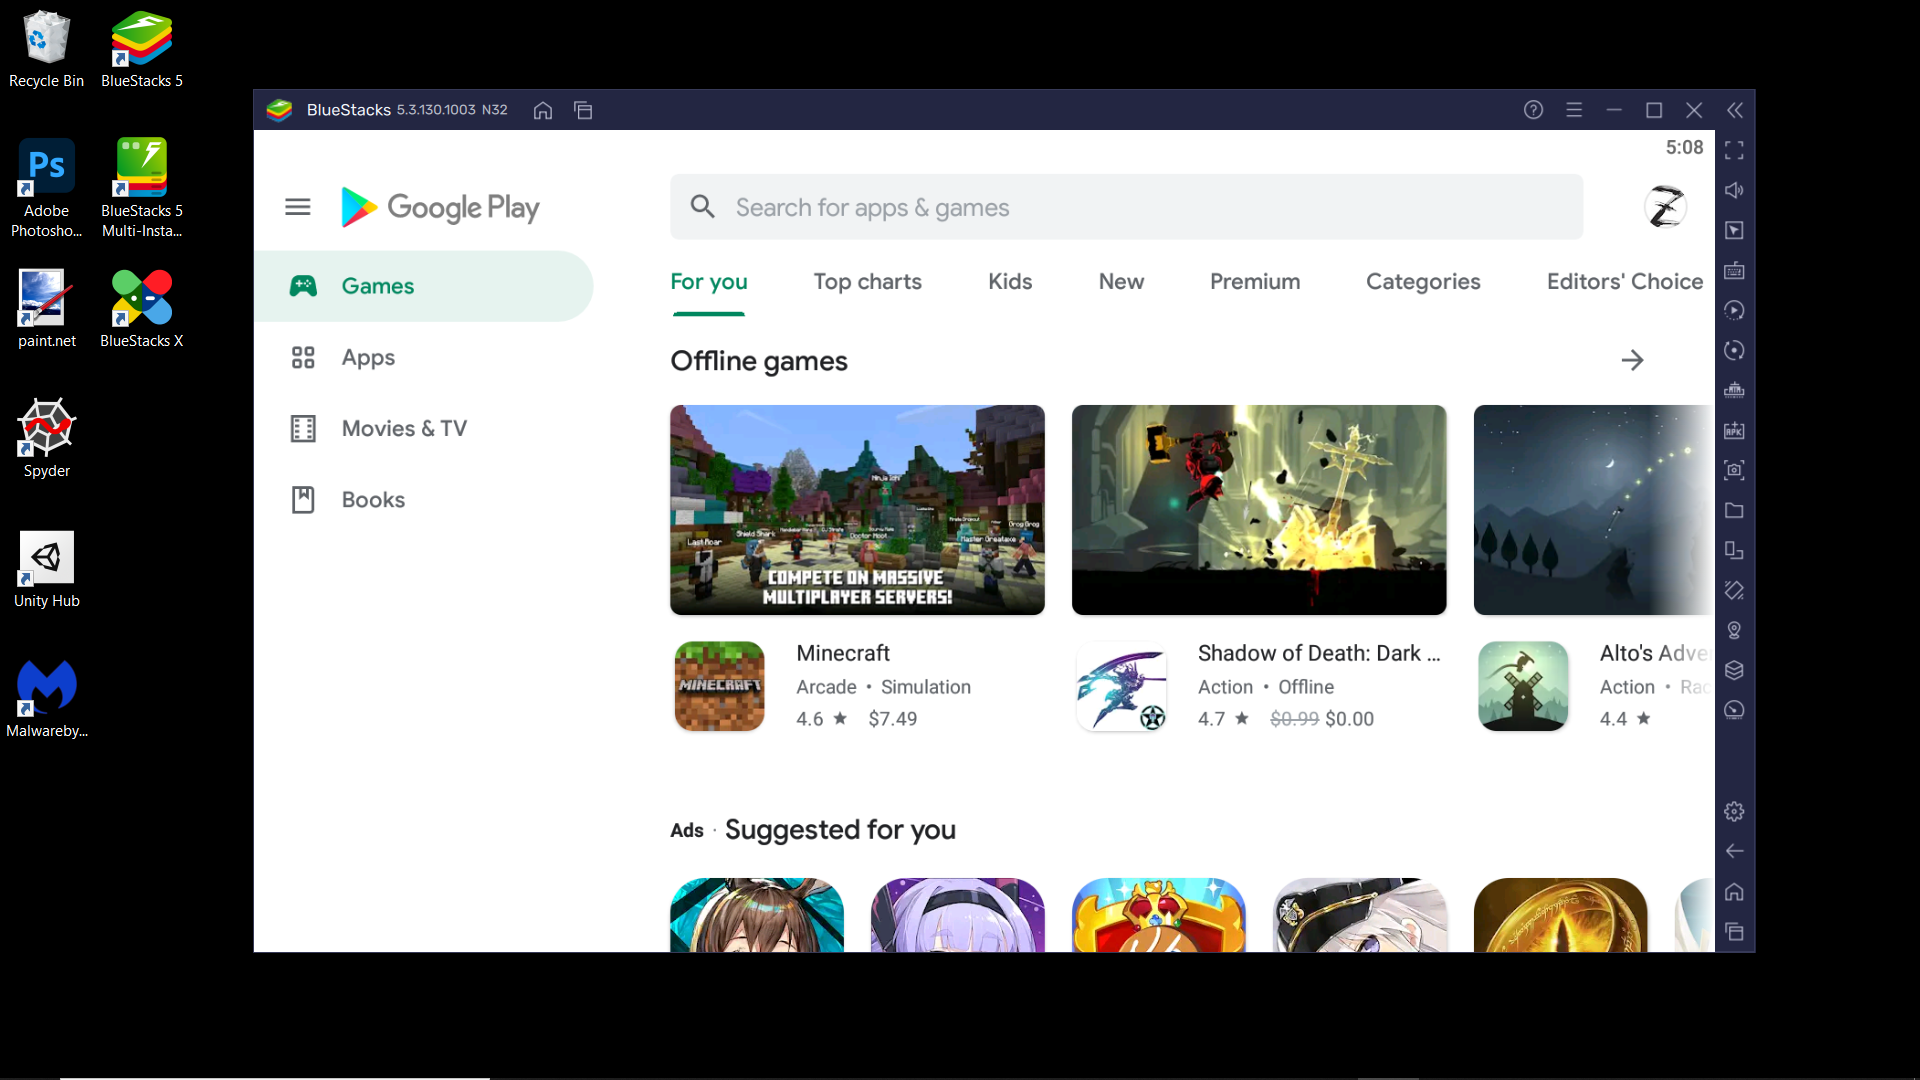
After accessing your Google account, you can now download and install Android apps from the Play Store to use.
- Select the Google Play icon to open the Play Store.
- Search for the Android app you want to install. You can select it to view details.
- Select Install to download the app. All downloaded apps will be available to you on the main screen.
- You can select the app icon to run the Android app.
- You can switch between apps using the tab manager. If you want to run two apps concurrently, you will have to use the multi-instance manager.
Run Android Apps on PC and Mac, With BlueStacks
Android has made smartphones a breeze to use. Some great apps exceed the software we might find for Windows, so being able to use those apps on your computer can be very helpful.
Mobile gaming has seen an enormous increase with the advent of emulators, which have been useful in further improving games. Whether you are gaming or fancy some apps over software, BlueStacks helps bring the Android world to you, allowing you to bypass the limitations of a smartphone.

