Taking a paper from an idea to polished submission on the Mac may seem obvious, but you can save a ton of time with the right tools. If you are back in school, then you have likely settled in and are starting to get your first big papers this year.
These apps can help you craft the perfect submission.
Research: Apple Notes
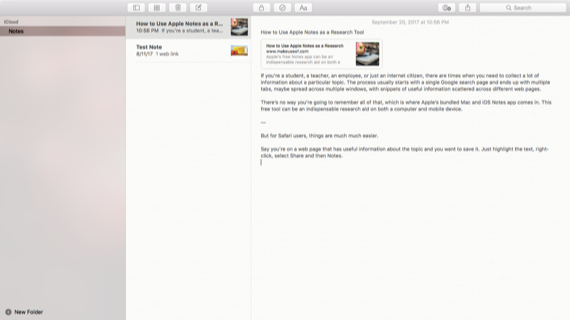
Notes can be an essential tool for research on the Mac. There are other notebook apps, but none of them keep your work in sync between your Mac and iOS devices as easily. Though you want to do the bulk of your research on your Mac, your phone can come in handy to capture random ideas. Alternatively, your phone might help in other ways.
If you end up researching with physical media, you can take a picture of the passage you need (be sure to grab the title page for your references). You can then keep these with the rest of your work. iOS 11 even comes with a fancy new document scanner.
As noted in our guide to using Apple Notes for research, you can save text selections from web pages in Safari. The feature is convenient to save a link to a page, several entries of quotes relevant to your topic. Just select the text, hit the Share button and drop it into a note of your choosing.
If you only remember Notes as a basic list of text files, it has come a long way in the last few years. You can keep folders for each project, allowing you to work on multiple streams. There are markup and handwriting features for iPad Pro users, and webpages and files are handled elegantly as attachments.
For a default app, Notes is a powerful tool with a ton of features for power users.
Outline and Mindmap: MindNode ($30)
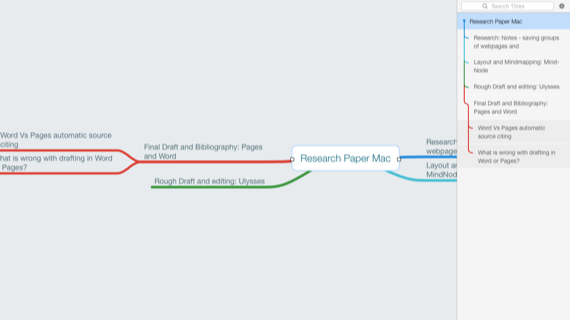
Now that you have completed your research, it is time to organize and structure your thoughts. Mind mapping is an excellent way to organize your ideas into a complete structure. MindNode is a great app to do so.
MindNode is great because it is effortless to build a complex mind map. It has support for huge mindmaps that allow you to get as detailed as possible. You can string out child nodes as deep as you need to, or do a wide array of sibling nodes. If you are using a lot of visual aids, you add them right to your mind map as part of your outline.
You can then export your mind map to an RTF outline. You lose your images, but you can get a nice layout of your thoughts ready to form the skeleton of your document. You can export directly to Markdown, which includes the images. This export comes as a text bundle able to open in Ulysses. Even if you do not edit further in this doc, you can keep your outline as you move to the next step.
Drafting: Ulysses ($4.99/mo, 14-day free trial)
Once you have your outline, it is time to start getting down to actual writing. Now you could open Word or Pages and get right down to crafting a document with formatting, works cited, and bibliography. You are not going to get very far with your writing when you fight odd formatting quirks. Choosing the correct fonts and spacing that you want can be another distraction.
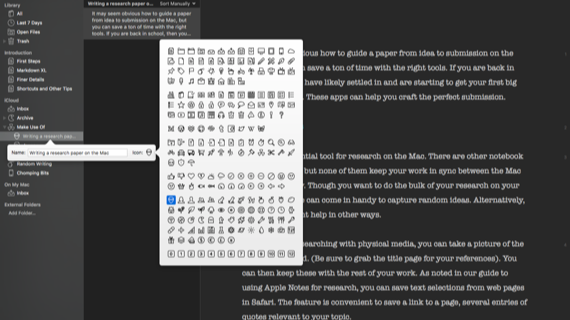
Ulysses has support to organize your files into groups with separate sheets. Then you can have your paper as a group, with each section as a single sheet. It has support for Markdown, but you can use default keyboard shortcuts. It inserts Markdown, but it does not require you know the syntax.
Now that you have your draft, it is ready to export and edit. However, you can avoid a Word Processor. You can use an external app, Papers, to create your bibliography and insert references into the text. You can add images using Markdown and the filename (Ulysses has some tools to help with this process).
If you choose this route, everything is done in a single app using one of Ulysses predefined styles. There is a preview option so you can see what your document looks like. If you are stopping at Ulysses, give everything a polish before you finish.
You can now export as DOCX either to submit or further edit. Better yet, use Copy As > Rich Text in the Edit menu, and paste into a template.
Final Draft: Word or Pages
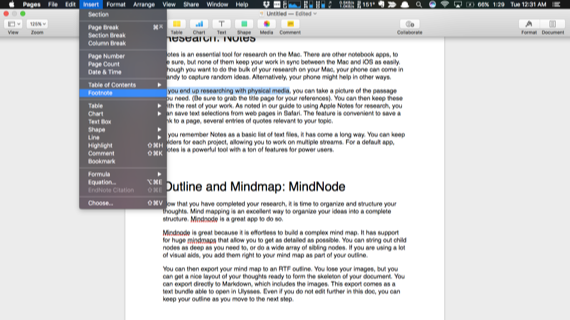
Here is where you'll need to make a decision based on the complexity of your document. If all you need to do is give the paper a polish, add a couple of citations, and a bibliography, Pages does the trick. In fact, it makes your document look fantastic without much work, and it's free for all Mac users.
The formatting tools are much friendlier than Word's. It spares you some of the more frustrating aspects of getting your paper to look nice. There is a problem. Like Ulysses, its support for complex bibliography pages is through the Papers app [Broken URL Removed].
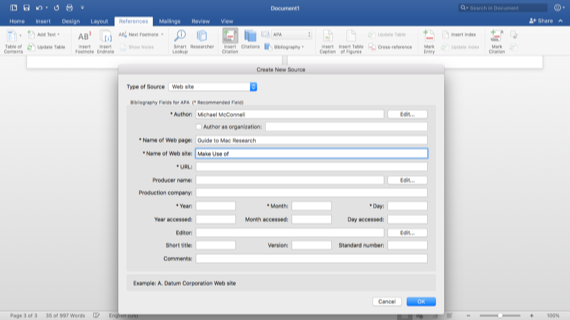
Word, on the other hand, has a built-in tools for creating a "works cited" page based on multiple style guides. You can get the style set as a template when creating a document (make sure to use Paste and Match Style when copying from Ulysses).
Pages has report templates, but it's just a cover page and default double spacing. If you are going to be tracking comments and changes with other users, Word pulls out ahead here too.
Word on Mac's features are on par with the Windows version. If your school relies on Windows, it is better than depending on Pages maintaining compatibility. Pages might be free, but it is missing some features. Word is powerful but complex, though you could get a nice student discount.
Getting an A
Before you submit your final draft, make sure to check the document for any grammar mistakes. Even though you may have been careful to cite sources and quotes, you should use a plagiarism checker to be safe. Also, you will want to double check your grammar. None of this guarantees that you get an A, but you are in the best position possible.
As a student, what do you need help with on your Mac? If you're a graduate, what was the biggest project you used your Mac for? And how did it go?
Image Credit: avemario/Depositphotos


