The shutterbug in you wants the best equipment and fanciest tools. But here's a surprise: several professional photographers don't rely on them. Instead, they have tried-and-tested frugal hacks for their equipment.
Don't waste your money on expensive lens protectors and bags, lighting kits, and stabilizers. Instead, save up for a good lens or essentials like filters. And until you save up, use these smart tricks to make do.
1. Use a Balloon as a Flash Diffuser
Once the flash pops, it lights up the whole room. But if you're taking a portrait, you will likely get harsh lighting on the subject's face. A flash diffuser, as the name suggests, diffuses the light from the flash and spreads it evenly.
Instead of paying for a diffuser, The Koldunov brothers suggest carrying a white balloon with you. Whenever you need a diffuser, blow up the balloon and hold it over the flash. It acts like a diffuser, and works well in both portrait and landscape modes. Plus, once it's deflated, it can sit in your pocket.
It's easier and faster than other DIY photography accessories like using a milk carton or a white business card, both of which require some precise cuts.
2. Old Phone Screens as Polarizing Filters
If you've been wondering what to do with your old dumb phone, here's a neat idea: disassemble it to extract the glass screen and use it with your new smartphone's camera.
You see, old liquid crystal display (LCD) screens contain a thin film. This film is a polarizing filter, which is one of the essential photography filters. So when you hold it against a camera's lens, it will change how natural sunlight looks, filtering out light that's reflected off other objects, like water. And you can adjust the filter to get different levels of the polarizing effect.
3. DIY Camera Stabilizer With a Gift Bag
The human hand shakes when moving, which leads to shaky videos. To avoid that, you need a stabilizer rig, which can cost hundreds of dollars. Instead, try this cheap hack for smooth videos.
Take any old gift bag with a thick, stable base. The bag should be large enough to fit your camera sideways. Cut a hole in the bag's side such that the camera's lens can protrude from it. Now place your camera inside the bag with the protruding lens, and start shooting.
As long as you hold the bag by its handle, the camera won't get violent jerks. The end result is a steady video, shot with no cost more than a torn bag. This one is easily one of the most useful photography hacks.
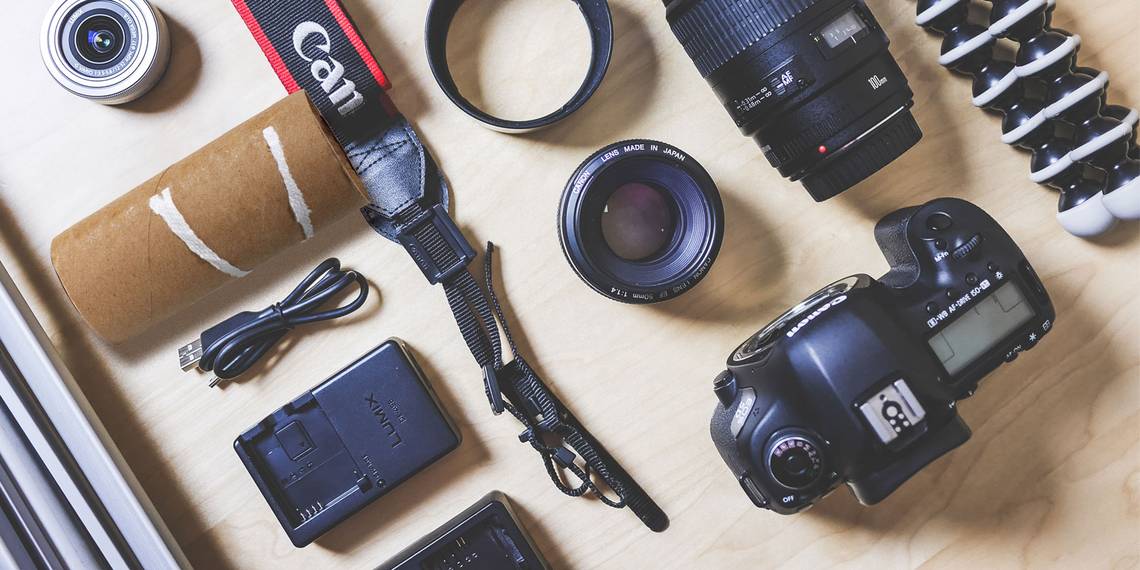
4. Reverse a Regular Lens to Make a Macro Lens
The regular lens of your camera isn't what you use when you need to take a close-up shot of any object. That's where you need a macro lens, but it is obviously quite expensive. If you're in a fix, try reversing your regular lens.
You can buy a reversal ring adapter from your camera maker that allows you to reverse a standard 18-55mm lens for macro photography. But you're here to learn how to do it for much cheaper, right?
The internet advises two methods. The first uses a toilet paper roll, shown above, and the second uses materials like filters and putty. If this is your first time, use the toilet paper method, which is far less likely to damage your lens or expose it to dust.
5. A Plastic Bag as Waterproof Case
The best shots come when the weather is showing character. Once it rains, for example, you'll get incredible photos. But you obviously also want to avoid ruining your DSLR camera. Well, all you need is a plastic bag, a rubber band, and the hood that your lens came with.
Attach the lens hood and then drape the bag over the hood and camera. Secure the bag on the hood with the rubber band. Finally, rip a hole in the bag at the lens and pull it back over the hood. Your whole camera and lens will be safe from the rain now.
6. PVC Light Stand for $5
Lighting is the cornerstone of a good photograph, especially illumination with low-light photography. If you go to buy a light stand, it will easily cost you $25 or more. Instead, The Frugal Filmmaker has a $5 DIY solution. It may not look great, but you can't beat that price.
He makes the whole thing with PVC pipe, which you can find at any hardware store. You will need about 10 feet of pipe, a few T-joints and couplers, and end caps. It sounds overwhelming if you're new to DIY, but this is among the simplest projects to start with.
7. Flexible and Rigid Mount, Stand, or Selfie Stick
This project isn't simple at all and isn't advisable for beginners, but there is nothing like it on the market. We've talked about smartphone camera tripods and stands before, but hacker Megan Yeomans made a unique flexible camera mount and stand. It's a three-feet-long wire that is completely flexible, but can also be rigid if needed. Think of it like a Gorillapod, but with a single leg.

Yeomans says you will need vinyl tubing, large gauge copper wire, brass couplings, standard bolts, epoxy, vice grips, wire cutters, and a torch. Your local hacker space will have some of these tools, but you'll need to buy the tubing, wire, couplings, and bolts for yourself.
Check out the full Instructables for how to make this attachment, including the complicated step of annealing copper. And if that's a little too complex for you, we tested some cheap and easy DIY smartphone tripods.
What's Your Favorite Camera Hack?
This is just the tip of the iceberg when it comes to camera hacks. The internet is full of tips and tricks, from building your own lightbox to aerial photography without drones. We want to hear more!
So come on, you MacGyvers and DIYers. What's the best camera hack you've come across? It doesn't matter if it's for a smartphone or a DSLR, we want photographic ingenuity here.