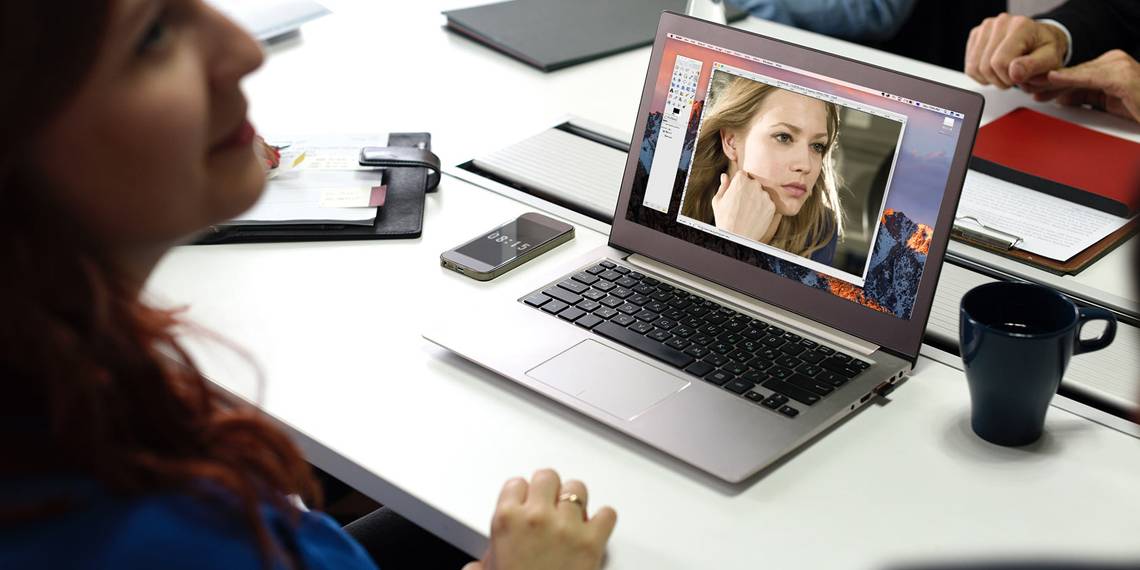
Even the best photographers make edits to their pictures. By spending a little bit of time with image-editing software like GIMP, you can ensure that the finished product is as good as it possibly can be.
Here are a few easy techniques that you can use to retouch a portrait. They'll make sure that your subject is completely happy with how the photo turns out.
Getting Started
Open up your chosen image in GIMP. Before we do anything else, we're going to duplicate the original image. Right-click it in the Layers window, and select Duplicate Layer.

This ensures that we have a copy of the original photograph to go back to in case anything goes awry while we're editing (this is the principle of non-destructive editing). Rename it something sensible, then click the eye symbol to render it invisible.
Eliminating Red-Eye
To start off, we're going to address a common issue with portraits: red-eye. Red-eye can make an otherwise perfect photograph look a little unsettling, but it's very easy to fix.
While it's possible to make this fix manually, the software includes a handy filter for this particular purpose, so we're just going to use that. Select the Ellipse Select tool from the toolbox.

Use the tool to select the area of the iris.

When this is done, head to Filters > Enhance > Red Eye Removal.

Make sure that the filter removes the redness using the preview window, then press OK.

You should see that the red-eye has been removed.

Repeat the process from the other eye, then move on.
Removing Blemishes
People have blemishes. It's a completely normal part of human skin, and there's really no need to go remove them from every photograph. However, if someone would prefer to see themselves without a particular freckle or a zit -- or a bit of food smeared across their face -- here's a way to make that edit.

Our subject has a couple of freckles on his neck that we can edit out. Select the Clone tool.

First, we need to hold down Ctrl or Cmd and click an area of the image to select our source. Then, we can paint elsewhere and replicate that area. In this way, we're going to cover the freckle with some clear skin.
In the next image, you'll see how I was able to remove these blemishes without my edits being particularly obvious.

The Clone tool is really good at taking care of this kind of small-scale issue, but there are a few things to remember if you're looking to get the best possible results. If you're tackling multiple blemishes, make sure to keep taking a new source that matches the tone and lighting of the area you're working with. It's also worth trying out different brushes depending on the task at hand.
Healing Skin
If you're looking to address a larger portion of the image, for instance an area of skin, the Heal tool is your best bet. It's one of GIMP's best tools for photo editing. Our subject didn't bother to shave before having his photo taken, so we're going to tidy things up a little bit.

As with the Clone tool, select Heal from the toolbox and use Ctrl or Cmd and click to establish a source.
Now select a relatively large brush. The more diffuse options are a good choice here, as they'll offer a more nuanced effect. Start making strokes over the area that you want to adjust.

Experiment with the Heal tool a little bit to get a feel for what it does. While it uses your source as a guide, it's a very different effect to the Clone tool, as it doesn't directly replicate that sample. Of course, it's still a good idea to keep changing your source as you work on new areas, accounting for differences in skin tone.

Our intention here isn't to remove the presence of hair entirely, as that's a bit beyond the capabilities of the Heal tool. Instead, we're looking to get rid of the longer hairs and give our subject something more akin to designer stubble. We're neatening things up, rather than completely overhauling the image.
Don't Sweat the Small Stuff
The important thing to remember about making this kind of edit is that nobody's perfect. If you get too caught up in "fixing" every minor blemish on someone's face, you're likely to end up with a photograph that looks unnatural, and that's really not what we're going for.
These techniques should be something that you can call upon if you think your portrait needs a little bit of tinkering. Don't feel that you need to employ them each and every time you take a picture.
Good portraits, above all else, are reflective of the person who's the subject. Don't worry too much about smoothing over every imperfection. But if there's something that distracts from the overall image, you have plenty of ways to dive in and remove that element.
Do you have a tip on how to make a good photo great using GIMP? Are you struggling with one of the steps described in this guide?