Rsync is fairly simple: it's a tool that's specialized in copying files. For us, this means that rsync removes many inconveniences involved in manual backups. This results in a more seamless backup process, compared to using the file manipulation commands native to the Linux terminal.
For example, rsync recognizes unchanged files from the last transfer, and saves time by not overwriting them. Other things like the ability to compress your files also make your backups more speed efficient. While these sorts of things could be theoretically done by hand, rsync puts all of these tasks into one convenient tool.
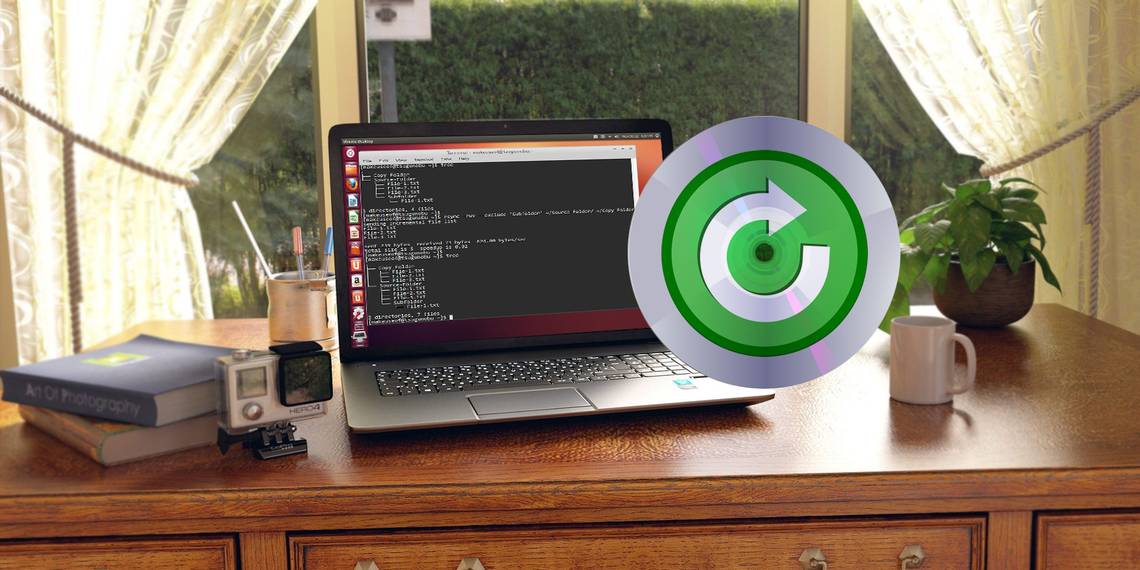
We've already covered Grsync in the past, but knowing how to use the tool powering it (that is, rsync) can prove to be a valuable asset. Hopefully, this article will demonstrate to you that using rsync without a graphical back-end is a fairly simple task.
Rsync Basics
All rsync commands are fundamentally the same, so it should be easy enough to pick up. Here's the most basic command which simply copies the contents of one folder to another:
rsync -r -u -v <strong>~/Source-Folder</strong>/ <strong>~/Copy-Folder</strong>

The -r option stands for "recursive". Put simply, without this option, rsync ignores files which are stored inside folders, meaning it won't copy everything. We add the -u option (for "update") to ensure that your transferred files won't overwrite files in the target folder which are more up to date. For example, if you edited a file in the transfer folder, but didn't from the original folder.
The -v option (for "verbose") lets you see what rsync has done, which is good for monitoring its behaviour and actions. It's not strictly necessary, but you might end up appreciating the extra information -- without it, rsync is much more silent.
For more advanced forms of backup, all we have to do is to add extra options (i.e. -[letter]) to rsync. You can actually put all these letters together in one single, big option (e.g. -ruv) if you want to save space. Just remember to put them in before specifying your folders!
Choosing Your Backup Directories
As you saw above, you first select the folder which you'd like to copy files from, and then select where you'd like them copied to. Also take note of the trailing / at the end of the source folder. Doing this ensures that you're only copying the contents of the folder, rather than the folder itself. You can leave out this forward-slash if you'd rather bring the folder along.
Helpful tip: the ~/ symbol represents your home folder (where your Documents, Desktop, Downloads, Music, etc. folders are stored). This is much faster than simply typing out your full source folder location, and is username agnostic.
Excluding Files and Folders With rsync
Sometimes, you don't want to back up entire folders worth of data, and rsync can handle that as well. Apart from just choosing more specific folders to copy, you can also use the --exclude option to skip them. This lets you tell rsync to ignore a selected folder, file, or pattern.
rsync -ruv --exclude 'Subfolder' <strong>~/Source-Folder/ ~/Copy-Folder</strong>

As you can see above, the Subfolder directory was not transferred. You can also exclude files with this: just type its name down in quotes.
To stop multiple similar files/folders from being transferred, use the * symbol with the --exclude option. This acts as a substitute for any other file name.
rsync -ruv --exclude '*.txt' <strong>~/Source-Folder/ ~/Copy-Folder</strong>

This command meant that rsync ignored all files that ended with .TXT and only copied along a folder. The * symbol acts as a wildcard -- it represents all the potential words and letters you could, in this example, name a TXT file. This is a basic exclusion pattern for rsync.
There is something important you should know about exclusions: they are located relative to your copy source! Put simply, you need to tell rsync the position of the files you are excluding in relation to where you chose to copy your files. Here's an example of this in play:

Since we are copying data from the Source-Folder directory, we don't need to specify where exactly the Subfolder directory is located. It's right inside it. However, if we then want to exclude File-1.txt from inside that folder, we need to state its location, with the 'Source-Folder' directory as its root. Keep this in mind if you find your exclusions failing!
Making Backups Faster With rsync
As previously stated, rsync has the ability to compress the files it copies, then decompress them at the other end. This is meant to reduce the amount of data transfer required to copy a file, trading time for the CPU usage needed for compression. So if you're on a laptop and want to save some battery life, you may not want to use this.
rsync -ruv -z <strong>~/Source-Folder</strong>/ <strong>~/Copy-Folder</strong>

All we're doing here is adding the -z option to rsync: this represents the compression option. It's short for zlib, which is the software rsync uses to do this. Essentially (pun intended) it zips your files from one place to another.
To see the improvements in transfer speeds, simply look at rsync's output. More specifically, the "speedup is [x]" (measured in seconds). Use this as a gauge to whether or not compressing your file backups is worth it to you. Every computer is different!
Testing the Waters
Before leaping in the deep end and using rsync proper, it's always good to make a dry run first. Doing this allows you to see exactly what rsync will copy and where, before the data is backed up. All you need is to add the -n option (short for "no changes made") to your command to do a test run:
rsync -ruv -n <strong>~/Source-Folder/ ~/Copy-Folder</strong>

As the above image indicates, no files are actually transferred. However, you still get to see what would have happened if you left out the -n option. Because of this, a dry run in rsync is an extremely fast and easy precautionary step to take, especially if you're using a lot of options chained together.
Going Further
Hopefully, this article has provided you with the know-how necessary to back up your data quickly and efficiently from the command-line. However, rsync is an extremely versatile tool, so if you find your backup needs exceed that of this guide, don't be afraid to enter this command:
man rsync

The document you see goes through all the options covered here in much more detail, along with many others. For example, it explains how to exclude files by their size, useful for filtering out blank or redundant files.
Do you prefer using the command line to back up your data? Why or why not?