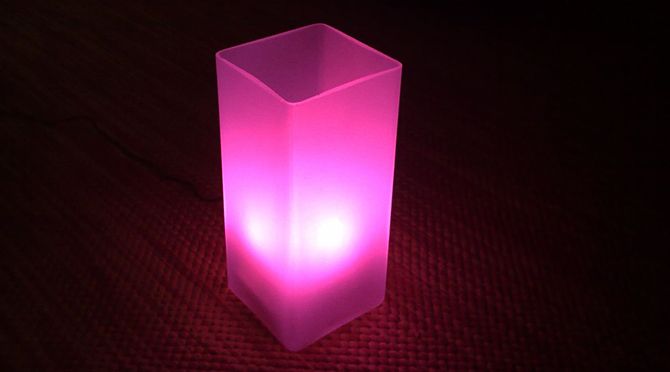
There have never been more ways to light your home. Low powered LED strips and bulbs are not only cheap, but can be controlled in a variety of awesome ways which will leave you feeling like the ultimate starship captain, mad scientist, or evil villain – depending on your priorities in life.
Most LED strips come with an infra-red remote control. These are useful for obvious reasons, but using an Arduino instead can add functionality. (If you're just getting started with Arduino, first look over our beginner's guide).
How about controlling your lights with your voice? What about lights that come on automatically when you come home at night? Mood lighting controlled by someone else's mood? How does easing slowly into the day with an artificial sunrise sound?
In this article we will cover them all, and a few more. You can build almost every project here with simple components and a basic grasp of coding, and could even combine them together.
Give It a Hand
Lets start with an old favorite, the clapper. Instructables user MertArduino has created a clapper switch which attaches to any lamp using a relay module along with a sound sensor module, all driven by an Arduino Uno.
You could use almost any Arduino compatible board for this project, cutting the size down even more. If you do decide to build this, I would perhaps suggest making a slightly safer enclosure than the cardboard one featured!
Perfect to look cool walking into a room, less perfect if you are likely to receive a round of applause when you get there.
Catch a Wave
Science fiction is full of cool things happening whenever the hero so much as flicks a finger. Whether it's the futuristic hand controlled screens from Minority Report, or the ability to shoot media from handheld devices onto big screens in The Expanse, it seems that gestures speak louder than words.
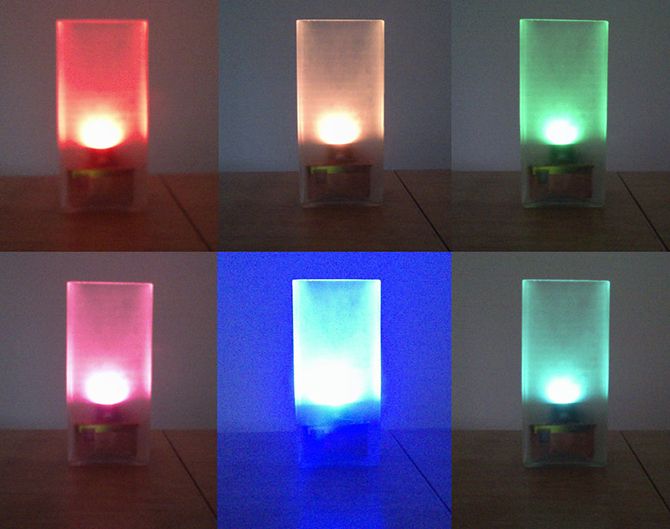
Francisco Castro made a stylish lamp with simple materials -- the lampshade itself is a beautifully simple design made from paper. You can check out the tutorial for this project on the Make website here.
https://www.anrdoezrs.net/links/7251228/type/dlg/sid/UUmuoUeUpU46188/https://vimeo.com/34435437
Instructables user admarschoonen took this design even further by creating an updated version of Francisco's lamp. He incorporated a capacitive touch panel on each corner to change the color of the lamp. This time the circuit is housed inside an old glass lamp from IKEA. You can find a detailed how to for this project here.
Give It Some Color
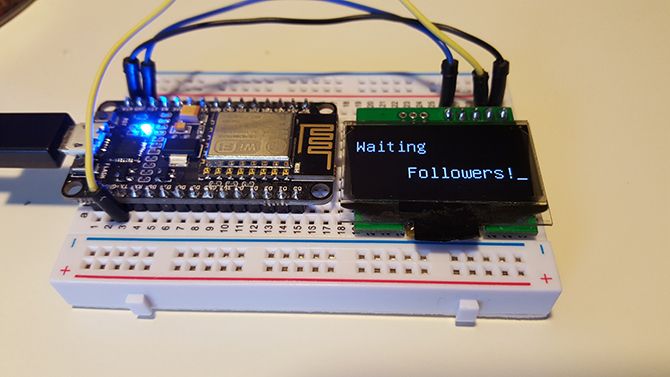
As mentioned in the intro to this article, many LED strips come with a cheap remote control to control their color and brightness, but these rely on line of sight to operate. A much more convenient way to control LED strips is over Wi-Fi. This of course means your LED controller will also need to communicate by Wi-Fi. While there are shields available for Arduino boards, why not get something cheap, Arduino compatible, with Wi-Fi capability already built in? We have covered the NodeMCU (ESP8266) board before and it is a firm favorite for many of our projects.
Rui Santos created a mood lamp, which can be controlled by any browser connected to his home Wi-Fi, for under $10. Check out the how to guide on the Random Nerd Tutorial website.
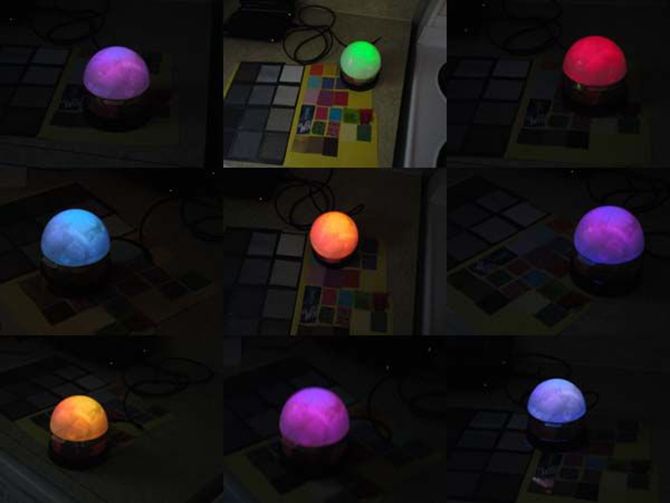
Taking the idea of mood lighting even one step further, Instructables user fjordcarver has created a "Chameleon Lamp" which changes color based on what it sees on the surface below. The build uses a light sensitive resistor, as well as red, blue and green LEDs to detect and reproduce color. See the full Instructable -- with hand drawn diagrams no less -- for the project details.
Give It Some Rhythm
Another alternative for souping up your lighting is making it reactive to what you are listening to. As nostalgic as the LED meter on my childhood stereo system jumping from the yellow into the red may be, we can do much better now.
The above video is by Miska Karvonen, and you can see how he designed this reactive LED lighting to work with almost any audio setup on the Instructables page about the project. He's used individually addressable Neopixels (also known as WS2812B) strips.
Control It From Your Phone
Smartphones have become ubiquitous, to the point that having an old school phone is seen as a rarity. While controlling technology from your phone is one of the most common home automation projects, it can still be a fairly daunting task to anyone unfamiliar with networking.
Luckily, there are companies which provide a cloud service allowing us to sidestep this problem. I recently did an introductory article on Blynk -- a service designed to make it easier to connect to internet enabled devices from anywhere. They have improved on the service since that article was written, and for an easy to set up cloud based automation service, it's a great starting point.
Give It a Time and a Place
Sometimes, you just want the lights to come on at a certain time. In a previous article, James covered how to create an Arduino powered sunrise alarm and nightlight, which slowly eases you into the day with lights that fade in over time, and turns a light on when it detects movement at night. It also makes for great dog photography lighting.
It is worth noting that if you are going to build this project you should use logic level MOSFETS (such as the IRL540N or something similar) so that you don't run into the same issues he did!
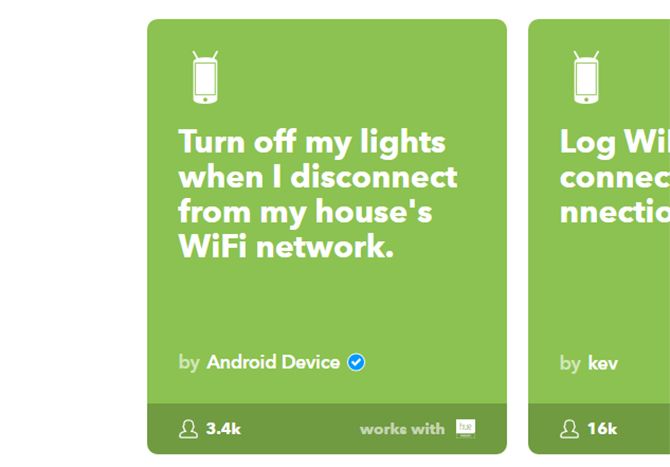
To take the idea of timed lights even further, we can use IFTTT (If This Then That). IFTTT lets you automate technology, allowing you to link almost anything from smart home and security systems, to social networks and smart phones. You'll find thousands of "recipes" already for automated solutions, with many off-the-shelf smart home products supported.
IFTTT's Maker channel allows you to trigger your own DIY projects too. By sending a web request to a cloud service like Blynk [Broken URL Removed] and thinger.io (or your own webserver if you have one), you can trigger changes in your home system a variety of ways.
For example, by modifying this tutorial by Alvaro Luis Bustamante on using IFTTT with thinger.io, you can add location based control to your lighting. Instead of Twitter being the If action, use the Android channel to detect when your phone attaches to your home Wi-Fi network.
In the comments of the same tutorial, Alvaro outlines how to modify the web request to instruct your NodeMCU to do your bidding.
Talk to It!
The pinnacle of geeky control methods is voice control. While there are more complex methods (brain control, anyone?), talking to hardware is the staple of sci-fi, and the best way to channel your inner Jean-Luc Picard.
In an earlier article, we covered how to use Siri along with a Raspberry Pi and a NodeMCU board to control a light completely by voice.
Since that tutorial, the Amazon Echo has been released, pushing voice commands into a much more accessible and powerful method of control. In an article on hackster.io, Carlos Martin created a voice controlled RGB LED setup for his kitchen, controlled using Alexa.
This setup is fairly elegant as it makes use of a cheap infra-red controlled LED strip, and uses a Particle Photon board to generate IR codes to change the brightness and hue of the lighting, so you can still use the original remote and bypass the need for any hardware hacking. You could do the same with a NodeMCU, which would be even cheaper.
Let the Light Talk to You Instead
So far we have looked into ways you can control your lights directly, but how about handing that control over to someone else. Sounds crazy, right? You may have images of your lights flickering on and off at all hours of the day and night in some kind of haunted house scenario reminiscent of a scene in Mr. Robot.
No, what I suggest is a little more controlled. Kaustubh Agarwal designed a simple color changing lamp, with the hue determined by an IFTTT search of Twitter tags. The color changes depending on the general mood of Twitter users.
This exact same setup could be used for something even more specific: you could make your light change when you are mentioned by name, or you are liked or retweeted.
Make Your Dimmer Smart
Most of these so far have concentrated on LED lighting, but you can use your Arduino to control AC dimmer lights too. Instructables user Jestin_Cubetech has put together a project using Arduino and Raspberry Pi to control a bulb's brightness using pulse width modulation (PWM).
You can find the full project here, though as one comment mentions, it would be worth attaching a heat-sink to the MOSFET in the circuit to prevent overheating.
So there we have it, go forth and control your lights like the captain of your own space ship! This article barely scratches the surface of the many ways you can personalize your set up, and I look forward to seeing what unique things the community will come up with to control their lights in ever more complicated ways. Go forth and be creative!
Have you made a weird and wonderful home setup for your lighting? Are you planning a project and are wondering where to start? Let us know in the comments below!


