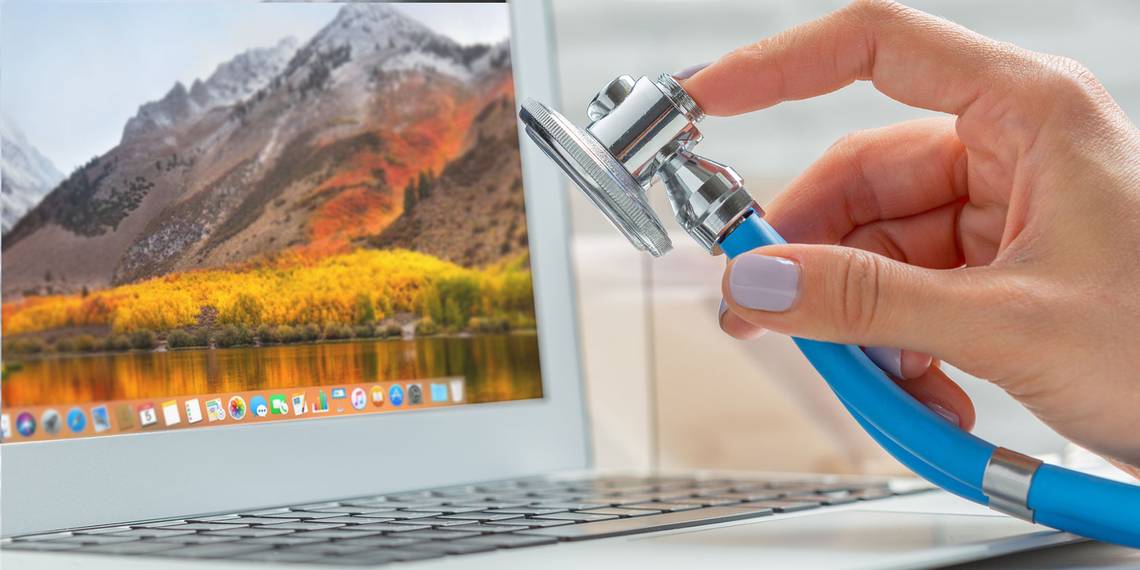
If something goes wrong with your Mac, you're generally left with two options: pay someone to try to fix it, or buy a new machine. Unlike Windows OEMs, Apple isn't particularly accommodating when it comes to diagnosing hardware problems.
As a result, the simple Apple hardware and diagnostics tests built into your Mac aren't that useful. They test hardware components, but the information gleaned lacks the depth required to make a meaningful diagnosis.
If you really want to know what's wrong with your Mac, you'll have to take matters into your own hands.
What Is Apple Service Diagnostic?
Apple Service Diagnostic, or ASD for short, is Apple's in-house diagnostic tool used by technicians to isolate and fix hardware issues. These tools are not provided to the general public, and instead are made available to registered Apple technicians as part of the company's Global Software Exchange (GSX).
This isn't a one-size fits all operation. Each Mac, or "family" of Mac computers, will have its own ASD release. To test a MacBook Air from 2013, you'll need the ASD release that accompanied that specific hardware configuration. Newer post-2015 Mac models use a completely different system, which runs via the internet and requires a login.

You can test pre-2015 Macs offline, provided you have the right ASD release. Whereas Apple Hardware Test or Apple Diagnostics will simply indicate whether or not your computer has a fault, Apple Service Diagnostic will give you as much information about that fault as possible.
Due to the sheer volume of information provided, you might be left more confused after testing than you were when you started. It's also a time-consuming process to track down the right images, create a bootable disk, run the tests, and then interpret the results yourself.
If you're running a post-2015 Mac and you aren't a registered technician, your Mac can't use these tools (though you can try other Mac troubleshooting tools). And if you're not prepared to research the results you receive and what they mean, ASD testing may be of little use to you. But if you're dead set on fixing your own Mac, or at least fancy giving it a try, read on.
How to Find the Right Apple Service Diagnostic
We won't provide direct links to specific ASD images here, nor will we facilitate requests in the comments below. ASD is Apple's own in-house software, so downloading a copy without prior consent may be considered piracy, which is bad.
With this in mind, it's understandable that Mac owners want agency over their machine. If replacing a faulty RAM module will give your MacBook an extra few years, the use of ASD starts to look a little more justified. You can isolate small issues like fan failures with ASD and fix them relatively cheaply. Bigger problems like CPU and GPU failings will signify it's time to buy a new Mac.
Apple's obfuscation of diagnostic data has led to thousands of forum posts dedicated to sharing ASD images via torrents and cloud libraries. You don't need to look far before you start finding downloads available on fairly reputable websites.
To find the right ASD image, you'll need to match your particular hardware with an ASD release. Computer repair technician and blogger Danny Dullin has an extensive list of ASD releases and applicable hardware which should point you in the right direction.

I was able to find the right ASD images for my 2012 MacBook Pro Retina and the dodgy 2013 MacBook Air that lives under my desk in about 10 minutes of searching with Google. There are a lot of resources out there dedicated to sharing these images.
EFI vs. OS Testing With ASD
If you manage to get your hands on the right ASD release for your particular machine, mount the DMG and inside you'll find two other DMG files and a few PDFs explaining what to do with them. There are two different ASD testing methods provided in each release: EFI and OS.
EFI stands for Extensible Firmware Interface, which is basically your Mac's low-level firmware. Tests are performed outside of an operating system environment. This is a great way to test a component like RAM. Since running an operating system will put some of that RAM to use, it could prevent a thorough test.

EFI testing only requires an external drive of 30MB or greater. The test will take around an hour, and will be most effective testing hardware that's normally in use when an operating system is running (like the RAM).
OS stands for operating system, and an ASD OS test boots a limited version of macOS in which to carry out tests. Since you can run more than one test at once, it's a quicker way of diagnosing your Mac. It's not advised to use OS-level testing for issues concerning core components, like memory or CPU.

OS-level testing is particularly useful when testing components like touchpads and keyboards, where user input is often required. Since you're running a whole OS, you'll need an external drive of at least 20GB to perform the test.
Both of these tests have their places, and it largely depends on what you're testing. If in doubt, start with EFI testing, then move on to OS testing.
How Install Apple Service Diagnostic on a USB Drive
First, you'll need to create a bootable USB disk from which to run your tests. Apple recommends installing both tools on separate partitions, on a drive of 40GB or greater:
- On a Mac, connect the external drive you would like to use, and launch Disk Utility.
- Select the drive from the list and click Erase, then choose Mac OS Extended and click Erase to create the volume.
- With the drive selected, click Partition, specify GUID Partition Table, and create two volumes: an ASD EFI volume of at least 30MB, and an ASD OS volume of at least 20GB (name these appropriately, e.g. ASD EFI 3S156 and ASD OS 3S156, so you can tell them apart).
- In Finder, mount (double-click) the ASD disk image (e.g. ASD 3S156.DMG) you downloaded, then mount the individual EFI and OS image files too.
- In Disk Utility, select the ASD EFI partition you created in step three and click Restore, then choose the EFI image you just mounted.
- Click Restore and wait for the process to complete.
- Select the ASD OS partition you created in step three and click Restore, then choose the OS image you just mounted.
- Click Restore and wait for the process to complete, then eject the drive.
Note: It's possible to install each of these tools on a single partition and run them directly, which is perfect if you only have a small USB drive to hand for EFI testing (screenshot shown below). To do this, create a standard macOS partition and "restore" the image as you would in step four and five above.

You're now ready to run Apple Service Diagnostic on your Mac!
How to Run Apple Service Diagnostic
This is the easiest part of the whole process, since it mainly requires patience:
- Shut down the Mac you want to test and connect your ASD USB drive.
- Press the power button then immediately press and hold the Option key.
- If you did it correctly, you'll see a boot menu. Select either EFI or OS, then click the arrow to boot.
- Wait for ASD to initialize, then click Test.

It's really important to wait for ASD to initialize before clicking Test. The first time I tried an EFI test I clicked the button too soon and it hung. It's also possible to test specific components, skip certain tests (useful if they cause your Mac to hang), and stress test the system by looping the process.
Interpreting Your ASD Results
With your results close to hand and any error codes or messages noted, the next logical step is to search the internet for help. Consider posting your issue and pertinent information on forums like Ask Different, /r/AppleHelp or Apple Support Communities.

Another option is to find the technician's manual for your particular Mac model. I managed to find both of my MacBook manuals freely available on Scribd. These provide detailed information about specific components, and may help decode some of the error codes and messages ASD throws at you.
Did Apple Service Diagnostic Help You?
At the end of the process, your machine might pass EFI and OS testing perfectly. At this stage it's probably safe to say your issues are likely caused by software. You should consider reinstalling macOS and starting again.
Failed RAM tests might explain performance issues and sudden reboots. To fix this, you might be able to replace the RAM module. Similarly, replacing an SSD that's not up to par might be a worthwhile pursuit if it extends your MacBook's lifespan.
You can often fix problems with fans relatively easily, while you can substitute a cheap USB peripheral for a bad Bluetooth or Wi-Fi chip. Other issues with the CPU, GPU, display, and so on are probably a signal that it's time to buy a new Mac. When you're ready for the purchase, learn how to build your perfect Mac on Apple's website.
Image Credit: Fotofabrika/Depositphotos