Quick Links
AirDrop makes it easy to transfer data from one Apple device to another. But it's far from perfect, so you may occasionally face issues initiating or finishing an AirDrop transfer. Below, we list some troubleshooting steps to help you fix these problems.
1. Change Your AirDrop Visibility Settings
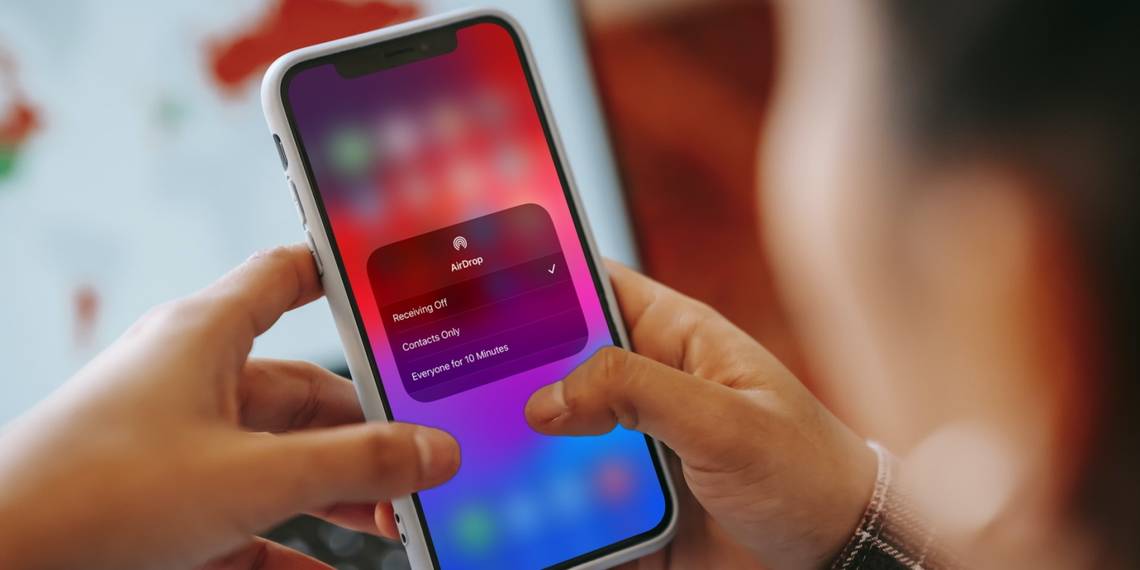
AirDrop gives you three visibility options: Everyone, Contacts Only, or Receiving Off. If your device isn't showing up on AirDrop, it might be on Receiving Off. Therefore, switch to Everyone or Contacts Only, depending on the recipient.
Open Control Center on your iPhone or iPad, then tap and hold in the top-left section to reveal an AirDrop button. Choose your preferred option.


On a Mac, open Control Center and click AirDrop from the top-left section. In the window that pops up, choose Everyone or Contacts Only.

2. Prepare Both Devices to Receive an AirDrop Request
Your device can't be discovered if it's locked and in sleep mode. You must prepare your device for incoming AirDrop transfers, making it more likely to show up on someone else's device without delay.
Unlock your iPhone or iPad and leave it on the Home Screen to prepare it. On a Mac, open a new Finder window and select Go > AirDrop from the menu bar to prepare for an AirDrop request.

3. Turn Off AirDrop Restrictions
If AirDrop isn't showing up at all, you may have blocked it in your Content & Privacy Restrictions for Screen Time. On an iPhone or iPad, go to Settings > Screen Time > Content & Privacy Restrictions > Allowed Apps.


On a Mac, go to System Settings > Screen Time > Content & Privacy > App Restrictions.

Make sure AirDrop is turned on for each device. You may need to enter your Screen Time passcode to make these changes.
4. Enable AirDrop Over Cellular
AirDrop's (Bluetooth) range is around 30 feet, so if you move beyond that distance, AirDrop won't work anymore. But if you've updated your device to iOS/iPadOS 17.1 (or later), you can enable a setting to allow AirDrop file transfers to continue even after you leave the range.
On your iPhone or iPad, go to Settings > General > AirDrop and toggle on Use Cellular Data to ensure transfers occur over LTE or 5G.


5. Allow Sharing by Bringing Devices Together
This particular fix is specific to NameDrop, a feature Apple introduced alongside iOS 17. You can use NameDrop to share contact information by placing the top edge of two iPhones close to each other.
If NameDrop isn't working, check if your device has the right settings. On your iPhone, go to Settings > General > AirDrop and toggle on Bringing Devices Together if you haven't.
Note that NameDrop only lets you share new contact information. You can't update an existing contact with NameDrop.
6. Turn Off Do Not Disturb Mode
Your device may not receive transfer requests from AirDrop if Do Not Disturb or another Focus mode is enabled. Open Control Center and hit the Focus icon (the default is a moon icon) to turn it off on your iPhone, iPad, or Mac.

7. Restart Wi-Fi and Bluetooth on Both Devices
A particularly useful solution if AirDrop isn't working is to disable and re-enable Wi-Fi and Bluetooth. Open Control Center on your iPhone, iPad, or Mac and hit the Wi-Fi and Bluetooth icons to turn them off, then select them again to turn them back on.
8. Use AirDrop From a Third Apple Device
This isn't an option for everyone, but if you have a spare Apple device, you should try using that to connect over AirDrop. Usually, if your iPhone, iPad, or Mac shows up on this new device, it will suddenly appear on the original device as well.
9. Send a Single File Instead of Multiple Files
AirDrop lets you share many kinds of files at the same time. But if AirDrop isn't working, you should consider simplifying matters by sending a single file at a time instead.
AirDrop files automatically open in a relevant app. For instance, images open in the Photos app, but multiple file types don't always open in the same app. This could explain why your AirDrop transfer failed.
10. Check the Downloads Folder for Missing Files
If AirDrop sent a file to your device but you can't find it, take a look in the Downloads folder. On an iPhone, open the Files app and select the Browse tab from the bottom. Then, head into iCloud Drive or On My iPhone and tap into the Downloads folder.


On a Mac, you can usually find the Downloads folder by opening a new Finder window and pressing Option + Command + L. You may also find it next to Trash on your Dock.

11. Turn Off Your VPN for AirDrop to Work
Some users found that AirDrop didn't work until they turned off the VPN on their iPhone or Mac. You might need to do this in the VPN app or your device settings.
On an iPhone or iPad, go to Settings > VPN to do this. On a Mac, go to System Settings > Network > VPN.
12. Open Your Mac's Firewall to More Connections
The firewall on your Mac might be set to block all incoming connections, which often includes new AirDrop transfers. You'll need to loosen these restrictions from System Settings if AirDrop still isn't working.
Go to System Settings > Network > Firewall. Toggle off Firewall and enter your Mac's admin password if prompted.

13. Sign In to Your Apple ID Account Again
Go to Settings or System Settings on your iPhone or Mac respectively, then select [Your Name] at the top of the menu and choose Sign Out at the bottom of the following page. Choose the data to keep on your device, then confirm you want to sign out.

It doesn't matter too much if you keep data on your device since you're planning to sign in to the same account again. After signing out, return to Settings or System Settings to sign in to your Apple ID again.
14. Update the Operating System
Apple frequently releases iOS, iPadOS, and macOS updates to not only add new features but also fix software bugs and address security issues. If AirDrop still isn't working, install the latest updates for your devices to hopefully fix it.
On an iPhone or iPad, go to Settings > General > Software Update. On a Mac, go to System Settings > General > Software Update to check for a newer version.

15. Restart Both Devices
This is a classic troubleshooting tip because it's so effective. Restarting your iPhone, iPad, or Mac might be all you need to get AirDrop working again. And it only takes a moment to try it.
16. Reset the Network Settings on Your Device
You can reset the network settings on an iPhone or iPad to fix all kinds of Wi-Fi or Bluetooth problems, including issues with getting AirDrop to work. When you reset these settings, your device forgets any Wi-Fi passwords you've saved, so you'll have to manually reconnect to trusted networks again.
If you still want to go ahead with it, go to Settings > General > Transfer or Reset [Device] > Reset and tap Reset Network Settings. Enter your passcode, then confirm you want to Reset Network Settings.


Unfortunately, macOS doesn't have a similar reset network option, so you'll have to follow a different set of instructions to reset the network settings on your Mac.
We hope the above troubleshooting steps allowed you to use AirDrop and NameDrop again. If the problem persists, it's best to contact Apple Support for further assistance.
In general, to get the feature to work, you only need to make sure you've enabled Wi-Fi and Bluetooth on your devices and have the right settings so that both devices can detect each other.