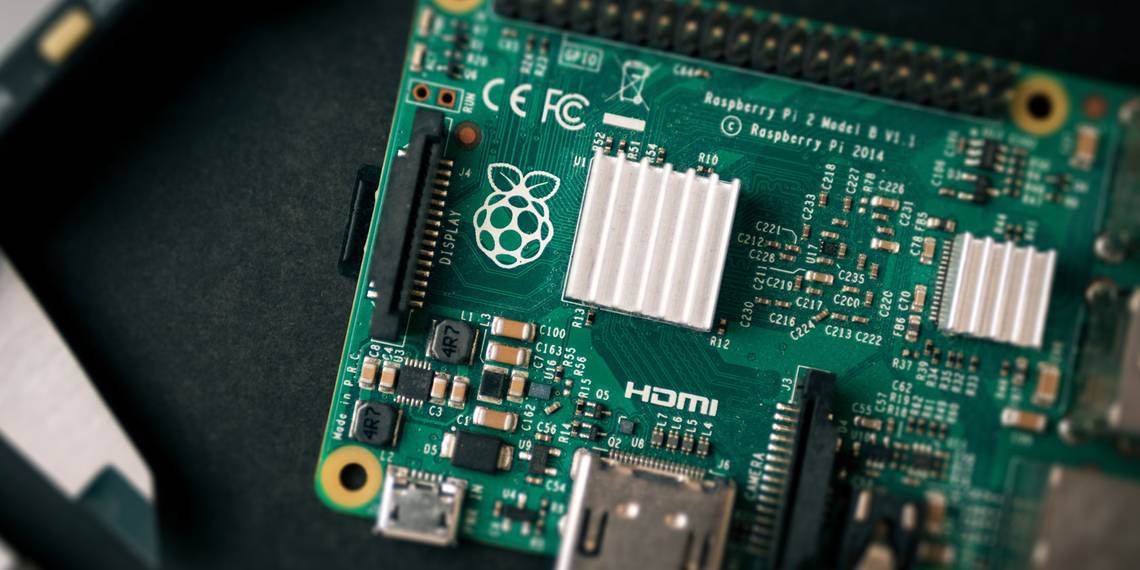
It might be a fantastic, flexible little computer, but the Raspberry Pi has one key flaw: the lack of a power button. Missing a standard on/off switch can lead to problems; thankfully, you can add your own Raspberry Pi power button.
Two choices are available: a DIY power button, or one you purchase. Let's look at how to add a power button to your Raspberry Pi and guarantee a safe, orderly shutdown.
Why You Need a Raspberry Pi Power Button
Using a Raspberry Pi is simple enough but powering it up and switching off can lead to problems (see below).

When you first unbox the Raspberry Pi, the absence of a power button is striking. After all, every device from desktop and tablet computers to a wireless mouse has a power button or switch. The Raspberry Pi, on the other hand, does not.
Instead, you're required to connect the USB power cable and wait for it to boot your chosen Raspberry Pi-compatible operating system (OS). Powering up is straightforward enough but switching off is another matter entirely. The answer is to use a typed command or a mouse click to shut down the Pi---but this isn't always ideal.
The Importance of Safely Powering Down
If the Raspberry Pi crashes, or you're not able to access it remotely or via keyboard, mouse, and display, then shutting down suddenly becomes a problem. The only solution is to pull the power cable.
However, this can lead to problems.
If data is being written to the SD card as the power is pulled, the card can be corrupted. The result of this is often an operating system that won't boot. While most modern SD cards are robust enough to handle error correction, a new OS will probably need to be flashed.
This could also mean losing a significant volume of data. Certainly, if you've been using the Pi for a specific project, or using it to learn to code with Scratch, you probably don't want to lose your work.
Pulling the power lead and corrupting the card will do this. Cloning the SD card is a good way to overcome such data loss, but prevention is always better than a cure.
Safely powering down the Raspberry Pi will enable the OS to complete active write processes to the SD card. The computer can then shut down without data loss and the risk of SD card corruption.
Mount a Raspberry Pi Off Switch on the GPIO
One way to achieve a safe Raspberry Pi shut down is with a DIY switch connected to the computer's GPIO. You can build your own with a Python script, and a single momentary switch. These are low-cost components and can usually be bought in multiples.
If you can't get hold of any, or want a switch right away, check any old PC components you have lying around. It's the same type you would find as your PC's power button.
The momentary switch should be connected to a powered-off Raspberry Pi on GPIO pins 39 and 40.

After rebooting, it's time to create the Python script and program the GPIO.
The Raspberry Pi Safe Off Switch GitHub project explains how to use the GPIO Zero library to create a Raspberry Pi off switch. GPIO Zero is preinstalled with full versions of Raspbian Stretch, but if you're using the Raspbian Lite version, you'll need to manually install it.
        sudo apt update
sudo apt install python3-gpiozero
Next, create the script in your text editor. We're using nano:
sudo nano shutdown-press-simple.py
In the text editor, enter or copy and paste the following script:
        #!/usr/bin/env python3

from gpiozero import Button

import os

Button(21).wait_for_press()

os.system("sudo poweroff")
As you can see, this refers to the gpiozero library, specifies the GPIO pin 21 (the internal numbering system for physical pin 40), and initiates the "poweroff" command when the button press is detected. Save the script with Ctrl + X, then Y to confirm.
Back in the main terminal window, make the script executable:
chmod a+x shutdown-press-simple.py
To ensure this works following a reboot, append /etc/rc.local:
sudo nano /etc/rc.local
In the final line before the exit statement, add:
echo '~pi/shutdown-press-simple.py'
Save and exit as before, then try the button out.
Safely Mounting the Power Button
You might notice that it is easy to accidentally hit the button. Several solutions are available, from careful mounting away from accidental knocks to requiring a longer press (refer to the GitHub page above for more on this).
Whichever solution you prefer, mounting the button seems sensible once installed. You may need to reconfigure your case slightly to accommodate the button. How you do this depends on several factors, such as your Raspberry Pi model and the type of case.
If possible, it's a good idea to mount the button so it is recessed. This prevents any type of accidental knock, much like the power switch on a desktop computer.
Two Raspberry Pi Power Buttons You Can Buy
Looking for something different? Several Raspberry Pi power buttons can be bought online. Here are two popular options.
1. Pi Supply Power Switch
Designed to sit between the Raspberry Pi and the mains outlet, this power switch comes as a kit. You'll need to solder the components to the PCB to get started and install this code from GitHub before connecting. Three buttons on the device let you switch on, switch off (the equivalent of a cable pull), and initiate a graceful shutdown. The third button also enables a reboot with a longer press.
2. iUniker Raspberry Pi Switch
An alternative to the Pi Supply device, the iUniker Raspberry Pi Switch is a prefabricated product with the cables and switch encased. However, there is no facility to avoid a sudden shutdown, which means this is only suitable for switching your Raspberry Pi on.
On the other hand, the iUniker switch can also help to avoid wear on your Raspberry Pi's power connector.
Add More Buttons to Your Raspberry Pi
Despite being released way back in 2012, the Raspberry Pi still ships without a power button. Of course, this is by design. Matters of cost, and the vast array of Pi projects (anything from a media center to an embedded IoT project) mean the power button (or switch) remains an optional extra.
If you need one, install one; if not, carry on!
It isn't just shutting down that can prove troublesome for the Raspberry Pi. What if you simply need to reboot? Here's how to add a reset switch to your Raspberry Pi.