Green screen compositing has become a relatively common technique for photo and video creations in recent years, and because it's used so often, it seems as if it's losing its magic! Basically, the image editor recognizes a range of colors based on a sample and then seeks to remove all instances of that color. Why green? Well, it's not a very common color as far as people's clothing or skin goes. (As an added note, blue works just as well.)
However, have you ever wanted to try out green screen photography on your own? It's really not that hard if you're shooting for something extremely simple. Fortunately, I'm here to show you just how easy it is! Assuming you have access to something green, some form of lighting, and some already-existing camera know-how, you can try this out for yourself. Hopefully, being able to do it on your own will bring that magic back.
Lighting Is The Key to Green Screen Backgrounds
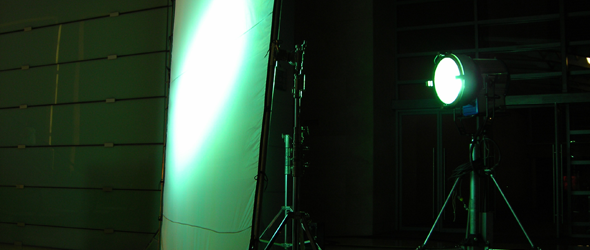
Most people don't take into consideration the actual mechanics of shooting the green screen background photograph. The reality is that the most important part of it all is the lighting. Without lighting the set well, your composition will look really nasty. Let's start with the basics, though. As with most staged photos, you'll light your subject and your background. This provides an even tone throughout the area you are shooting in.
When lighting the background of most images in normal photography, a shooter may decide to use various techniques to "paint" with light and create interesting shadows or patterns. On the contrary, you don't want to do that at all with green screen photography.
Here, the goal is to keep the green screen background as evenly lit as possible. That means no shadows! Since chroma keying (the technical term) involves taking a sample of a color (for instance, a green pixel) and removing it from the image, this helps separate your foreground subject from the green screen background. Speaking of the foreground subject, it's important to make sure they are lit better than the background.
As an added note, it is ideal to have the subject far away from the green screen (ten feet should work). This prevents any possible shadows, and it's also why you see studios that use big green screens. Most people tend to have this idea that talent is always right up against the green screen – wrong. Even with the tiny, portable green screens it's possible to stay at a distance. By creating a garbage matte around the area your model is in, you can use a little screen for a big picture.
Editing Tools In Photoshop
With screen scenes in movies, things are a bit more hit-or-miss in my opinion. The computer takes a sample of a color, and then it gives a range based on that color. Colors within that range (hopefully they are all very similar) are then removed from the final image and replaced with another background. There are ways to get much more specific with it, but that often takes time and more money. On the other hand, with green screen photography, all tools are pretty much at your disposal in Photoshop.
There are three primary tools most editors would use when trying to make a "green-screened" image in Photoshop. These tools are simply used to select the background or the foreground and remove it.
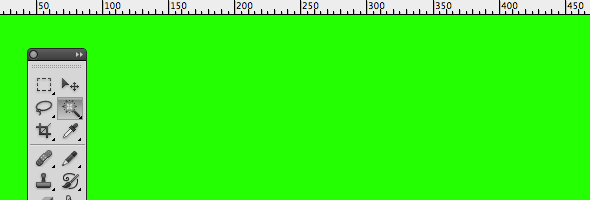
- Magic Wand
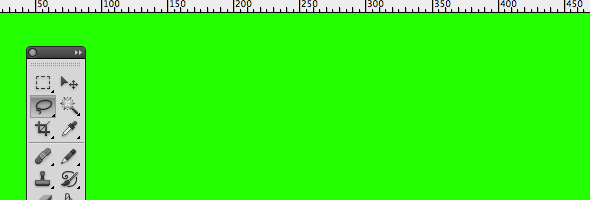
- Lasso
- Color Range
These are what I would consider your go-to tools. You may use only one at a time, for specific parts of the image, or all at once. As you work with chroma key images, you'll learn what's best for what. As a reminder, this isn't just limited to Photoshop, for other image editors may utilize similar weapons. Naturally, since nothing is perfect, you may want to make some manual color touch-ups after removing the green.
The Magic Wand
I'd say that the easiest, most automatic tool one can use for background removal is the magic wand. Essentially, this tells the application to remember the color value of the pixel that you have clicked and then to select pixels with similar hues that are nearby. The magic wand will also select similar connecting pixels, and this helps when selecting giant chunks of green. Even so, the handy non-physical, semi-magical apparatus isn't perfect. Sometimes it will select pixels you wouldn't want to it to touch, and in such situations, the tool is ultimately rendered useless.
The Lasso
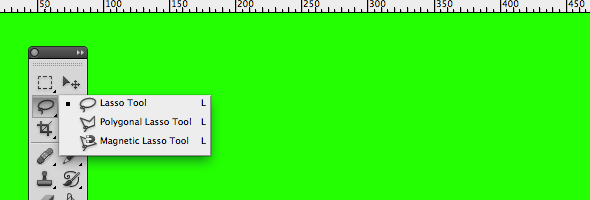
Alternatively, for foreground removal, the lasso tool manually cuts objects from a green screen background. By selecting individual points on the image, connecting lines will be created between them. After a closed circuit is created, the selected image can be extracted from the background. Of course, this tool comes with a couple of add-ons: the polygonal and the magnetic lasso.
Both extras do exactly the same thing as the lasso. However, there are some slight differences. For instance, the polygonal lasso will create perfectly straight lines from point to point. On the other hand, the magnetic lasso clings to what Photoshop considers to be the edge of your selected image. Both tools add automatic functions to a highly-manual tool, and as with the case of the magic wand, there is certainly room for error.
Color Range
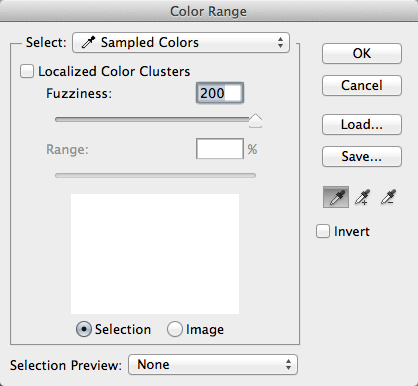
Personally, I'd say that the color range tool is the best piece in your kit for background removal. While the magic wand selects wide areas and the lasso selects more specific ones, the color range targets a sampled color and selects all instances of that color in the image.
The tool can be accessed by looking at your menu bar, opening the Select drop-down menu, and clicking Color Range. Additionally, you can select Modify from the same drop-down menu, and this will allow you to smooth, feather, and do more to your images to refine the pixel edges (which was a problem we already discussed).
Setting The Background
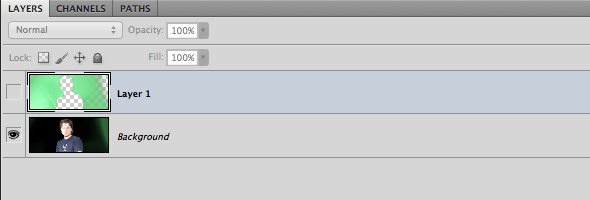
After getting rid of the selected green area, you can now place your foreground on top of a fresh new background. This is done through layering, and you can even do this with free photo editors like the GIMP.
Remember how I said the lighting was very important when illuminating the green screen itself? Well, I'd say it's equally so when it comes to lighting your subject. A photographer needs to make the lighting of the subject match the background when he actually shoots the image. With that in mind, he should probably already have the background in mine before even capturing the first picture. Else, the subject will look very out of place. Admittedly, our subject in the sample photos isn't lit in the best of ways, but it should give you the general idea of how everything works.
This is why your standard Mac PhotoBooth background replacement looks so cruddy. The lighting is terrible! Granted, it is possible to use Photoshop as a means to adjust the lighting in post. If that's the case, I would light the subject very evenly while on set and then apply various shadows while editing. Going brighter could cause a bit of grain or other riff-raffs.
Conclusion
So there's a lot to green screen photography, but I'd say the best way to figure it out is by actually doing it. That said, I would first find a portable green screen or painting a wall with chroma key paint. If you don't have professional lights, try experimenting with work lights from the hardware store.
What lighting techniques do you use for green screen background photography? What are some of your favorite green screen photographs?
Image Credits: presto44, miguelwhee, mmsz


