Do you want to be able to print from your smartphone or tablet to your old-fashioned, non-wireless printer? To keep your printer in a different room, perhaps even in a cupboard or shed (if it's noisy), safe in the knowledge that the print job will be waiting for you when you go to collect it?
With a Raspberry Pi, you can.
Get Your Raspberry Pi Print Server Ready First
It used to be the case that the only way to turn an old-style, non-wireless printer into a modern, wireless printer was to either buy a potentially expensive wireless card for the device (if compatible) or connect it to a wireless-enabled PC. This is more or less still the case; the only difference is that the PC just got a lot smaller, and is now a Raspberry Pi.
If you followed the instructions provided in our previous guide, you should know how to setup your Raspberry Pi print server using CUPS and Samba. Hopefully, you've also made sure that the correct printer driver is selected, as well as confirming that your printer will respond to print jobs.
By now, you're up to speed. The next task is to configure your Raspberry Pi print server to print from an iPad, iPhone or Android device.
Devices You Can Print From
Our guide for setting up the Raspberry Pi as a print server was mainly intended for Windows PCs (although connecting to a Raspberry Pi-connected printer from Linux and Mac OS X is just as simple).

However, by adding support for AirPrint and other wireless printing protocols, we can print from iPads, iPhones, Android devices and more.
Sending print jobs from your mobile device is perhaps the most liberating and exciting new experience made possible by wireless printing, and by using the Raspberry Pi you get to learn a little about how a print server fits into the system.
Stop Your Raspberry Pi Wi-Fi Idling
One thing you should do before proceeding is to stop the Pi's network card going into idle mode, which will stop you being able to print. Without attaching a keyboard (and we want the Pi print server to be accessible via SSH) the system cannot be woken up.
This means that your computer, tablet or phone will be unable to connect to the printer!
To work around this, we can add the following script to block the Pi from going into standby.
Enter the following command in the terminal to create and edit a new text file:
sudo nano /etc/modprobe.d/8192cu.conf
and add the following to that file:
        # Disable power saving
 options 8192cu rtw_power_mgnt=0 rtw_enusbss=1 rtw_ips_mode=1
Give your Pi a chance to run these changes by rebooting:
sudo reboot.
Don't be concerned that we've disabled power management – the Raspberry Pi uses far less power than any of the other devices involved in this setup. It's entirely safe for your Pi to be left switched on; this is common in media centre setups with RaspBMC.
What You Need To Know About Adding AirPrint Support
Once the problem with your wireless dongle timing out is fixed, you can start adding the tools to make it possible to print from your mobile device.
However, it isn't as complicated as some sites and tutorials would have you believe. Recently, the component software that makes printing through a Raspberry Pi wireless print server from an iPad or iPhone has been incorporated into CUPS, Samba and Raspbian.
The result is that it is very simple to print from your iOS device once a single application has been added.
sudo apt-get install avahi-discover
That's all. When installation is complete, you should be ready to start printing!
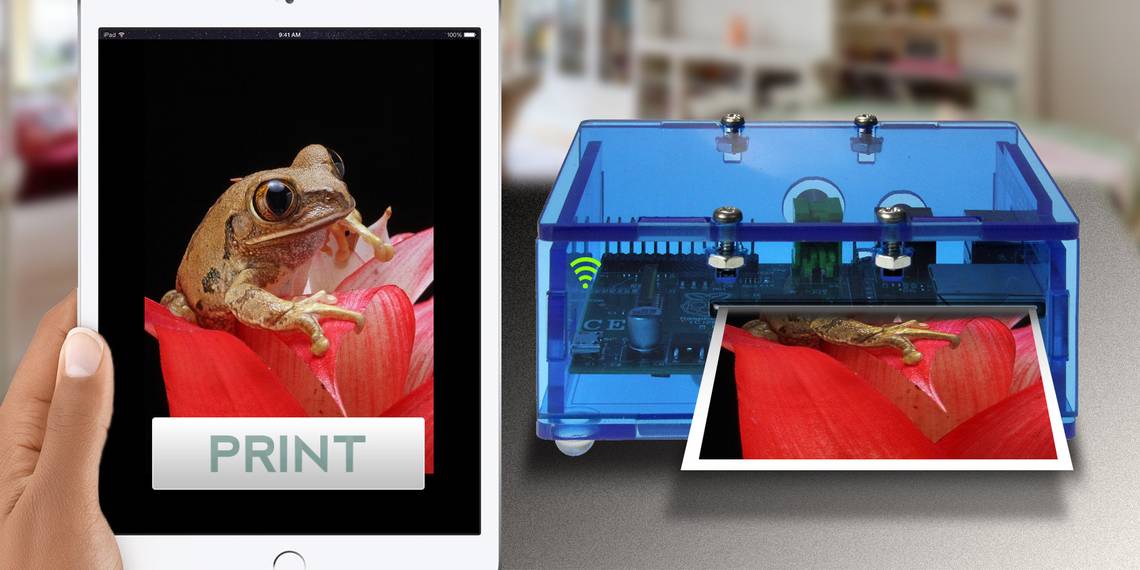
Print From Your iPad To Your Raspberry Pi Print Server
On an iOS device (tested on iOS7), open the document or webpage and select the Share > Print option.

In the next screen, find the printer in the list of available devices (if you left the default name in place in the previous guide, it should have "raspberry pi" in the name) and select it.
All that is left to do is send the print job and wait for the output. Depending on the complexity of the file (it might be a long document, or a photo) you may have to wait a little for the print job to complete.
Wait: You Can Print From Android Too!
In case you were wondering why we were focusing on iOS devices, you'll be pleased to know that Android devices can also connect to Raspberry Pi wireless print servers (sadly Windows Phones cannot at this stage)

Many printing apps exist for Android, but most of these are all about Internet printing. If you're looking for something that is designed to provide a simple link between your Android handset and the printer you have connected to your Raspberry Pi wireless print server, the PrintBot app (limited free evaluation version) is ideal. If you're happy, you can upgrade to the full version ($4.49) – sadly there doesn't seem to be a 100% free wireless print app for Android.
After installation, all you need to do is confirm a network connection to the device, select the printer driver from the list (which can take some time if you have a HP device!) and print a test page to confirm all is working. When you want to print a document or image, tap and select PrintBot as the app to open it with, check the settings and finally click Print.
Raspberry Pi Print Server Zen
We've given you two guides now on using the Raspberry Pi as a wireless print server. The implications of this arrangement are clear – you can now finally make your old-but-still-working printer a key component of your wireless, multi-device life once again.
Have you set your Raspberry Pi up as a print server? Does the simple setup of AirPrint compatibility or the ability to print from your Android device make this a project you're looking forward to trying?
Share your thoughts in the comments!
Image Credits: Solarbotics Via Flickr