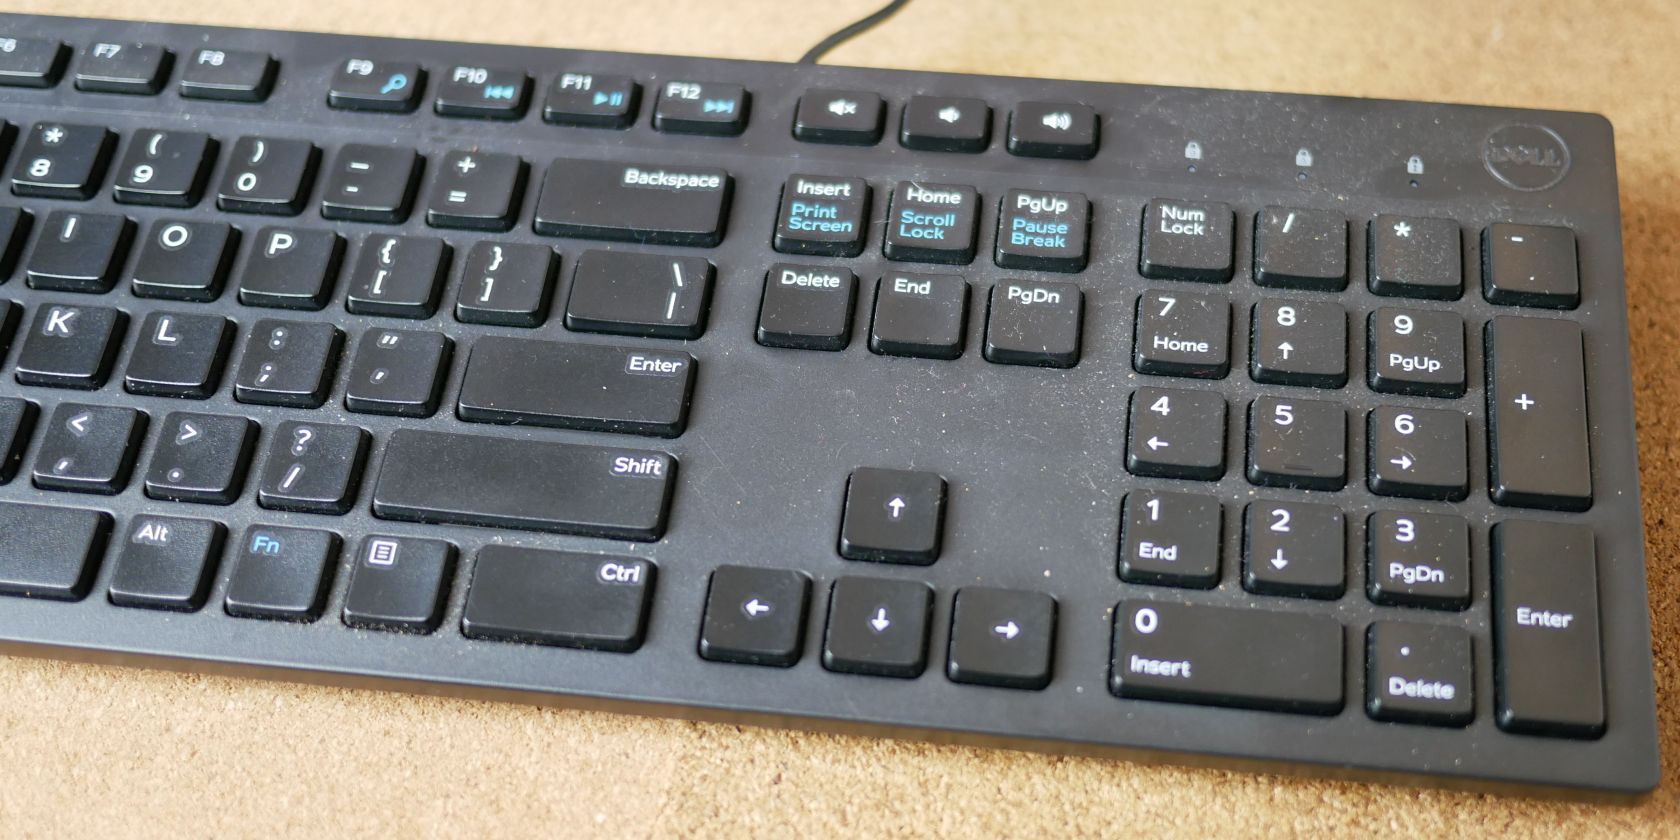
Do you clean your keyboard regularly? Whether you're the type of person who snacks in front of the computer, thus getting crumbs everywhere, or you're a neat freak who never puts anything dirty near their keyboard, stuff always gets in there.
Cleaning the top of the keys is simple: A paper towel, moistened with water or rubbing alcohol, will do the job without a problem. But how are you to clean under and between the keys? Compressed air is a solid option, but what if you don't have any available. Or what if you don't want to blow the stuff under your keyboard around the room?
How to Remove Debris From Under Your Mechanical Keyboard Keys?
The answer is shockingly simple, and it comes from something we all have around the house: clear tape!
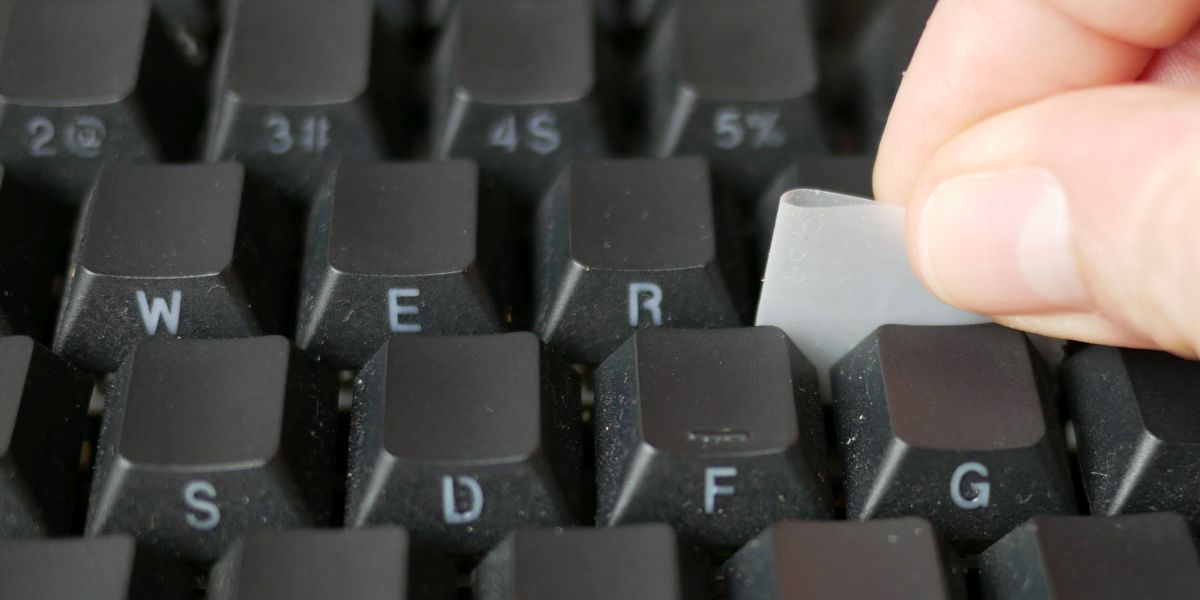
To clean under your keyboard keys, you simply need to tear off a small piece of tape, about an inch or so, fold it in half, so the sticky side faces out, then rub it around between your keys. Because you're working with tape, you'll be able to see all the nasty stuff that's been hiding all of this time. It's a little gross, but at least it will be gone!
Make sure you don't use duct tape or any other highly adhesive tape, as you can leave residue under your keys, which is obviously not good. Stick with the standard clear tape that you would use to wrap a present, and you'll be safe!
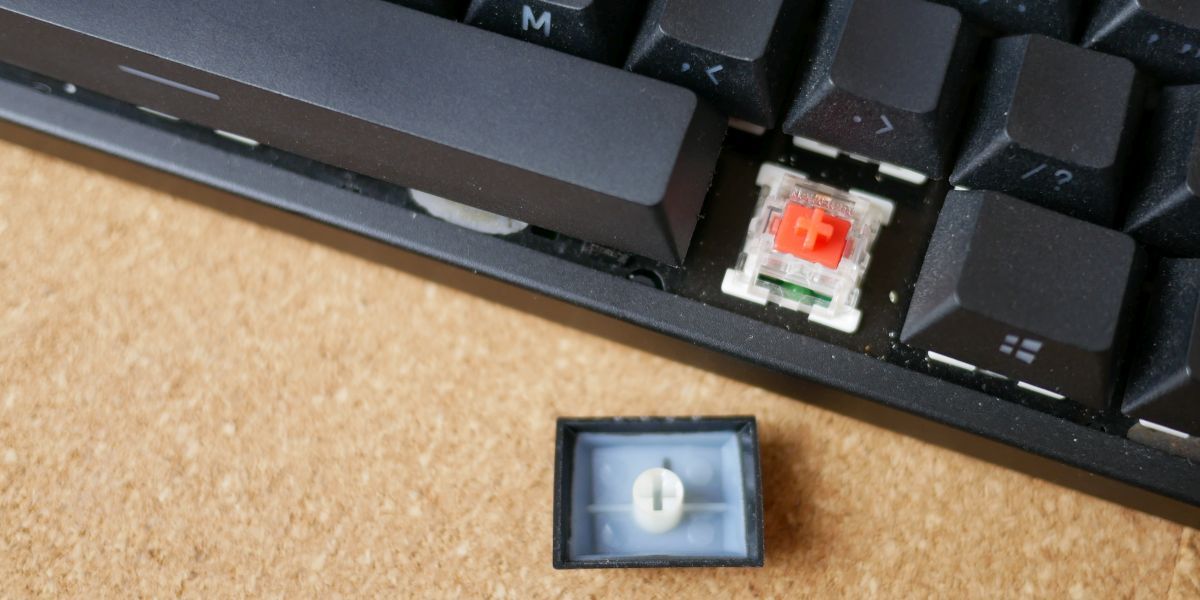
Occasionally, you might want to deep-clean your keyboard. In that case, note that most mechanical keyboards just let you pull the keys off without a special tool. That said, they usually come with a key cap pulling tool that makes this a lot easier. Take a snapshot of your keyboard before you start, so it's easier to put it back together. With the keys removed, you can shake off any loose particles, then go to work on it with a Q tip or damp cloth to clean every last corner.
How to Clean Under Laptop and Chiclet Keyboard Keys?
The tape method works best on mechanical keyboards because they have deep gaps between the keys and rows. For modern laptop or chiclet keyboards, however, it's not practical. Also, the tape doesn't actually clean underneath the keys. If you spilled a sugary drink over your keyboard, you'll need something more thorough.
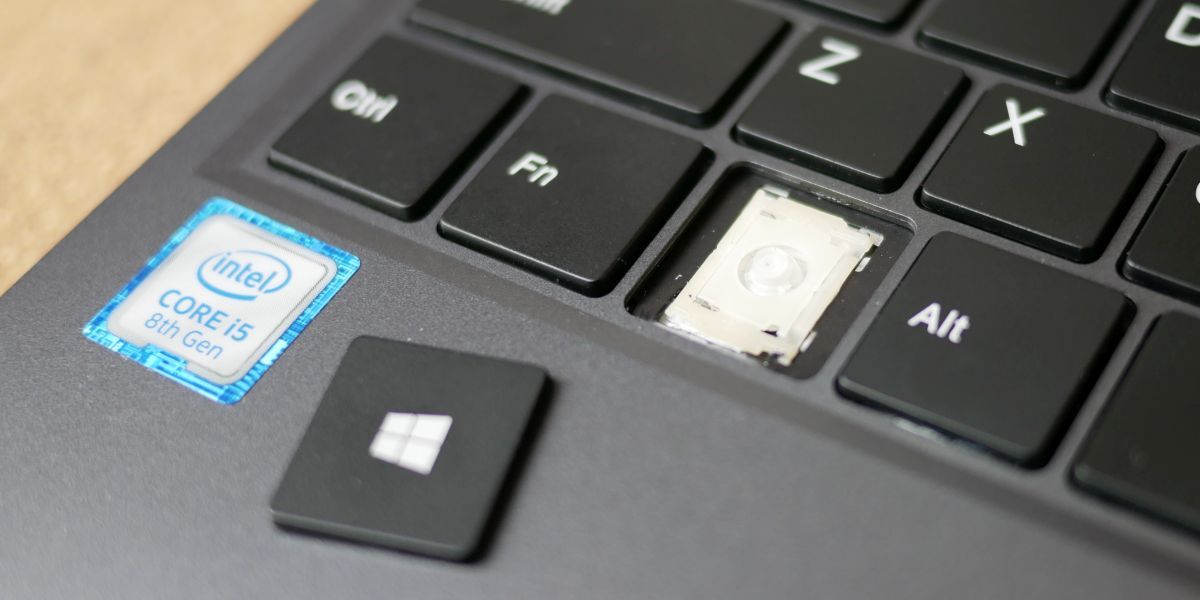
For a spotless cleaning, we recommend removing the keys entirely, so you can reach all the nooks and crannies with a Q tip. Take a photo of the keyboard before you start the process, so you'll know where all the keys go when you're ready to put it back together
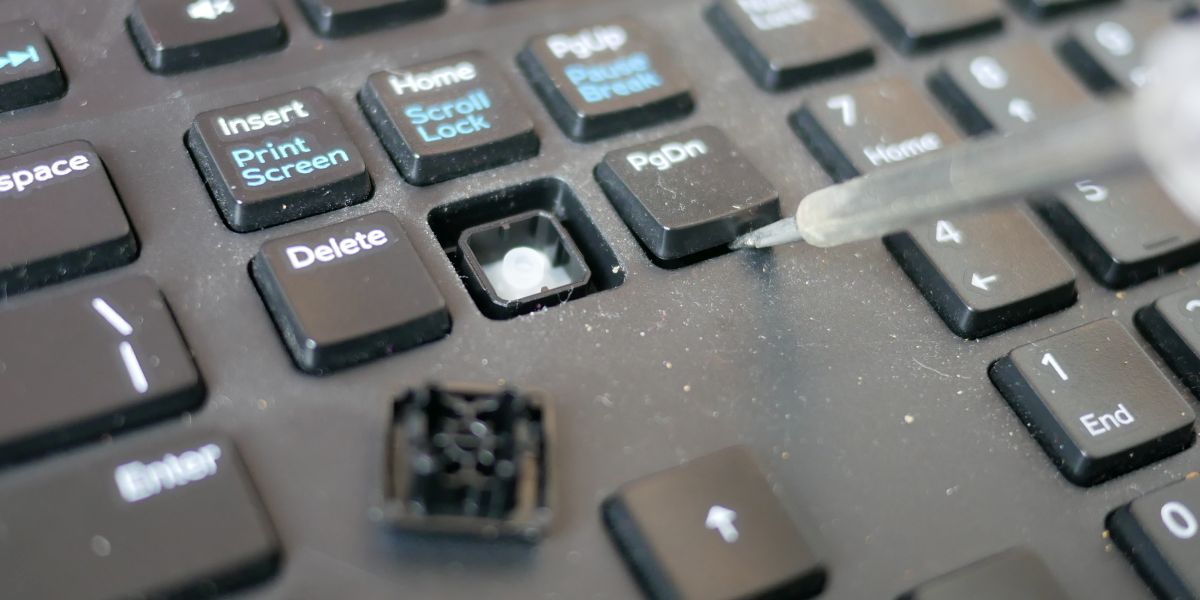
If you don't have a key cap puller to remove the keys from your chiclet keyboard, you can also use a flat screwdriver. Carefully insert the screwdriver into the gap between the keyboard and the key, then use it as a lever to push the key out. You can just pop it back on and push down on it when you're done with cleaning.
Laptop chiclet keys may look a little different, but putting the keys back on is just as easy.
Once the keys are off, you can use a damp cloth, Q tip, or a vacuum cleaner on the lowest setting to free your keyboard from dust, crumbs, and grime.
While you're cleaning underneath the keys, you can put the keys themselves through the dishwasher. Leave them out to dry thoroughly before you put them back on.
Keep Your Keyboard Clean
The keyboard is one of the more difficult computer accessories to clean. But since it's also the most likely to collect a lot of dust, dirt, and grime, it should receive a regular cleaning. And we've shown you that it doesn't have to be hard, unless you have a major spill. Generally, shaking out the crumbs, using the tape trick, and wiping the keyboard down with a damp cloth will do the trick.
When you're ready to tackle more cleaning projects around your desk, we'll be here to help you with more tips. Let's start with your monitor.

