In any application round-up - mobile or otherwise - about work, education or GTD, you'll see the most advanced conglomeration of note-taking applications. Often, the applications already present on the operating system are ignored. Likely, this is because these applications generally don't amount to much. However, on Apple products, they do. The Notes application that was already available on iOS systems like the iPhone, iPod Touch and iPad, can these days also be found as an integral part of the Mac OS X operating system.
Truthfully, some note-taking alternatives boast a larger feature set; features that are "missing" from the iOS Notes application. For most people, though, this would be redundant at best. The iOS Notes app is a remarkable, capable, and easy to use application that caters to most - if not all - of your needs out of the box. To get even more out of the experience, check out the tips below.
Synchronise Notes Across Apple Devices
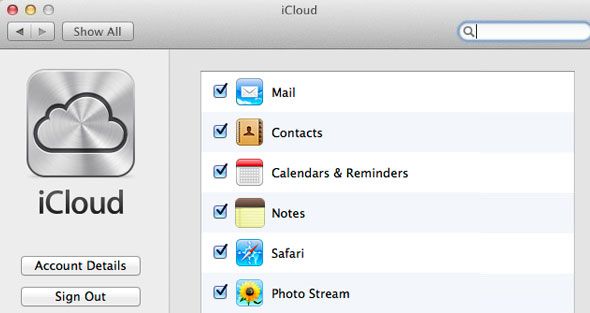
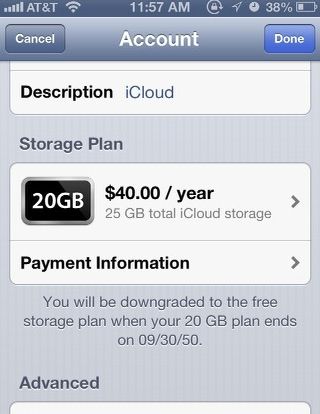
If you own multiple Apple devices, it's incredibly easy to keep all of your notes synchronised. The tool used - which has also become a flagship feature of both iOS and Mac OS X - is iCloud integration. If you've been reluctant to "enter the cloud" until now, now's the time to take that next step. iCloud integration is incredibly easy to set up, and free to use casually (although larger data storage requires an annual fee).
Just open the preferences on your iOS device and/or on your Mac OS X computer, and head to the iCloud tab. Sign in with your Apple ID, and start syncing your notes. Henceforth, every fleeting thought you enter into your iPad almost immediately show up on your Mac as well.
Synchronise With Third-Party Services
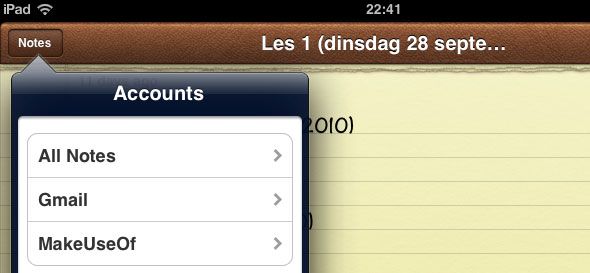
Keeping your notes synchronised between your iPhone and your MacBook is very useful, but your notes are still trapped on those Apple devices that integrate with iCloud. Luckily, the Notes application has the ability to synchronise with third-party services as well, like your Google account. This adds a whole range of additional possibilities.
Whenever you add an account from a supported service in the 'Mail, Contacts, Calendars' preferences pane, you can choose to synchronise notes, just like you can synchronise mail and calendars. This account will then appear as a separate folder of notes in your Notes application. You can also change the default notes account in Settings -> Notes on your iOS device or in Notes -> Default Account on Mac OS X.
View & Edit Notes In Your Web Browser
It should be fairly obvious that you can view those notes synchronised with a third-party service through said service, but there's another way to access your iCloud-synchronised notes, even on a non-Apple device. That is, through your web browser.
Point your web browser towards iCloud and log in with your Apple ID. You'll see a variety of applications associated with iCloud; among them, the Notes app. You can use this web interface to view and edit all of your notes that are synchronised through iCloud. In fact, the interface looks and feels like its Mac and iOS counterparts.
Pin Specific Notes On Your Mac OS X Desktop
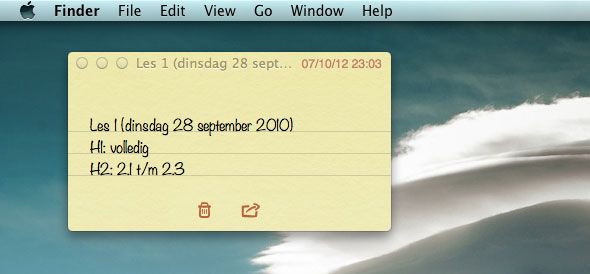
If you want, you can use Notes on your Mac OS X computer a lot like you would the Stickies application. That is, you can pin any note to your Desktop. Now, when you edit the note any place else, the note on your Desktop should update almost immediately to reflect the change.
To pin a note on your desktop, open the Notes application. Then open the note in a separate window by double-clicking on it in the left sidebar. If you now close the main Notes window, this note will remain on your desktop.
Change The Default Notes Font
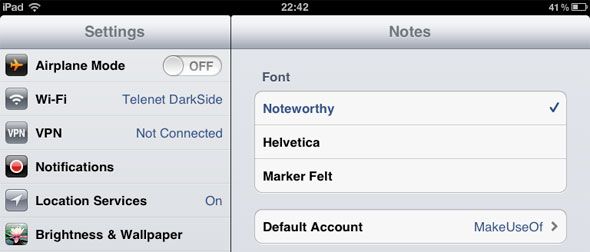
The default font, appropriately dubbed 'Noteworthy' is pleasant on the eyes. It doesn't go over the top (like Comic Sans), but lends your notes an authentic feel. However, if you'd prefer a more standard (and professional) font, that's possible as well.
On your iOS device, the default font can be changed by going to the Notes tab in Settings. You can choose between using Noteworthy, Helvetica and Marker Felt. On Mac OS X, you can change the default font by opening the Notes application and going to Format -> Font -> Default Font.
Do you have any useful tips for working with the Notes applications provided by Apple? Let us know in the comments section below the article!

