Text editors, although perhaps not the sexiest topic in the world, are really important. One of the most powerful text editors, and therefore one of the most popular, is Vim (short for "Vi Improved").
Although Vim has a steep learning curve and can be intimidating to new users, developers love it. That's because you can make programming more productive using Vim. Plus, it's very easy to apply different Vim customizations that totally change how it looks and feels. This is done by editing the Vim configuration file, also known as the "dotfile".
The Power of the Dotfile
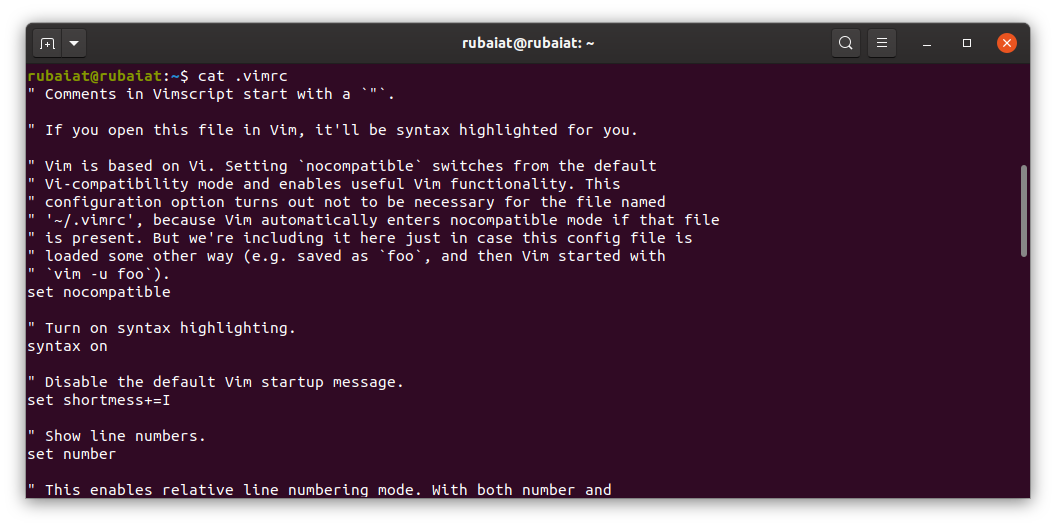
The dotfile is amazingly powerful and can control almost every part of the Vim experience. Editing yours is really easy. First, you've got to check that you actually have one. You can do this by running:
cat ~/.vimrc
If there's nothing there, you simply need to create it using the touch command:
touch ~/.vimrc
Now you're ready to start your Vim customization. To do that, you need to open it in your favorite text editor. This can be Vim, or nano, or even gedit. Just so long as it's a plaintext editor.
The Vim dotfile has its own embedded programming language, called Vimscript. It's what Vim uses to customize the appearance and working of its editor. But don't worry. It's quite simple to understand. To get you started, here are some useful configurations that you can add to your dotfile.
1. Automatically Handle Indentation
Writing clean and reliable code is essential for open-source developers. Indentation is crucial for maintaining a large codebase over time. It would be best if you avoid soft tabs altogether since different text editors interpret them differently.
Thankfully, with a few lines of Vimscript, you can turn each tab into a predefined number of spaces. Just add the following to your Vim dotfile.
        set expandtab
set tabstop=4
set softtabstop=4
set shiftwidth=4
Python users should use four spaces, as recommended by the PEP-8 standard. You're best either reading the relevant style guide or using your best judgment for other languages.
You can also set it to auto-indent where required. Again, add the following lines of code to your dotfile. The second line of code ensures that no line can ever be longer than 80 characters.
        set autoindent
set textwidth=80
2. Turn Vim Into a Distraction-Free Word Processor
While Vim is a brilliant text editor for developers, it's also great for those who want a simplified, customizable yet distraction-free environment for writing.
With a few lines of code, you can customize vim to switch into a "word processor" mode when required. This changes the text formatting and introduces things like spellchecking.
First, create a function called WordProcessorMode, and include the following lines of code.
        func! WordProcessorMode()
 setlocal textwidth=80
 setlocal smartindent
 setlocal spell spelllang=en_us
 setlocal noexpandtab
endfu
Then, you're going to need to define how you'll activate it. The following line of code allows you to create a command. When in command mode, if you call WP, it will activate word processor mode.
com! WP call WordProcessorMode()
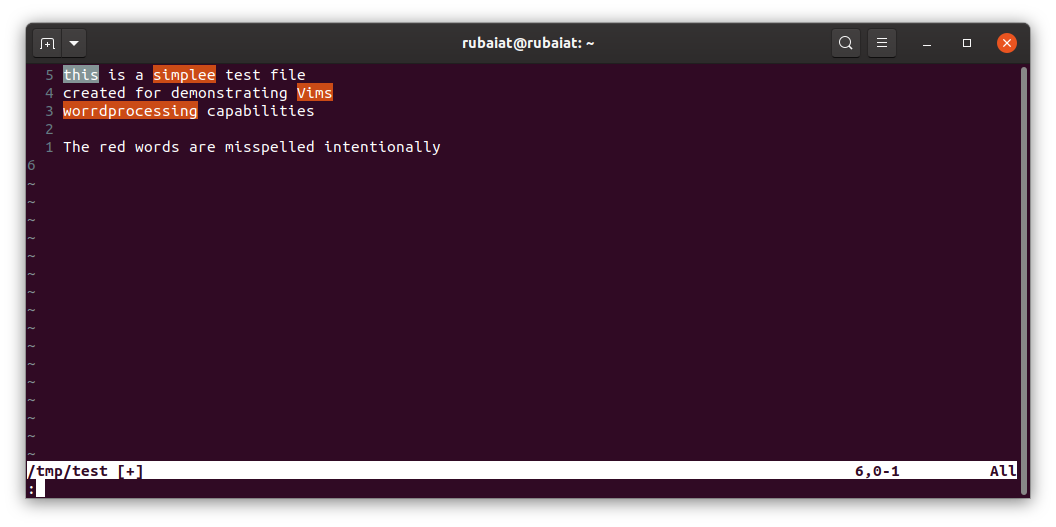
To test that it works, open a new text file in Vim, and press the Escape key. Then type WP, and hit Enter. Type some more text, with some words intentionally spelled incorrectly. If Vim highlights them as incorrect, you know you've configured it properly.
3. Install the Vundle Package Manager
Vundle is a package manager for Vim, not too dissimilar to the Ubuntu package manager. It allows you to extend Vim's functionality by installing third-party packages. Many of these are aimed at programmers; others are more generalized productivity tools.
Installing Vundle is easy. First, you're going to need to install the Git version control system. If you don't have it already, install it. Ubuntu or Debian users can use the following command:
sudo apt-get install git
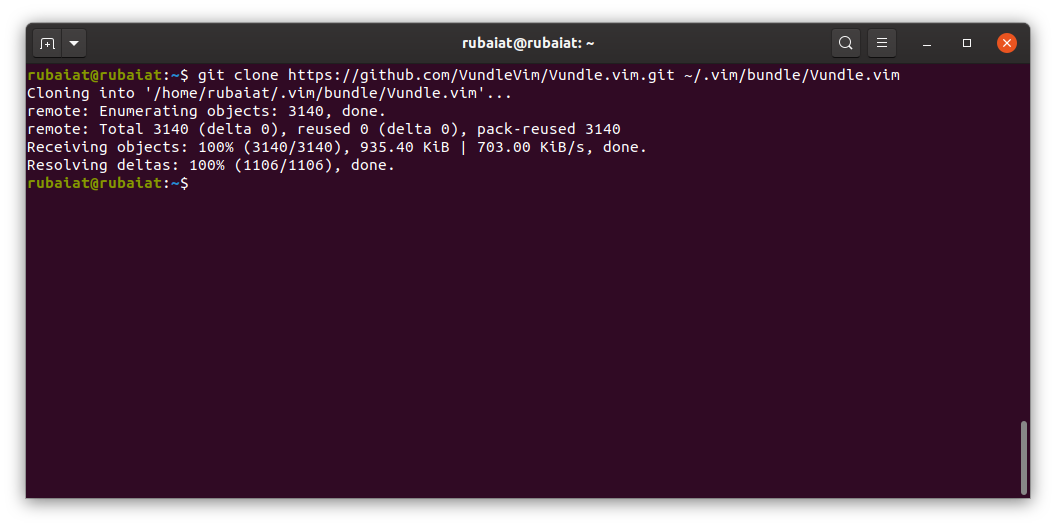
Then, clone the Vundle repository onto your local machine. That's easier than it sounds. Just run the following command, and remember that it's case-sensitive.
git clone https://github.com/VundleVim/Vundle.vim.git ~/.vim/bundle/Vundle.vim
Then, add the following lines to your Vim dotfile.
        set nocompatible
filetype off
set rtp+=~/.vim/bundle/Vundle.vim
call vundle#begin()
Plugin 'VundleVim/Vundle.vim'
Plugin 'L9'
call vundle#end()
filetype plugin indent on
In-between vundle#begin() and vundle#end() is where you'll add the packages you want to install. The only required one is VundleVim/Vundle.vim, but we also decided to install L9 for the purpose of illustrating how to install third-party packages.
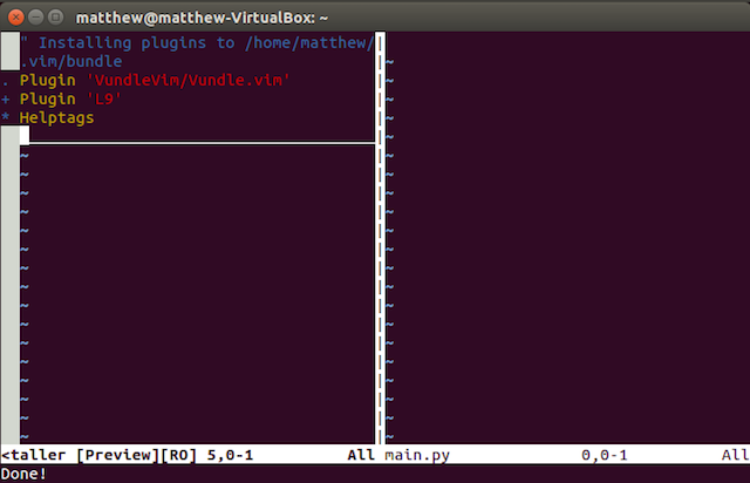
Once you add these lines to your Vim configuration file, you need to do one more thing. Exit your Vim dotfile, and open a new text document. In the command mode, type:
:PluginInstall
If everything works as expected, it'll look a bit like this.
4. Change the Appearance of Vim
Many text editors (like iA Writer) allow you to switch between a darker, night mode, and a daytime mode. Vim is no exception.
To change the color scheme, simply add colorscheme to your dotfile, with the theme you wish to use.
colorscheme darkblue
The darkblue theme, suggested by Wyatt Andersen on Twitter is a great theme to use. Of course, there are a dozen others to choose from.
To see if it worked, reopen Vim, and confirm visually.
5. Slap on Some SPF13
If you don't feel confident enough to modify the Vim dotfile, there's a simpler way. SPF13 is a distribution of Vim that comes pre-built with the plugins and dotfile modifications you need to be a productive developer.
Installing it on Linux, FreeBSD, and OS X is remarkably simple. Just open up a terminal and run:
curl http://j.mp/spf13-vim3 -L -o - | sh
Once finished, you'll have a turbo-charged Vim installation. If you're on Windows, read the instructions on the SPF13 website.
Using SPF13 doesn't stop you from configuring Vim based on your liking, however. Just edit the dotfile as required. If you want to know how to make Vim look good without configuring it yourself, this is for you.
Mistakes Happen!
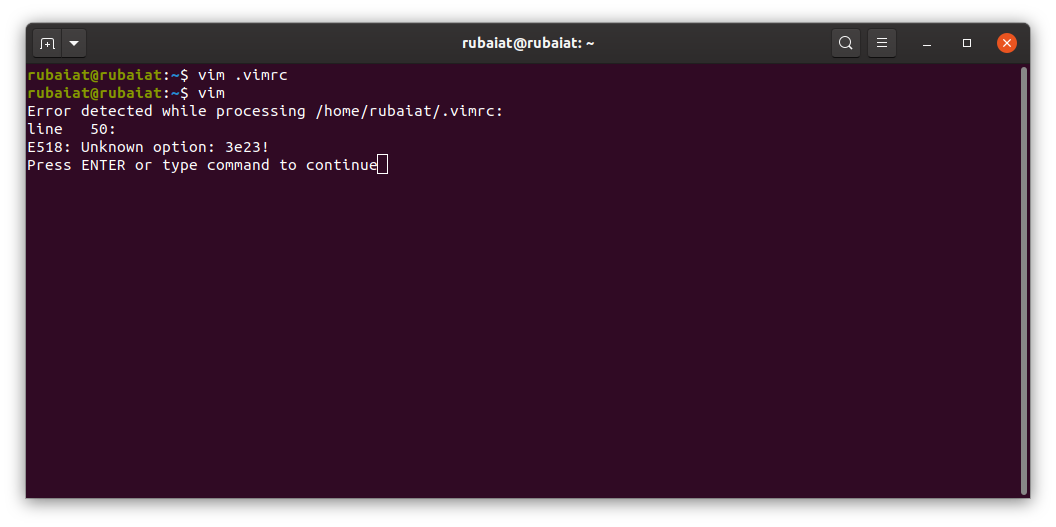
It's worth noting that if you make a mistake in your Vim dotfile, Vim will let you know with some helpful debug messages.
If you have trouble making sense of them, a great place to ask for help is StackOverflow and the Vim subreddit.
Vim Customization Tips for Beginners
One great thing about Vim is that you can configure it to your heart's content. You can change the way it looks and works by adding additional Vim customization.
However, don't despair if all you're interested in is how to make Vim look good. The customizations shared in this guide can entirely change the way Vim feels in your machine.
As already mentioned above, getting comfortable with Vim is not easy. To ensure that you boost this learning process, having a Vim cheat sheet at your disposal can be helpful.


