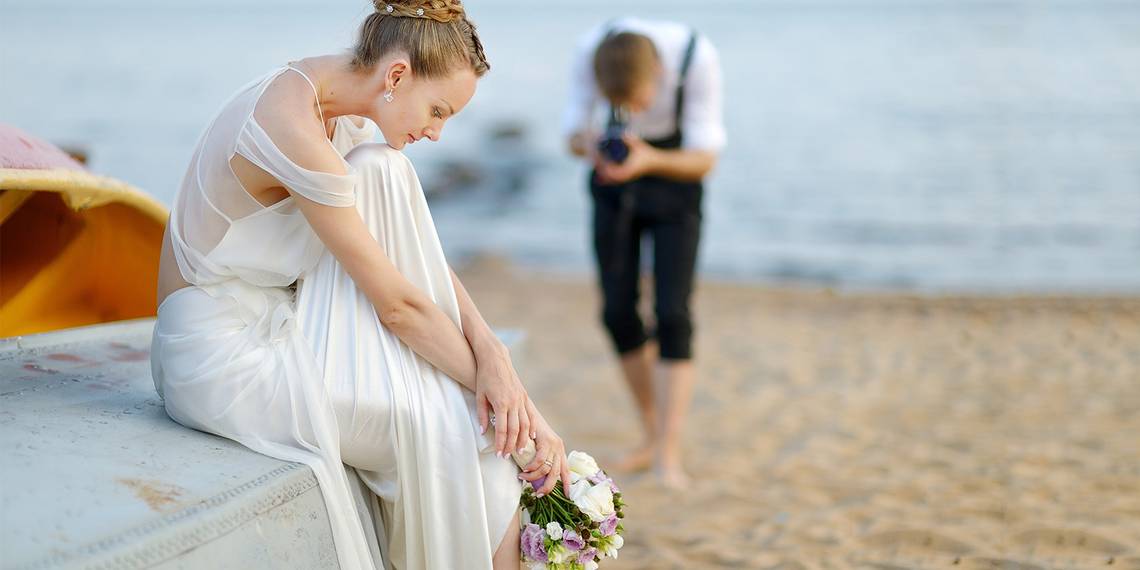
As if weddings weren't reason enough to rejoice, having one at a beach just makes it more awesome! So you really want to capture the memories of a beach wedding properly, and that starts with knowing how to wield your trusty camera in a beach setting.
Wedding photography is one of the most lucrative photography careers, but it's also one of the most difficult because weddings are already stressful! Good photos help us forget the stress and relive the good times, so make sure you pay extra attention.
Learning a few rules and guidelines will serve you well. Here are some tips to help you on the big day.
The Sunny f/16 Rule

This is one of the oldest rules in photography and continues to stand the test of time. It will serve you well once you internalize it and incorporate it into your skillset.
On a beach, you will get natural sunlight from all sides so you don't have to worry about low-light shots. However, bright light is tricky in its own ways, so always keep the Sunny f/16 Rule in mind to help quickly estimate your exposure.
The rule is pretty simple and is derived from the basics of aperture and shutter speed. Set your camera to manual mode and do the following:
- Set the aperture to f/16.
- Set your ISO to 100.
- Set your shutter speed to 1/100.
In essence, the rule is that you should maintain an aperture of f/16 and only fiddle with the shutter speed or ISO to get the shot you want. So, for example, if you raise the ISO to 400, then you should decrease the shutter speed to 1/400 instead of touching the aperture.
Now, take a few photos and see how they look. If you are happy, stick with this setting. If not, and the light is reflecting harshly from the sand, then tweak it. If the light is reflecting off the sand, the Beach Camera blog suggests that you reduce the aperture to f/22.
Bright to the Right

Chances are, when you see your camera's live preview, the picture looks a little too dark. TutsPlus suggests a simple formula that will help you to always get good photos in harsh daylight: Bright to the Right!
The problem with harsh light is that it's hard to accurately estimate exposure, and the fix is in your histogram. Hopefully, you should already know how to read your histogram to get balanced light.
But if you don't, then here's the cheat code: When it's bright, shift the histogram to the right.
What you want to see in your camera's histogram is the values to be bunched up near the right side. If you're technically inclined, the actual recommended value is 18% gray.

Don't rely on your camera's auto mode for this because it won't get it right. Instead, switch into manual or priority mode and expose brighter.
In manual mode, this means aiming for brighter than center value on your light meter. In priority modes, bump up exposure compensation by one or two stops. The resulting image should now be "brighter than normal", which is exactly what you want in bright conditions.
Look to the Sky for Perfect Silhouettes

There's nothing like a beautiful sunset to seal romance in a picture. As the sun dips below horizon, the lighting will be perfect to get a gorgeous silhouette of the happy couple. Don't miss out on this!
Make sure you know how to capture silhouettes. And no, we don't mean silhouettes in Photoshop. Here's a quick crash course:
- Turn off flash. This is incredibly important.
- Turn off HDR and automatic lighting optimization tools: That's Active D-Lighting on Nikon cameras, Auto Lighting Optimizer on Canon cameras, DRO on Sony cameras. ("These features essentially adjust the contrast in your picture, helping you to pull maximum detail from shadows. For shooting silhouette photography, you need to turn this Off," says Digital Camera World.)
- For manual mode: Expose for the sky, not for the couple. This means aiming your camera at the sky (but not directly at the sun) and fiddling with aperture, shutter speed, and ISO until the exposure is right. The couple should be dark.
- For priority modes: Point your camera towards the sky but not directly at the sun. Get an exposure reading (usually by half-pressing the shutter button) and click the Auto Exposure Lock (AE-L) button on your camera. This will temporarily lock your aperture, shutter speed, and ISO.
- Retrain your lens on the couple and take the shot.
Remember that people can't see faces in a silhouette, so body language is important here. In fact, you might want to go over some basic wedding poses so that you can direct the couple in a way where their bodies tell a great story.
As is true when taking group portrait photos, prepare in advance. You are the boss of the shot, so don't be afraid to order the couple into a great pose.
Over at SLR Lounge, you can read a professional's guide to taking a a beautiful beach wedding silhouette. In addition, browse around on photography sites to get inspiration for more poses.
Find Poetry in Motion

The point of a beach wedding isn't just the great outdoors -- it's the great atmosphere. The beach has a rhythm and a pulse to it. The waves are in a constant ebb and flow. The breeze drifts freely. It's perpetual motion, and you need to capture that.
There are several ways to do this.
Some are obvious, like capturing the bride's gown fluttering with the wind, or a gust blowing up wisps of sand. Be on the lookout for these moments. That's the key. Instead of waiting for everything to be perfectly still for that perfectly posed shot, find poetry in motion.
Apart from the obvious ways, there are a few "cheat templates" you can use, each one recommended by a professional photographer:
- Footprints: The sand will make lovely footprints as someone walks. Put that person at one end of your image and start with the footprints. Use the golden ratio for composition. ("Start from a footprint in the sand and then let those tracks lead your viewer's eyes to the child who made them," says Digital Photo Secrets, citing this photo as an example.)
- Non-Humans: Dogs. Birds. Crabs. The beach is full of incredible non-human life, and none of them are going to pose for you. In fact, they will most likely be walking, running, crawling, or flying.
- Reverse the Active Space Rule: The active space rule suggests you convey movement by showing your subject walking into the frame. Try walking out of the frame. (National Geographic says break this rule: "Photographing your subjects moving out of, rather than into, the frame creates a sense of movement — and interest about what is being left behind.")
Care for Your Equipment

Sand is the worst enemy of lenses. At the beach, you need to take utmost care of your camera and equipment.
Bring zip lock bags. Lots of them. Zip locks are your friends when it comes to protecting your batteries, your lenses, your camera, and everything else. When you're not using your camera, it goes straight into a zip lock bag, and then into your camera bag.
As far as possible, don't change your lens. That's the easiest way to ruin two lenses and get sand into your camera's body. Learn about camera lenses, pick the right one before you start, and stick with it. If you really need two lenses, bring two camera bodies.
Never, ever put your camera directly on the sand. If sand gets in there, not only is it a nightmare to get out, but you might damage your camera or lens in the cleaning process. Instead, use a tripod. You can either buy a camera tripod or make one yourself for cheap, but don't skip it.
In the worst case scenario -- sand does get into your gear -- take a deep breath and read Digital Photography Tool's tips as well as this advice from About.com on cleaning sand.
Have You Been to a Beach Wedding?
If you've been to a beach wedding and liked what the photographer was doing there, we want to know!
What impressed you about him or her? Got any beach photography tips of your own? Share with us in the comments below!