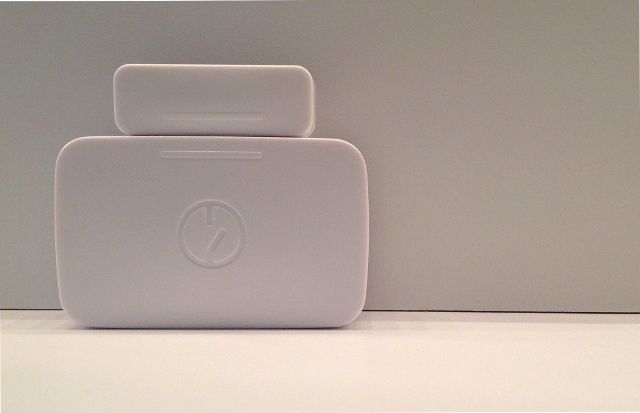
The core of the SmartThings system is a Hub paired with one of its Presence sensors or a smartphone — but its abilities really start to get interesting once you introduce another device. An Open/Closed sensor is the ideal next step for anyone who's gotten to grips with the functionality offered by the basic package.
The Open/Closed sensor is intended for use monitoring doors and gates, but with a bit of lateral thinking it can achieve much more than that. Here are a few ideas to help you start using the device to make your home a little smarter (no programming required!)
Keep a Draft Out
There's a door that won't stay closed in most houses around the world. Whether it's a construction issue or a forgetful family member, a door left wide open can leave your living areas drafty and cold. With an Open/Closed sensor, you can keep an eye on the offending entryway from your smartphone.
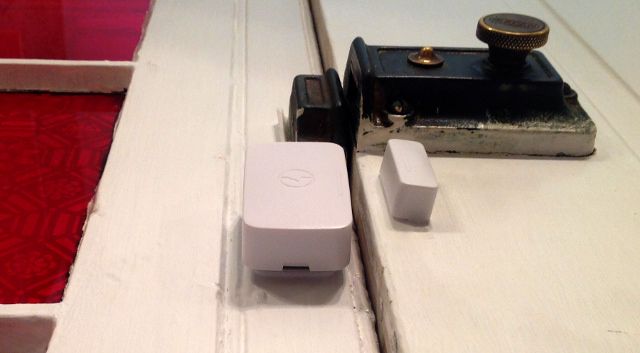
The first step is to affix the sensor to the door or window you're looking to monitor. You'll find an adhesive patch as well as a screw mount in the package, so depending on the surface and how permanent you want its positioning to be, you can choose between those options for yourself. Make sure to use the template included in the accompanying instructions to position it correctly.
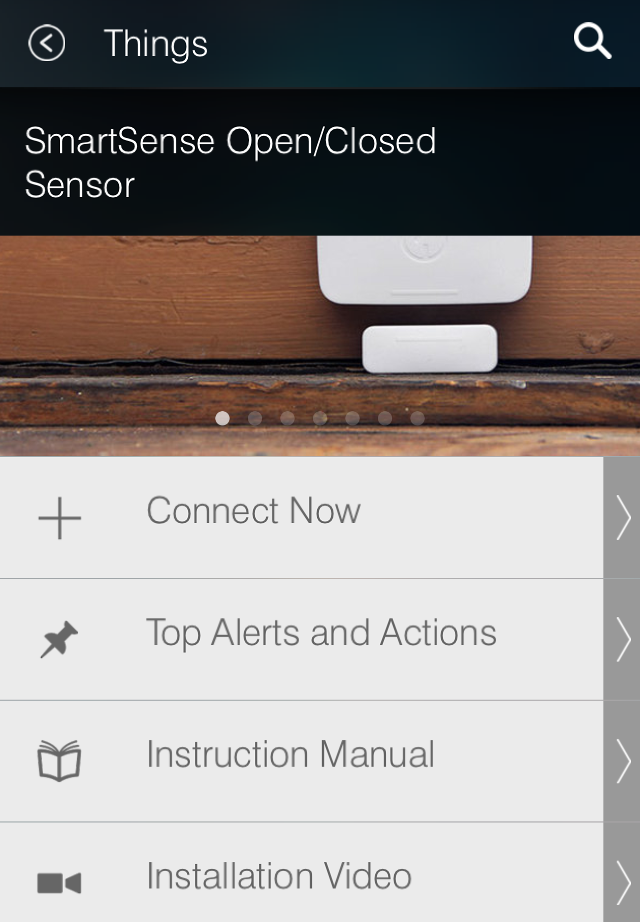
Then it's time to open up the SmartThings app, and press the plus button on the Dashboard to start setting up something new. Select Open/Closed Sensors and then SmartSense Open/Closed Sensor, and then select Connect Now to prompt it to search for the device.
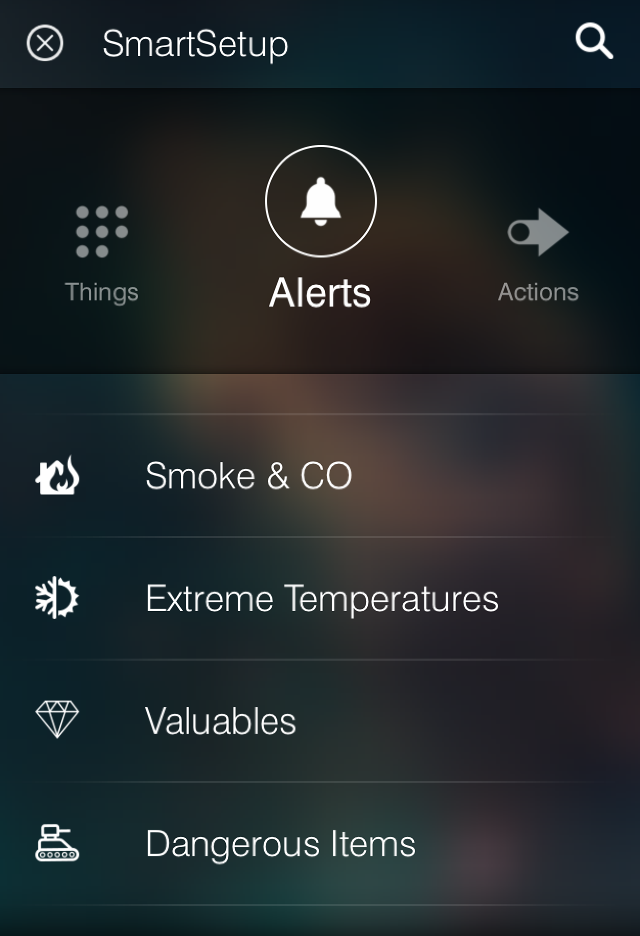
Now, head back to the SmartSetup page and scroll across to Alerts. Choose Access & Entryways and the Receive an alert if you have left your door open for longer than a specified time. Give it a sensible name, and make sure it's being classified as a conventional door rather than a garage door.
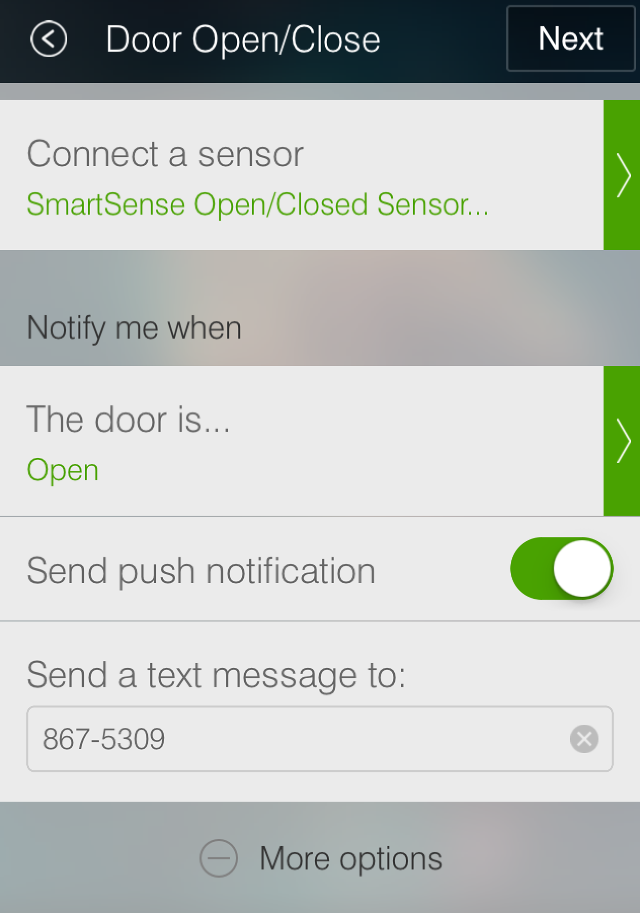
In the Connect a sensor field, choose the Open/Closed sensor you set up earlier, and make sure it's set to send a notification when the door is open. Now, just customize the amount of time to wait before sending either an alert or an SMS to your phone.
The next time the door's left open, letting a draft in, you'll know about it!
Check Whether a Window is Open While You're Out of the House
It's easy to convince yourself that you've left a window wide open when you're not able to check for yourself. Fortunately, an Open/Closed sensor gives you the ability to know for sure from a glance at your smartphone.
First, attach the sensor to the desired window. In practice, this is no different from affixing it to a door — just make sure the two parts are close enough for the magnets inside to attract when the window is closed, and that they're firmly in place. Then, pair it with your SmartThings app if you haven't done so already.
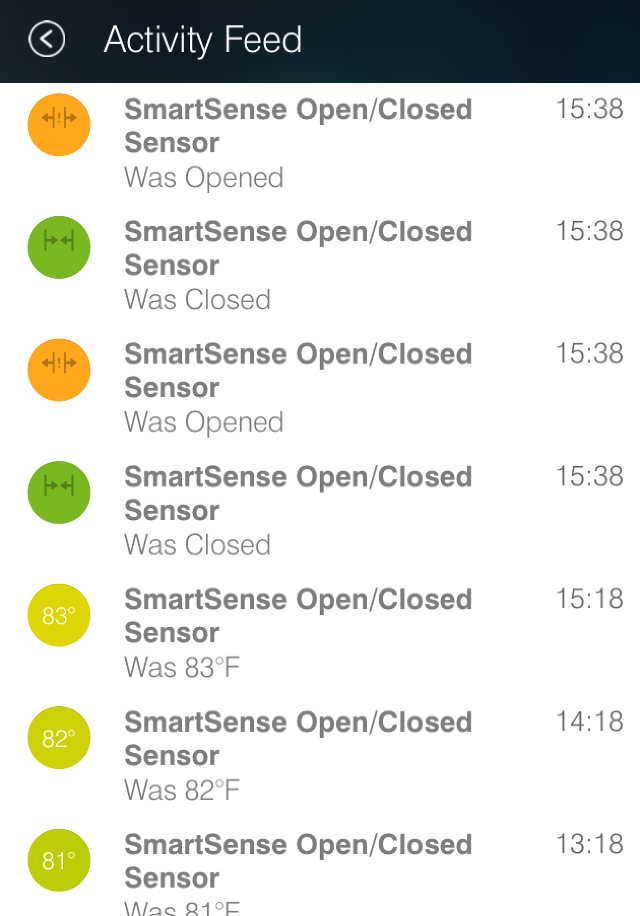
Thanks to the flexibility of the SmartThings system, you don't have to set up a process for this functionality to be up and running. Tap the speech bubble at the top right-hand corner of the Dashboard, followed by the Activity Feed icon at the top right-hand corner of that page, and you'll see a full readout of all the actions detected on your SmartThings network.
You'll see a time-stamped log of every time your window has been opened and closed, with the most recent letting you know its current status. With a minimum of fuss, you've set up an ongoing report that will continue to collect data until you tell it to stop.
Keep Your House Secure Overnight
Home security systems can be great for your piece of mind, but they're also very expensive. Using your SmartThings Open/Closed sensor, you can set up an effective method of surveillance at a small fraction of the price.
First, you'll need to place sensors on the external entrances of your house — ideally any that could be accessible to someone trying to break in, but at the very least the front and back doors. Depending on your home, it might make sense to tweak your set-up for the various different sensors.
Once the devices are in place, head to the SmartSetup screen in the app, and choose Access & Entryways. Select Notify me when a door is opened and/or closed while I am away from home and name the doorway on the next page. Then, choose the correct device in the Connect a sensor field and select the option to be notified when the door is Open. Afterwards, choose your alert preferences.
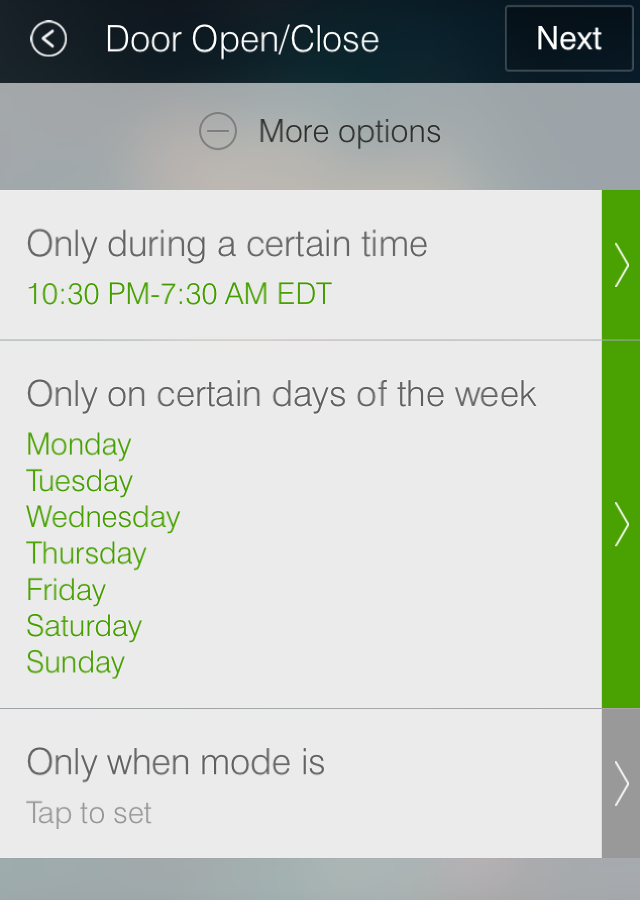
Press More options to see some settings for the times this process is going to be operational. If you're looking to set up a flexible system that you can turn on and off as well, select Only when mode is and choose the most appropriate option. Otherwise, set it up using the other inputs to control the days of the week and times it will be active — this method will ensure that the system runs automatically.
With all that in place, you're good to go; your smartphone will receive a notification or an SMS if the door opens unexpectedly. While this isn't a replacement for a conventional security system, it's a very cost-effective way of getting an early warning should an intruder target your home.
Monitor Temperature
As you may have guessed from its name, this kind of sensor is built to keep track of whether things are open or closed, but that's not all it can do. Alongside its main duties, the device will also keep track of the temperature around it — which can be rather useful when you're dealing with drafty doors and windows.
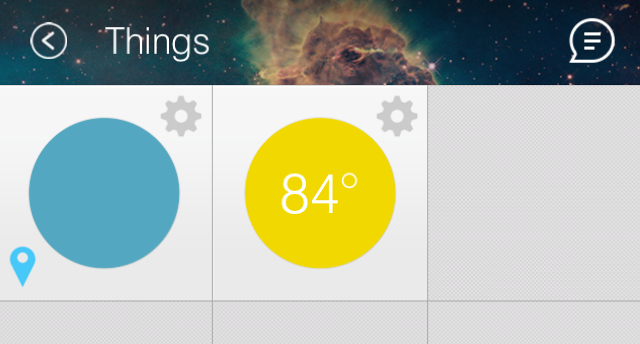
Readings will be posted regularly to your activity feed, but you can also access them directly by navigating to Things from the Dashboard, where the temperature reading will be shown overlaid onto the appropriate tile.
Having easy access to this information is great, but sometimes you might want to set up an automatic notification — for instance, if your sensor is placed on a window and you want to be alerted when the room is cool enough to close that window. To do so, head to the SmartSetup screen and navigate to Alerts.
Choose Extreme Temperatures and then Monitor for extreme cold temperatures. Enter a name, and then choose the Open/Closed sensor and set your desired temperature in the appropriate field. Everything's now set up, but if you're wanting to get more complex you could try linking the process to a SmartThings-compatible heater system. Of course, this will require additional equipment, like a Nest thermostat.
Do you have a novel use for the SmartThings Open/Closed sensor? Why not share it with other readers in the comments section below?


