For bizarre reasons, motherboards sometimes don't boot. In our experience, most motherboard problems are largely user-related. With the exception of user-incurred damage, most unbootable scenarios can be reversed without much hassle.
This article covers three basic motherboard troubleshooting methods, common faults, and anti-consumer-friendly return policies if all goes wrong.
What Causes Motherboard Boot Problems?
There are a lot of potential issues that can cause a motherboard to fail post. Post (Power-On Self-Test) means not booting at all.
In general, three main categories tend to dominate problematic motherboards. With some simple tools (most of which you may already have), troubleshooting is really quick and easy.
But, before moving further here are some of the common motherboard boot problems:
- Faulty or loose cable
- BIOS/UEFI errors
- Defective motherboard
It's very likely that your PC's motherboard won't post or start up at all if you have any of the problems above, so be careful.
Simple Troubleshooting Tools
Here are some of the simple tools that can assist you in solving your PC's motherboard related issues:
- Motherboard tester: Such testers can provide error codes if the motherboard is defective, which can help a repair expert troubleshoot with ease.
- PC Speaker: If you don't have a speaker in your computer case, these can plug directly into the motherboard and provide "beep" error codes.
- Jumper: A jumper plugs into a specially designated portion of your motherboard, clearing the CMOS memory. This will reset your motherboard.
- Non-conductive surface: Some builders use cardboard. As long as the surface is non-conductive, you should be alright. However, we recommend building it inside the case.
Note: Anti-static packaging is potentially conductive. So, we don't suggest putting a motherboard on it and then connecting it to the power supply.
The Troubleshooting Process
Troubleshooting your motherboard doesn't require a lot of work. First of all, you have to check to see whether your components are properly seated.
Next, check your BIOS/UEFI (preboot environment) for errors. Finally, make sure your motherboard isn't actually defective.
1. Start With the Easy Stuff and Check Your Wires
In general, the majority of unbootable computers originate from loose wires or improperly seated components. With the right build methodology, you only need to check four components for problems.
A computer in its minimal boot configuration requires only the following:
- One stick of RAM
- A power supply
- A CPU
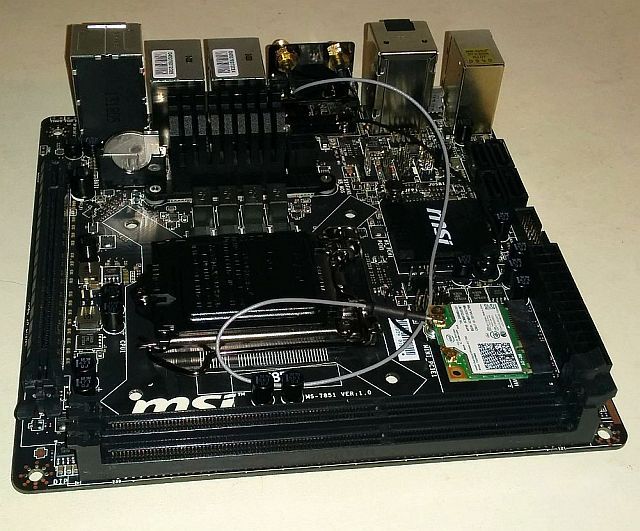
- A motherboard
Newer computers integrate a GPU into either the motherboard or CPU. By booting with a narrow selection of components, you bypass potential errors with a discrete graphics processor, hard drive, or other peripherals.
In addition, you can also connect a miniature speaker to the speaker port on your motherboard. This will allow the creation of "beep" error codes, which will give you an idea of any potential motherboard problems.
A non-bootable scenario could mean that one, or more, of the preceding components, possesses a fault or suffers from an improper connection.
2. Inspect for Physical Damage
Motherboards, like other complex systems, are made up of fragile subsystems. So, you should keep an eye out for physical damage. If you're a geek, you can also examine your motherboard's integrated circuits for scratches.
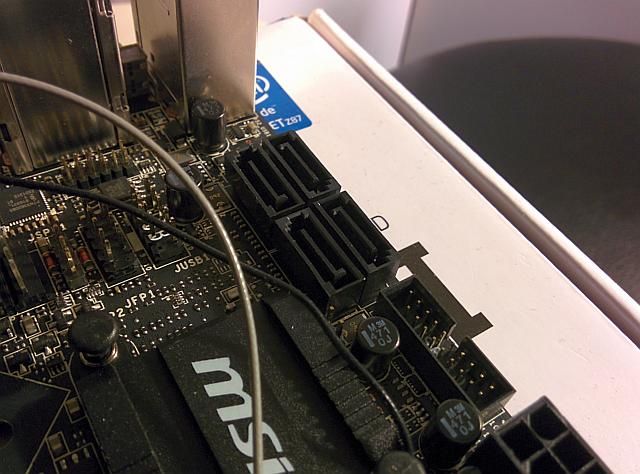
Moreover, in many tight-fitting cases, putting mechanical stress on ports might harm sensitive components. While electrostatic discharge does not leave a physical trace, improper insertion or removal of a SATA cable can leave extremely visible, tell-tale signs of damage.
You should also note that if you encounter hard drive problems throughout your build, all subsystems associated with the drive, including the SATA ports and connections, may be to blame.
The motherboard's capacitors can continue to supply current even after the CMOS battery is removed. But why does a motherboard need a battery?
This is because the memory inside your motherboard requires a constant stream of electricity to remember its settings. But if these settings cause boot failure, you need to interrupt the flow of electricity to clear its memory.
3. Reset Your Motherboard
The issue maybe with your motherboard's software. If you can't post (access the BIOS/UEFI), you have three options.
First, remove the CMOS battery. Second, apply a jumper for some minutes. Third, apply a jumper, remove the CMOS battery, and wait overnight.
- CMOS Battery Pull: This is the lightest method. Simply pull the CMOS, coin-sized battery, and wait ten minutes. This should reset your motherboard to factory settings.
- Jumper Reset: Simply attach a jumper to the motherboard's two- or three-pin connector. Then carefully apply the jumper over the two pins for ten minutes.
- Deep Reset: Simply pull the CMOS battery and put the jumper over the designated portion of the motherboard, gently. Then let it drain away any residual power overnight.
All the methods listed above should assist you in resolving the issue fast. However, if you are unable to resolve your motherboard not booting issue on your own, the last resort is to contact the service center.
Where Might You Have Gone Wrong?
If after performing all the necessary steps you still have problems, consider these issues:
- Electrostatic discharge: Not wearing the right protective gear, or using the improper procedure, may cause a phenomenon known as electrostatic discharge.
- Bent CPU pins: Sometimes manufacturers can ship motherboards with bent pins. If you fail to observe these and insert a CPU, the pins can be damaged further.
- Bent motherboard: Overtightening the screws that anchor the motherboard to the case can cause the board to bend, which may be irreparable.
- Improperly seated RAM: Improperly seated RAM will cause your system to fail to post.
Returns, RMAs, and Refunds
Unfortunately, many retailers do not respond well to returned motherboards. This is likely a response to the myriad of motherboards that get sent back, which either suffered user-inflicted damage or actually had nothing wrong with them.
While many brick-and-mortar companies will take motherboard returns, most online companies only offer limited returns or no returns at all. Be sure to read the return policies—specifically regarding your motherboard.
For example, many have complained regarding Newegg's motherboard return policy.
Troubleshooting a Motherboard Is Easy
Fixing motherboard problems only requires three basic steps. First, check your board for signs of physical damage. Second, make sure your cables are properly connected. Third, reset your BIOS/UEFI.
It can be hard to figure out what's wrong with your motherboard, but these three simple steps should help you figure it out. And if all else fails, if you've purchased from a seller with a good return policy, you can either get your money back or a motherboard replacement.


