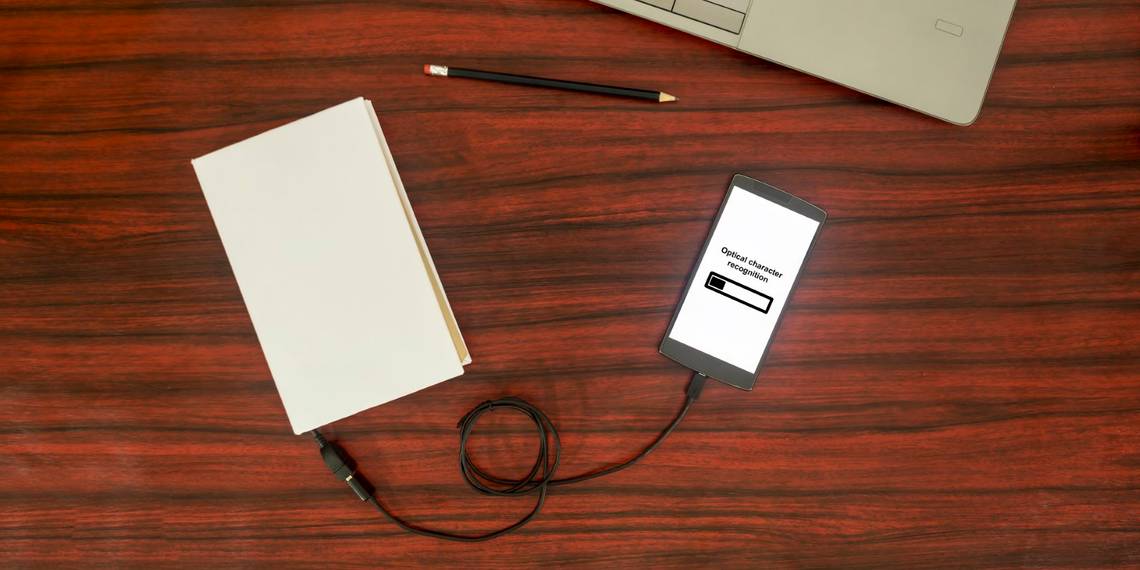
Believe it or not, some people still print documents on physical pieces of paper. Optical Character Recognition (OCR) software takes those printed documents and converts them right back into machine-readable text. We've found some of the best free OCR tools and compared them for you here.
No OCR program is perfect, so you'll have to check the results and fix a few problems. Still, it's a lot faster than typing the entire document back into the computer. Each of these free OCR software tools has its own strengths. All of them will get the job done.
The Methodology
To compare these tools, I took a screenshot of MakeUseOf's Privacy page and saved it as a JPG file.

Then, I used that JPG to test out the following OCR services.
However, you could also scan a printed document if that's what you want to edit.
If you go that route, it'll work best if the page features common fonts, such as Times New Roman or Arial. Also, make sure the image is right side up before scanning it. Aim for scanned material with a file size of less than 2 MB, too.
Now, let's dig in!
Google Drive & Google Docs
Google Drive has integrated OCR support. It depends on the same OCR engine that Google uses to scan books and understand text in PDF files.
To get started, save the picture you want to send through the OCR to your computer.
Next, open the Google Drive website and upload your file into the application.

Pro tip: If you're a Gmail user, you can also attach the scanned document to an email. The attachment features a button that lets you transfer the file to Google Drive without leaving your inbox.
After putting the file in Google Drive, locate it and right click. Then select Open With and choose Google Docs.

Your scanned image then appears as a new, editable text document in Google Docs! Google will keep your original image at the top of the document, and automatically create editable text using OCR below it.

The combination of Google Drive and Google Docs did a pretty good job here. It struggled to understand the web addresses, but that was the case with all the tested tools.
Many free online OCR tools, like Free OCR, limit your uploads. Google Docs is advantageous because it doesn't have page upload limits.
Microsoft Document Imaging
Microsoft also offers support for OCR, but only for Windows users. Do you use a version of Microsoft Word from 2010 or older? It already has Microsoft Document Imaging.
Otherwise, you need to install SharePoint Designer 2007.
Okay, now before we get too far into this, it's important to note that you'll need to have Microsoft Word in order for this OCR method to truly work.
Microsoft Word is not a free program, I know. However, because this OCR method is SO effective, and because access to Word is so easy (go to any library or college campus) I'm making the executive decision to include this in our free OCR tools list anyway.
Moving on...
Install SharePoint by going to this URL [Broken Link Removed]. When you click Download, you'll be presented with some options. Click the SharepointDesigner.exe field and hit Download.

After accepting the software license, choose the Customize option.

Look for the Installation Options tab in the top left of the box on your screen (this should be the default tab the program takes you to). Notice the drop-down menus to the left of many of the options.
Find the drop-down menus for Microsoft Office SharePoint Designer, Microsoft Office Shared Features, and Office Tools. Select the Not Available option for all of them. It includes a red X, making it easy to spot.

Expand the section for Office Tools, then locate the Microsoft Office Document Imaging option. Pick the Run All From My Computer option. Be careful not to select the similarly worded Run From My Computer entry on the drop-down instead.

Finally, click the Install Now button. It's in the bottom right of the dialog box you've worked with throughout this installation. (Note: This installation may take a few minutes.)
You're now ready to use the MODI feature!
The next step is to scan your document or save your image from the web. Then, convert it to a TIFF file.
Microsoft Paint is one example of a free TIFF conversion option. Just open your file in Paint and click Save As. Select Other formats.

Select the TIFF format from the drop-down menu and save the image.

Then, launch MODI on your computer.
Just search your computer for Microsoft Office Document Imaging and open the program.

After that, click File, then Open and find your image document.
Then, click the OCR button on the menu bar.

Once the program finishes the OCR, click the Tools menu and select Send Text to Word.

The program will automatically open a new Word document and paste your OCR text into it.

The result gives you editable text within a program you know well.
Having to download the supplementary software first might feel a bit intimidating. However, the process itself isn't hard and Microsoft does a better job than Google Drive at recognizing text. For instance, this program had no problem picking up on the website URL for MakeUseOf.com, and it didn't smush any words together.
One major downside, though is that MODI is not available for Mac computers. If you have a Mac, check out these alternatives.
Download: MDI to TIFF File Converter and >SharePoint Designer 2007 (Free for Windows)
OnlineOCR.net
Maybe you're only getting started with OCR tools and want an extremely straightforward, non-platform-specific option (just like the best online word processors). A website called OnlineOCR.net meets those needs.

It supports over 40 languages, which is good news if your document contains one other than English.
Look for the blue Select File button on the left side of your screen. Because you can upload files as large as 15 MB, this service works well for graphic-heavy materials.
After that, use the drop-down list and select your desired output language. Look to the right of that menu and notice there are three choices of file formats. You can select Microsoft Word (which is the route I took), Microsoft Excel, or Plain Text.

The Excel option may be useful when working with a scanned price sheet that includes graphics. It's also potentially helpful with any other source material that with numbers. OnlineOCR supports documents with tables and columns as well.
After tweaking the options, click the Convert button. Then, download the output file the tool spits out and, voila! Editable text at your fingertips.

This free tool didn't work as well as the other two here, but since you can use OnlineOCR without registering it's super convenient and easy. Plus, it did do a half-decent job recognizing the text from my image. It's a smart choice if you want to try a tool without making commitments or providing information.
Also, this free option allows for converting up to 15 documents per hour. That benefit makes it appropriate for medium-volume OCR tasks.
The Verdict
Each of these programs has its strengths.
- Google Docs can OCR documents without downloading anything to your computer, but you do have to sign up for a free account.
- Microsoft Office Document Imaging is easy enough to use and extremely accurate, but it takes a little bit to install the necessary software.
- OnlineOCR.net is a simple-to-use browser-based tool that doesn't require registration and supports multiple languages.
With any tool, once you're done with the OCR process, you may want to spell-check your document. That's especially true if you're just starting out with a tool and don't know if it's accurate.
And, depending on your use, you may not even have to OCR documents at all. You can convert a paper book to an ebook without OCRing it, for example.
Which OCR software works best for you? Do you have a different favorite OCR program that we didn't mention here? Leave a comment and let us know.
Did you know that you could also turn handwriting into text using OCR? Mac users can use the Image Capture app to work with OCR.
Image Credit: nikolay100/Depositphotos
Originally written by Chris Hoffman in March 2012.